
TL;DR
You can install LVP over hardwood floors, but LVP will not fix squeaky hardwood or nail pops, and it can trap issues you will still need to solve later. If the goal is a quieter, longer lasting floor, address squeaks at the joists and secure loose boards first, then decide between refinishing hardwood or a floating LVP as a reversible stopgap. For many homes, fixing squeaks then refinishing offers the best long term value and look.
Introduction
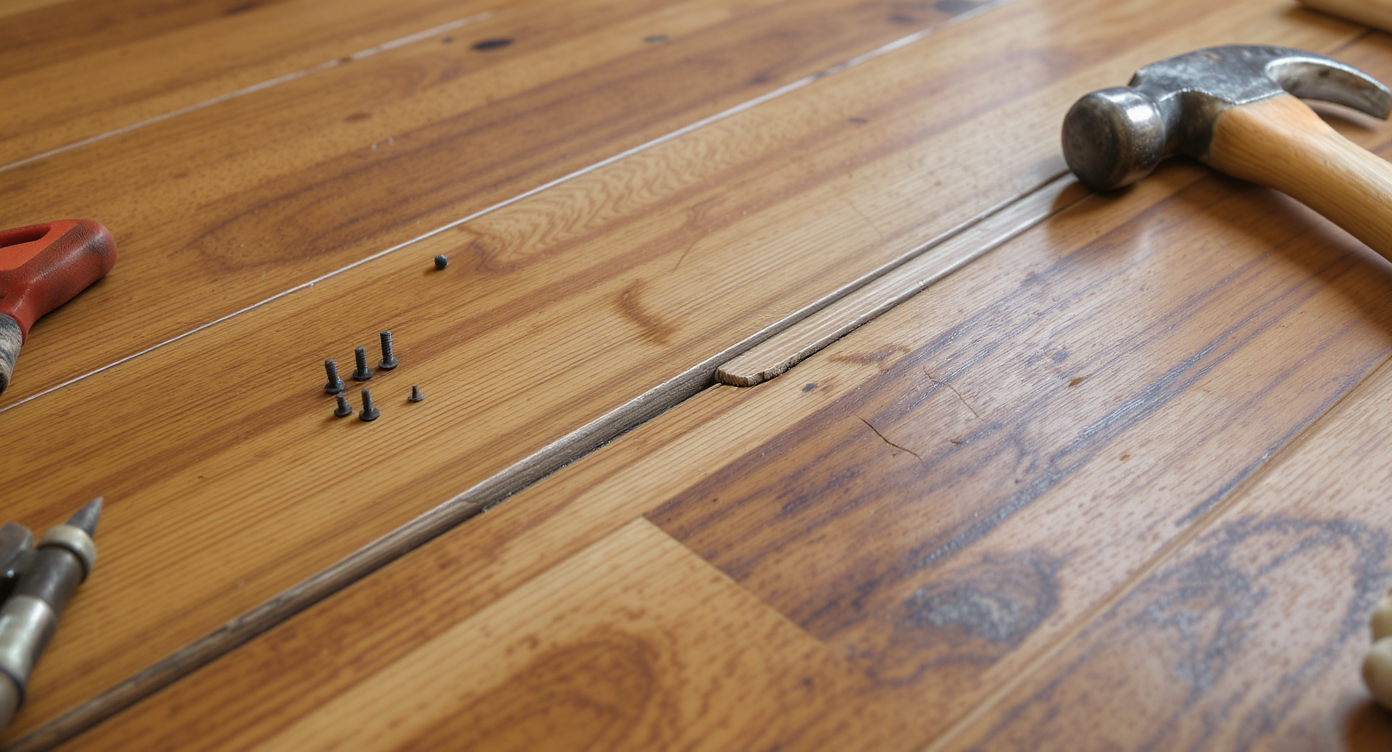
Identifying squeaks and nail pops is the first step before considering LVP installation over hardwood floors.
If you are staring at original hardwood floors and wondering whether to float luxury vinyl plank over them, you are not alone. The search phrase can you put LVP over hardwood floors spikes every renovation season, often for the same reasons: squeaky floors, nail pops, and budget pressure. Here is the thing. LVP flooring is forgiving to install and more resistant to pets and water than wood, but it is not a structural repair. Floor squeaks come from movement at the subfloor or joists, not from the surface material. Designers and contractors consistently advise tightening the structure first, then choosing your finish. The pay-off is real: a quieter floor, higher resale value, and a surface you will not regret living with. You have options that do not involve tearing anything out. The smart sequence is diagnose, secure, then finish. That finish can be a beautifully refinished hardwood floor or a floating LVP that you can remove later without harming the original.
Core strategy: fix the squeaks, then choose finish
The only reliable way to stop squeaks is to eliminate movement where the subfloor or hardwood meets the joists. - Quick rule of thumb: drive screws into joists every 6 to 8 inches along the squeak path, or shim from below where gaps exist, then recheck. - If you can access from below, add construction adhesive at joist seams and install trim head screws or joist brackets to lock the floor sandwich together. Flooring pros often advise working from below to avoid visible plugs. - Working from above, use a scored screw system designed for hardwood, such as breakaway-floor screws that snap below the surface. Fill with a wax stick or tinted putty to disguise the holes as knots. - Set all popped nails with a nail set and replace repeat offenders with finish screws, ring shank nails, or square-cut nails angled into joists. Now decide on finish based on use, budget, and future plans: - Refinish hardwood for long-term value. Typical dustless refinishing runs about 3 to 8 dollars per square foot, sometimes more with repairs. Waterborne polyurethane is low odor and cures faster. Most finishers recommend 24 hours before light traffic and 7 to 30 days to fully cure, depending on product and humidity. - Float LVP as a reversible layer only after structure is tight and flat. Most LVP requires a flatness tolerance of 3/16 inch over 10 feet. Choose at least a 5 to 7 mm plank with a 12 to 20 mil wear layer, include an attached pad or 1 to 2 mm underlayment, and maintain a 1/4 inch expansion gap at walls. - Important limitation: do not install LVP over hardwood sitting directly on a concrete slab, since trapped vapor can buckle the wood and ruin both floors. A moisture test is recommended before any overlay. Budget check: - DIY LVP materials typically run 2 to 5 dollars per square foot, with pro installation adding 3 to 5 dollars. Expect to still spend on structural fasteners and prep. - If squeaks are the only reason you are considering LVP, experts recommend investing those dollars in securing and refinishing the hardwood instead. A consistent hardwood surface often shows better and avoids awkward height transitions. One homeowner insight: after walking the entire joist and screwing along the full length, the squeak vanished rather than shifting down the joist. Partial fixes often push the noise down the line, so be thorough.
Anecdote
A design-minded couple kept their sectional against a wall for years because every path across the room squeaked. After securing joists and floating their sofa in the center, the room felt larger and, more importantly, walked quieter. They hosted again because the house did not announce every step.
Common mistakes and how to avoid them
LVP will not fix squeaky hardwood floors, because squeaks come from movement at the joist or subfloor, not the top layer. - Covering squeaks without securing the structure. Why it happens: new surface seems like a cure-all. Fix it: map squeaks with painter’s tape, then secure every 6 to 8 inches along the joist before any finish. - Ignoring nail pops under LVP. Why it happens: nails look flush on day one, rise later with seasonal movement. Fix it: set or replace with screws before installing anything; popped nails can telegraph through vinyl. - Gluing LVP to wood. Why it happens: fear of hollow sounds. Fix it: use floating LVP over hardwood so the original floor remains salvageable and moisture can dissipate. - Skipping flatness and height planning. Why it happens: rushing. Fix it: feather patch dips, check 3/16 inch over 10 feet tolerance, and plan transitions at doors to avoid trip points. - Forgetting moisture dynamics. Why it happens: wood feels dry. Fix it: maintain 35 to 55 percent relative humidity year round to limit seasonal squeaks. Whole-house or room humidifiers help in winter. Designers often advise refinishing continuous hardwood across rooms to avoid choppy transitions and to keep a home’s character intact.
Pro tips and expert insights
A structured squeak check from below is the gold standard: look for gaps, rub marks, or nail shank movement and stabilize with shims, adhesive, and screws. - Find joists fast with rare-earth magnets that locate hidden nails or screws in the joist line. Mark the run and fasten methodically. - If working from above, a breakaway screw kit lets you tighten the floor and snap the head below the surface for near invisible repairs. - For dust concerns, ask about true HEPA-equipped sanders and waterborne finishes. Many sanding rigs capture over 90 percent of dust when properly deployed. - Pet and kid heavy zones: if you must overlay, pick a high quality floating LVP with a 20 mil wear layer and rigid core. It protects the hardwood while remaining reversible. - Health and comfort: waterborne urethanes off-gas less, and most pros recommend keeping windows cracked and running fans or air scrubbers during cure for sensitive occupants. Reflection: I have seen people spend on pretty surfaces first, only to redo them after finally tightening the structure. Solve movement once, then enjoy any finish you like.
Anecdotes, tools, and a quick visualization
Real homeowners learn the same lesson in different ways: floors squeak for structural reasons. - The screw-walker. A couple mapped squeaks with tape, then drove trim head screws every 6 inches along two joists. The noise did not move down the line. Their takeaway was simple: you have to fasten the whole path. - The vinyl detour. A family laid click-together LVP over squeaky hardwood to save time. The squeaks stayed, and seasonal swelling caused a few corners to chip. They later secured the subfloor from below and the clicking stopped. - The proud refinisher. In a small condo, a pro replaced a scorched bedroom section, screwed off the subfloor, and refinished 1,200 square feet. The price came in lower than feared, and the owner says it is 90 percent squeak free and visually seamless. - The protector. With energetic dogs, one homeowner floated a thick, pad-attached LVP over tightened hardwood. It handled water bowls and claws, and they plan to remove it in a few years to refinish the preserved wood. Tools and resources to consider:
- Breakaway floor screw kit for hardwood squeaks
- Rare-earth magnet or stud finder to trace joists
- Construction adhesive and shims for gaps from below
- Waterborne polyurethane for low odor refinishing
- Room humidifier to maintain 35 to 55 percent RH
- Design visualizer: try layouts and finishes with ReimagineHome to preview hardwood vs LVP in your room
- Alt text: Close-up of secured hardwood floor showing discreet filled screw points along a joist line. Caption: Securing the structure first is what silences squeaks.
- Alt text: Side-by-side view of refinished oak and wide-plank LVP in similar tones. Caption: Choose finish after the floor is tight and flat.
Visualization Scenario
Imagine rolling out of bed and crossing the room without a single chirp underfoot. Your heel lands, and nothing flexes. The finish could be open-grain oak glowing in a matte sheen or a calm, wide-plank LVP in a soft neutral. The difference is what you cannot see: screws tying the joists to the floor and a steady indoor humidity that keeps everything stable.
FAQ
How should I fix squeaky hardwood floors before installing LVP? A squeak is movement at the joist or subfloor, so fasten the floor to the joists with screws every 6 to 8 inches or shim from below, then recheck before any finish. Will LVP over hardwood floors stop squeaks or nail pops? LVP flooring does not stop squeaks or nail pops, because noise and movement come from below the surface; secure loose boards and set or replace nails first. Can I put LVP over hardwood floors on a concrete slab? LVP should not be installed over hardwood that sits on a concrete slab, since trapped moisture can buckle the wood and damage both floors; perform a moisture test. What is the best way to refinish old hardwood on a budget? Tighten the floor first, then consider dustless sanding with a waterborne polyurethane; many markets price refinishing around 3 to 8 dollars per square foot. How do you quiet a squeaky floor from above without ruining the wood? Use a breakaway screw kit that snaps the head below the surface and fill the tiny hole with a matching wax pencil, or hide fasteners along existing grain or knot lines. What humidity level helps reduce hardwood squeaks year round? Most flooring experts recommend maintaining 35 to 55 percent relative humidity to minimize seasonal gaps and squeaks in hardwood floors.
Conclusion
If you love the look of wood, refinishing original hardwood after you fix squeaks is usually the best investment. If life with pets or budget realities push you toward a reversible overlay, tighten the structure first, then float a quality LVP with a proper pad and expansion gaps. The finish you see matters, but the silence you feel comes from the fasteners you do not. When you are ready to visualize both directions, upload a photo and test-drive options with ReimagineHome.