7 Key Decisions When Installing Built-In Bookcases Over Carpeted Floors
TL;DR
Installing built-in bookcases over carpeted floors presents a unique set of sequencing and material challenges. The best results require careful planning around carpet removal, tack strip placement, and integration with existing trim and outlets. Homeowners who weigh both function and future flexibility enjoy more seamless results and a design that feels truly custom.
Why the Right Order Matters for Built-Ins and Carpet

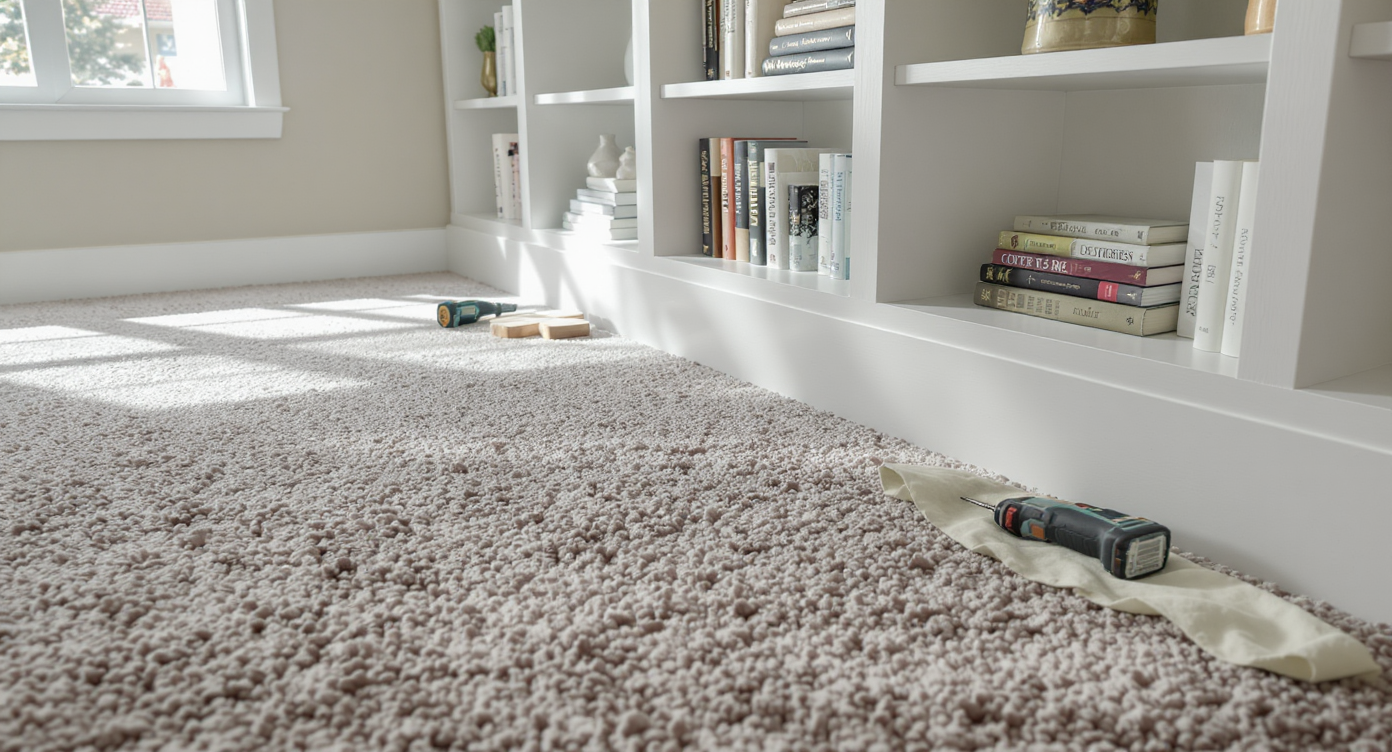
Partial installation of a built-in bookcase on carpet, highlighting exposed subfloor and finish details where shelving meets soft flooring.
Installing built-in bookcases on carpeted floors raises practical and aesthetic concerns that can significantly affect the finished look and longevity of your upgrade. Unlike installing bookshelves on hardwood, carpet adds complexity because it impacts stability, fit, and future flooring changes. For homeowners who want the custom look of built-ins, these choices matter not only for immediate satisfaction but also for resale and potential renovations down the line. Professionals and experienced DIYers frequently debate the right steps—should you install over the carpet or pull it back, and if so, when and how should you use tack strips? Clarity here ensures your cabinetry sits perfectly, your trim integrates smoothly, and the carpet has a polished, finished edge. Today’s list dissects the pivotal choices for this common but nuanced home improvement project, offering real-world context and expert judgement for each decision along the way.
-
1. Pull the Carpet or Build Over It?

Carpet and pad pulled back from a room corner, revealing the subfloor and marked space for new built-in bookcase installation over carpet.
The first and most debated decision is whether to remove carpet underneath your new built-in bookcases or simply build over it. Most professionals and veteran DIYers recommend pulling the carpet and pad back before installing the unit. This eliminates the risk of a wobbly base, makes your built-in feel more permanent, and avoids unsightly visible carpet edges poking out over time. In addition, removing carpet now makes it much easier to replace or upgrade flooring later. As shown in many transformative DIY projects, such as the extended timeline renovations in our article about a 2.5-year DIY home transformation, removing material gives better long-term results for major upgrades.
Image: A close-up of carpet pulled back, exposing subfloor for bookcase installation. -
2. Sequence Matters: When to Set Tack Strips
Tack strips are placed just a fraction of an inch from the built-in bookcase after installation, ensuring proper carpet reattachment and stability.
Once the carpet is pulled back, the placement of tack strips becomes crucial. Tack strips should be installed after the built-in bookcase is set in place. By attaching new strips just 0.25 to 0.5 inches away from the bookcase face, you create a tight, stretchable boundary for the carpet to be reattached later. If strips are installed beforehand, you risk trapping carpet under cabinetry, which complicates future repairs and reduces stability. This staged approach mirrors best practices seen in professional remodeling and can be referenced for more tips in guides on planning home renovations on a budget.
Image: Step-by-step sequence showing tack strips going down after bookshelf installation. -
3. Cutting Carpet and Pad for a Clean Edge
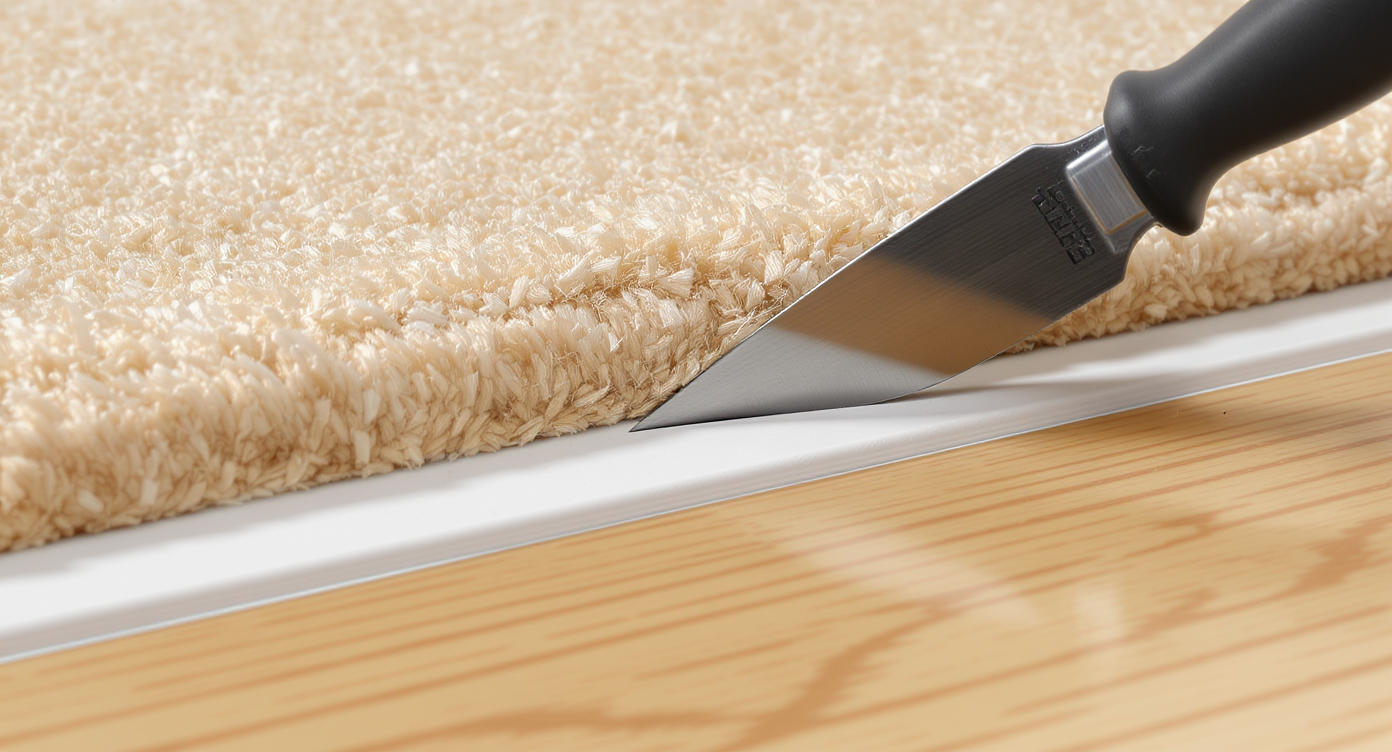
Precise carpet trimming at the base of a new built-in bookcase ensures a clean, long-lasting junction between soft flooring and shelving.
Achieving a neat junction between carpet and built-ins requires precise cutting. Leave the carpet and pad slightly oversized when first pulling them back. Once your shelves are securely installed and all baseboards or trim are addressed, trim the pad right to the new tack strip boundary and rough-cut the carpet about two inches long. Follow up by pulling the carpet tight and trimming it to a final overhang of 0.125 inches before tucking. Using a sharp carpet knife makes this detail work easier and yields a crisp edge that will age well. Homeowners often overlook this nuance, but it makes a dramatic difference in the perceived craftsmanship of the upgrade.
Image: Close-up of a carpet knife trimming carpet along newly installed built-ins. -
4. Navigating Baseboard and Trim Integration
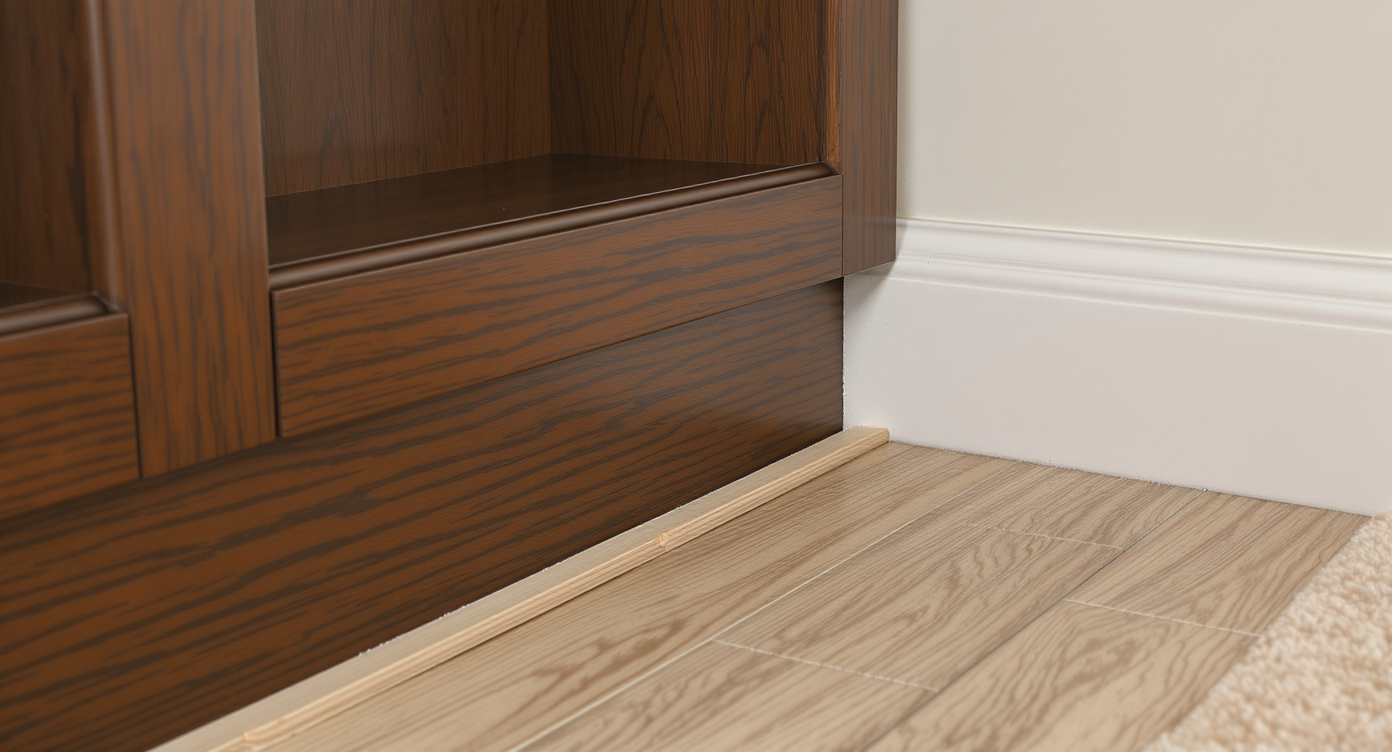
Scribed baseboard precisely fitted alongside a built-in bookcase, demonstrating optimal trim integration above carpeted flooring.
How you address baseboard and trim at the junction of your built-in cabinets can affect both appearance and future functionality. Standard best practice is to remove the existing baseboard from areas where bookcases will go, install the built-ins directly against the wall, then reinstall or replace baseboards for a seamless finish along exposed walls. Some base molding is intentionally raised to allow for easier carpet tucking, so observe how your original trim was installed. As we explored in our insights on choosing between tall and short bookcases for small spaces, trim transitions set the tone for the entire room and upgrading with attention to this detail elevates the outcome.
Image: Scribe fitting new baseboard alongside a built-in bookcase. -
5. Outlets, Lighting, and Future Access
Installation projects that intersect with built-ins and flooring also regularly affect electrical outlets and integrated lighting. Plan ahead for outlet location, using box extenders or relocating outlets outside of areas that will be covered. If you are including integrated lighting, such as LED ribbon lights under shelves, do your wiring before final install and before carpet is back in place. This approach minimizes the need to cut into finished flooring or walls later. According to renovation veterans, thinking through hidden cabling and access can save hours of rework in future upgrades.
-
6. Weighing DIY Versus Professional Installers
Skill level and available time factor heavily into the installation process. Many ambitious homeowners succeed with DIY bookcase builds if careful measurements are taken and the sequence is followed meticulously. That said, stretching and re-tacking carpet is a particular skill, and improperly done can lead to ripples, poor alignment, or frayed edges. For intricate cuts or tight timelines, even seasoned remodelers often call in a professional carpet installer for just that final step. If you are considering the broader spectrum of remodeling and upgrades, balancing what to tackle as DIY versus when to call a pro can save you energy and anxiety, as discussed in our detailed breakdown of DIY flooring for pet-friendly homes.
-
7. Looking Forward: Futureproofing and Resale
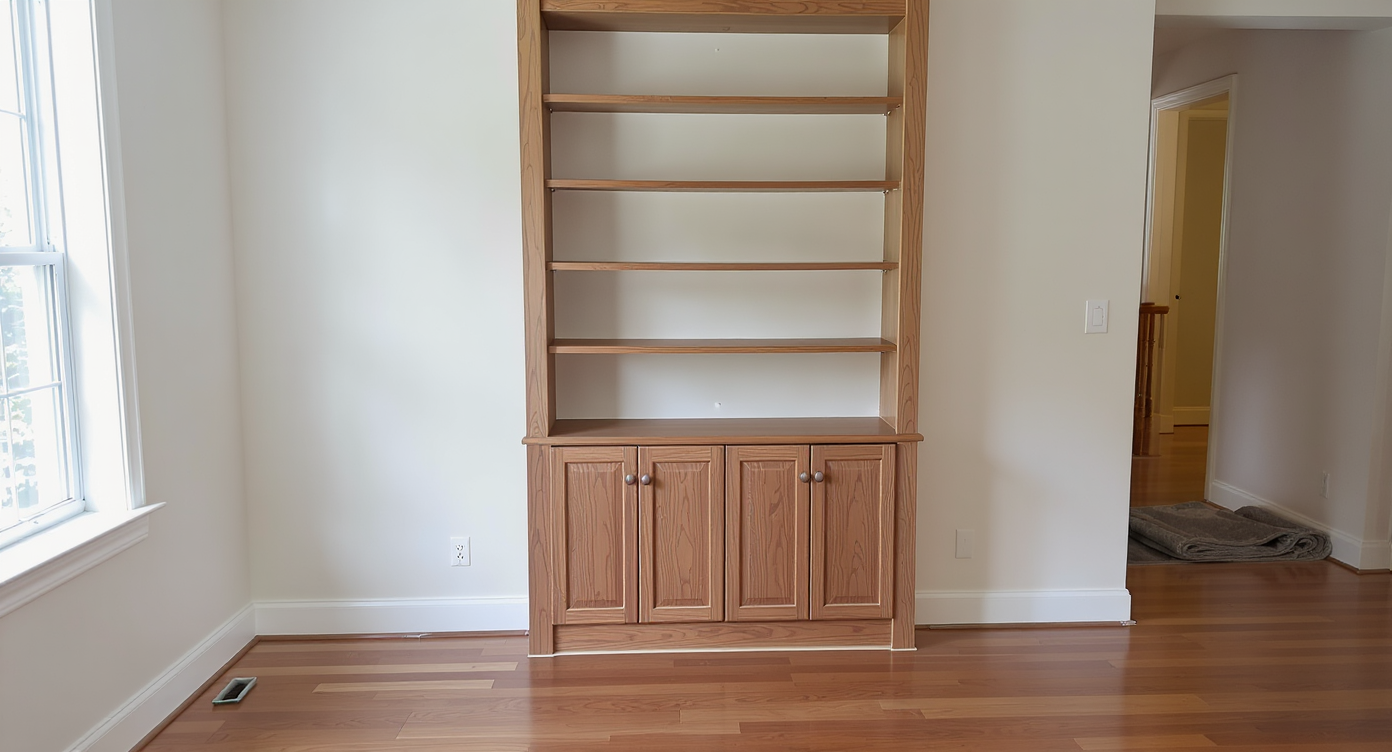
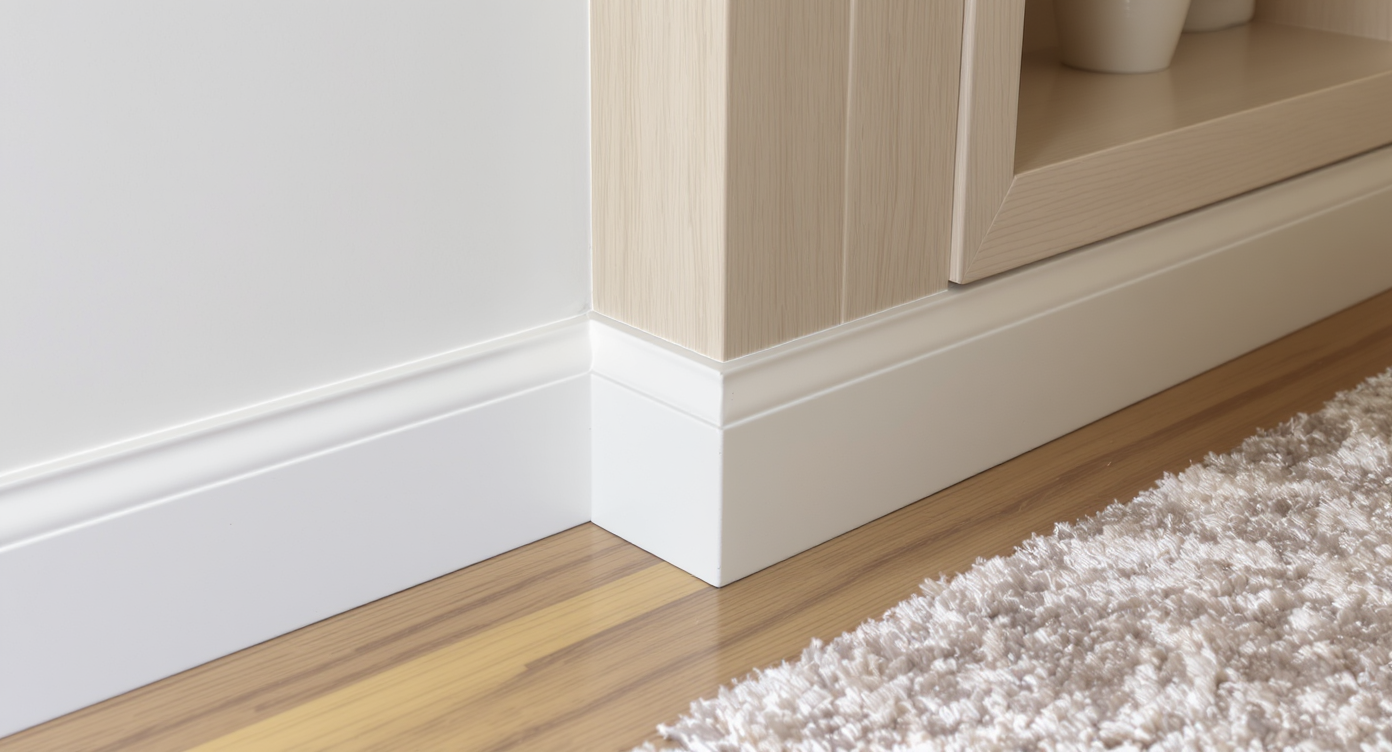
A built-in bookcase fully integrated with hardwood flooring—demonstrating futureproofed installation that simplifies future upgrades.
Finally, the choices made today should align with your long-term goals for the space. Installing built-ins directly on the subfloor, with carpet carefully trimmed and re-tucked, makes flooring replacement dramatically easier down the line. If you anticipate switching from carpet to hardwood, tile, or luxury vinyl plank, this preparation means you will not need to dismantle millwork to change floors. Buyers increasingly appreciate remodels executed with forethought. Smart material selection for interiors, and planning with the help of visualization tools such as REimagineHome.ai, ensures your home’s upgrades stay adaptable as styles and life’s circumstances evolve.
Image: Visualization of a built-in bookcase on hardwood after a future flooring change.
Frequently Asked Questions
Start by pulling back the carpet and pad where the bookcase will go. Install the bookcase directly on the subfloor, set new tack strips just off the bookshelf's edge, then trim and re-stretch the carpet for a finished look.
Can I build over the carpet instead?
It is technically possible, but most experts recommend against it. Installing over carpet leads to instability, unsightly edges, and future difficulties with flooring upgrades. Removing the carpet produces a more professional and lasting finish.
Should I attempt carpet re-stretching myself?
If you have experience with flooring or want to learn, you can manage small areas with the right tools. For many, especially if perfection is vital, a professional carpet installer can ensure the best outcome.
How do I plan for outlets and lighting in my built-ins?
Determine precise outlet and lighting needs before installing cabinetry. Use box extenders and run wiring ahead of time, planning around where the carpet will be reattached for cleaner installation and easier future access.
How can REimagineHome.ai help with remodeling and upgrades?
REimagineHome.ai can be used to visualize layout, materials, and finish options so you can confidently make decisions before investing time and money in your next remodeling or built-in cabinetry project.
Key Takeaways and Practical Guidance
Sequencing, precision, and an eye to long-term flexibility make or break the success of built-in bookcase installation on carpeted floors. Removing the carpet under new cabinetry, setting tack strips after installation, and integrating outlets and trim with intention turn a mundane shelving upgrade into a polished, value-enhancing part of your home. Planning projects thoroughly using platforms like REimagineHome.ai gives homeowners the confidence to visualize, test, and refine their approach before any materials are cut or carpet is pulled back. For those balancing budget and quality, take cues from successful multi-year DIY transformations for patience and planning pay off.