9 Design Principles for Creating Perfectly Backlit Stained Glass Artwork
TL;DR
Uniform backlighting can truly transform stained glass artwork, intensifying color and dramatizing detail. Achieving this effect requires strategic material choices, smart lighting technology, and careful frame design. These nine professional principles guide you through each crucial step for a flawless, gallery-worthy result.
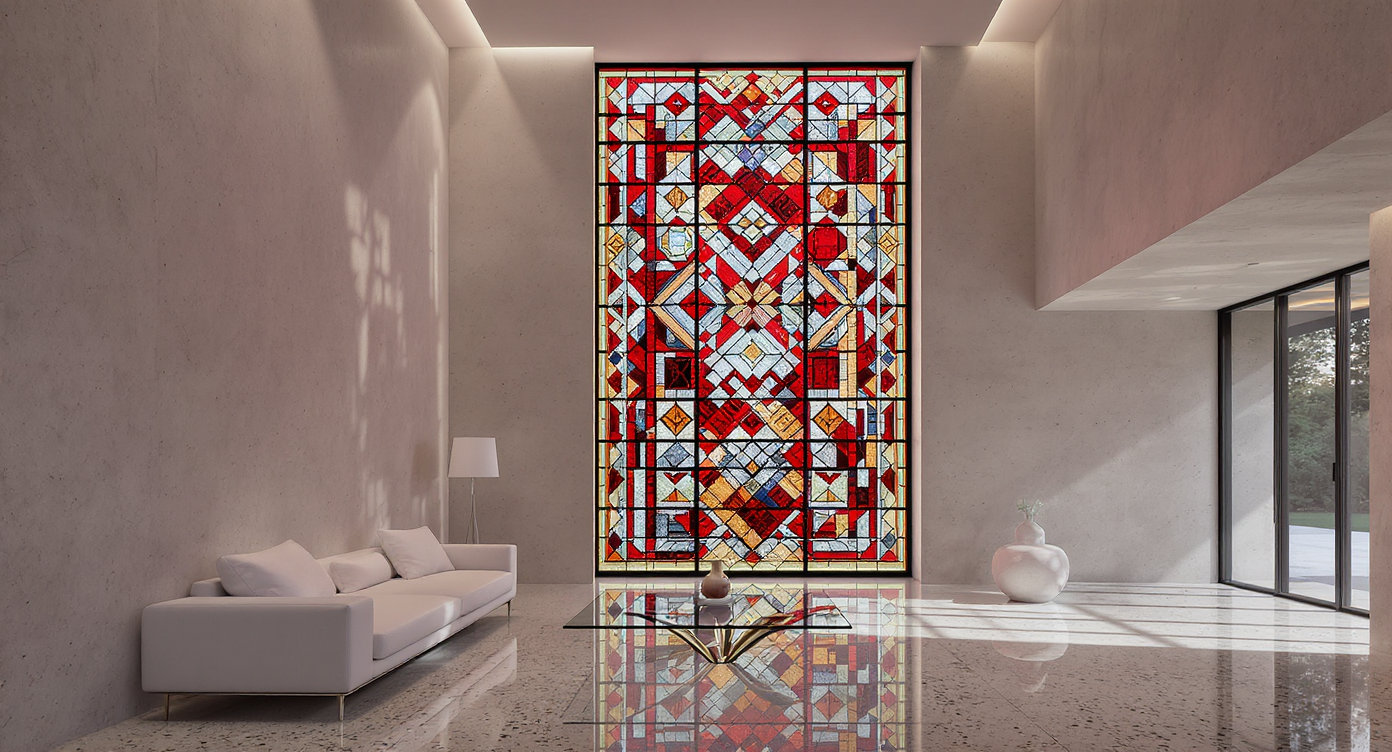
Why Uniform Backlighting Makes Stained Glass Sing
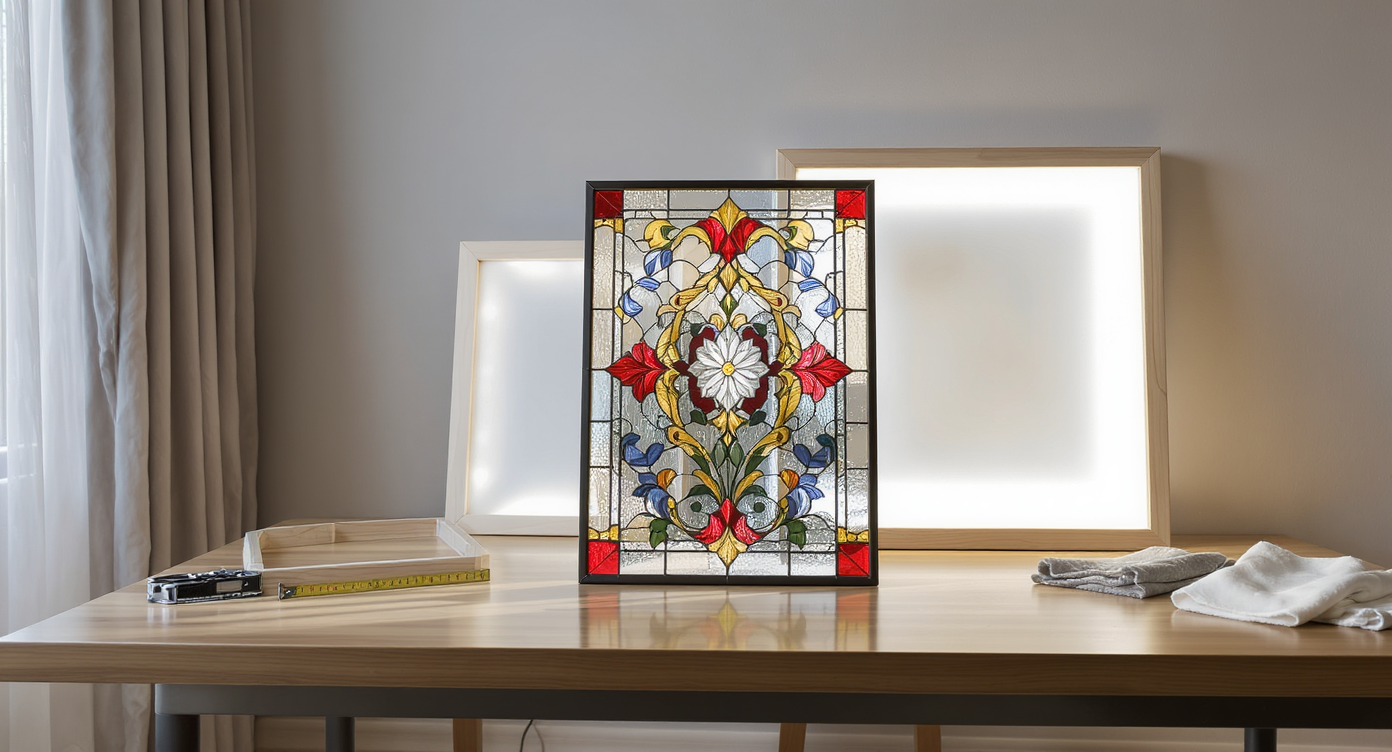
A stained glass panel with rich colors rests on a worktable, awaiting custom backlighting and framing to reveal its full brilliance at home.
The brilliance of stained glass depends as much on the quality of its illumination as on the craftsmanship of the piece itself. Without a reliable source of even, controlled light, the nuances and depth of colored glass are often lost, especially in spaces without access to ample natural daylight. For homeowners and collectors eager to highlight a cherished work—whether a vintage panel or a contemporary composition—thoughtful backlighting offers new creative opportunities and functionality. Whether you are handling a sentimental panel with awkward proportions or crafting a striking new display, understanding how to build the right frame, select the best lighting, and balance technical decisions can spell the difference between flat colors and dazzling artistry. Drawing from real-world solutions and proven techniques, this guide distills the essentials for effective, beautiful backlit stained glass at home.
-
1. Careful Frame Engineering Supports Both Art and Light
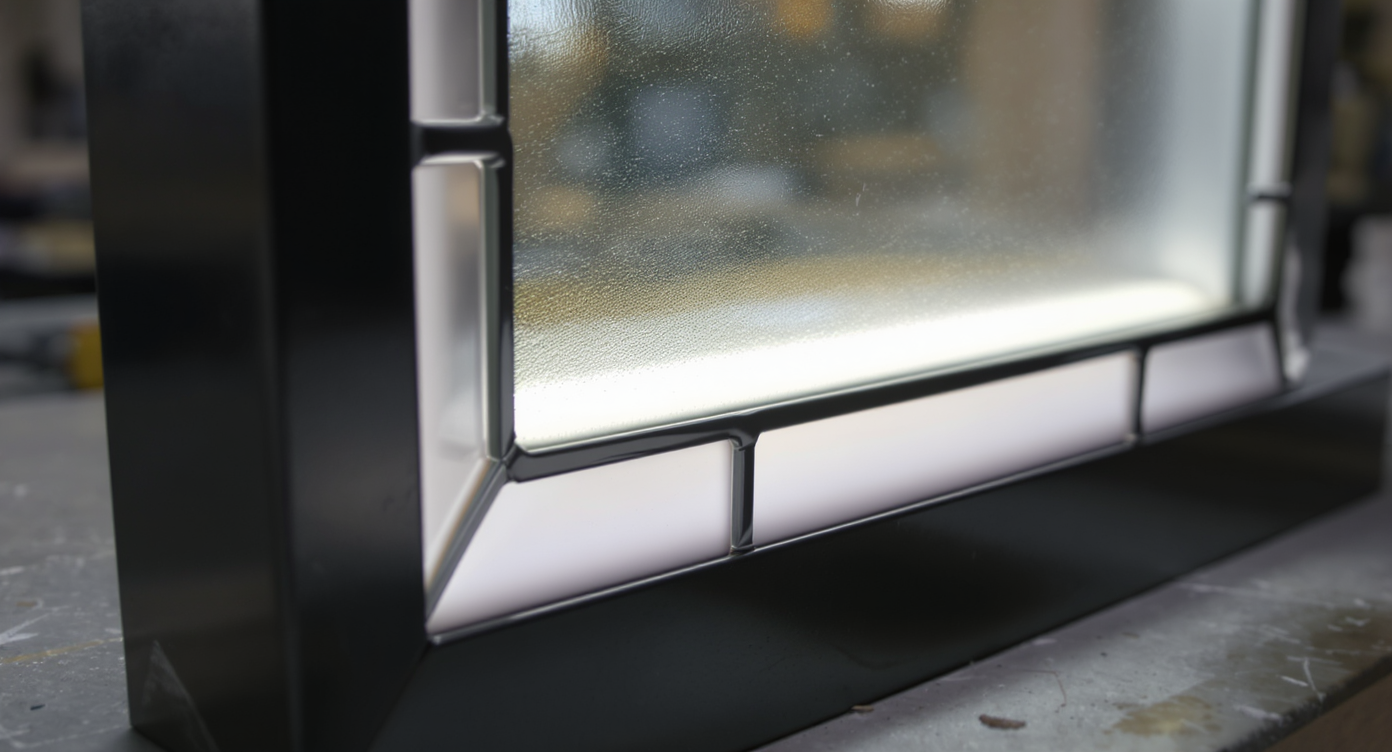
A gallery-quality, powder-coated black steel frame with white-painted interior surfaces supports and evenly backlights a large stained glass panel.
The frame is foundational not only for aesthetics but also for the long-term safety of heavy stained glass. Professionals recommend using strong structural materials, such as steel with an L-shaped profile, to carry the substantial weight of glass panels—especially those above 1 meter in size. Powder-coating the outside of the frame black delivers a crisp, gallery-quality look. Painting the interior frame surfaces white is a subtle yet powerful move, as it effectively boosts light diffusion and ensures the entire surface glows evenly when lit. Silicone adhesives and smart weight distribution techniques are particularly important to avoid undue stress on vulnerable sections of the glass.
-
2. Layered Frames for Visual Warmth and Strength
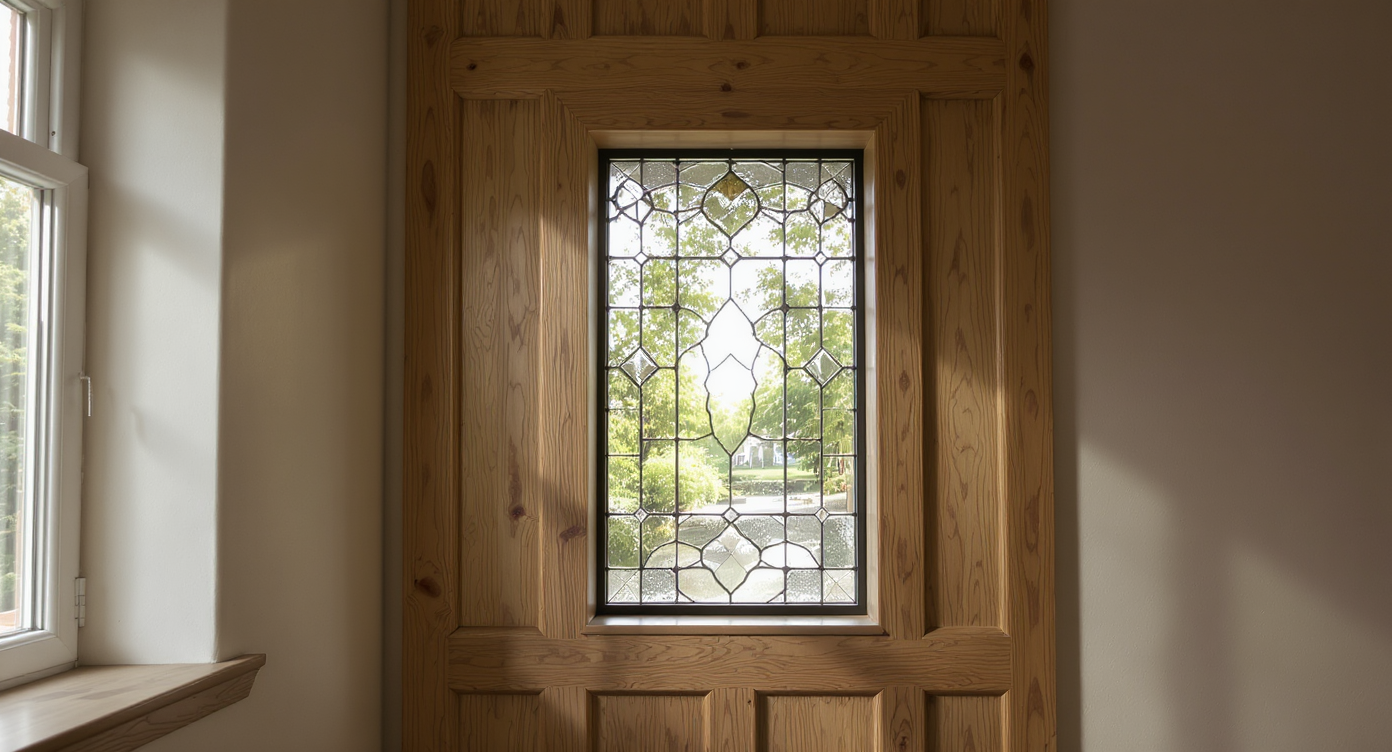
A stained glass installation with a seamless steel inner frame and custom oak outer frame, combining warmth and structural support.
Many of the most memorable installations feature more than just a utilitarian metal skeleton. Adding an exterior frame, such as one crafted from oak, brings visual presence and warmth, transforming the display from technical build to heirloom feature. Collaborations between metal and wood create a pleasing contrast, as well as extra structural support. Designers advise ensuring the wooden outer frame is custom-fitted and finished for a seamless transition between materials, echoing furniture-grade quality.
-
3. Transforming Old Screens into Modern Light Panels
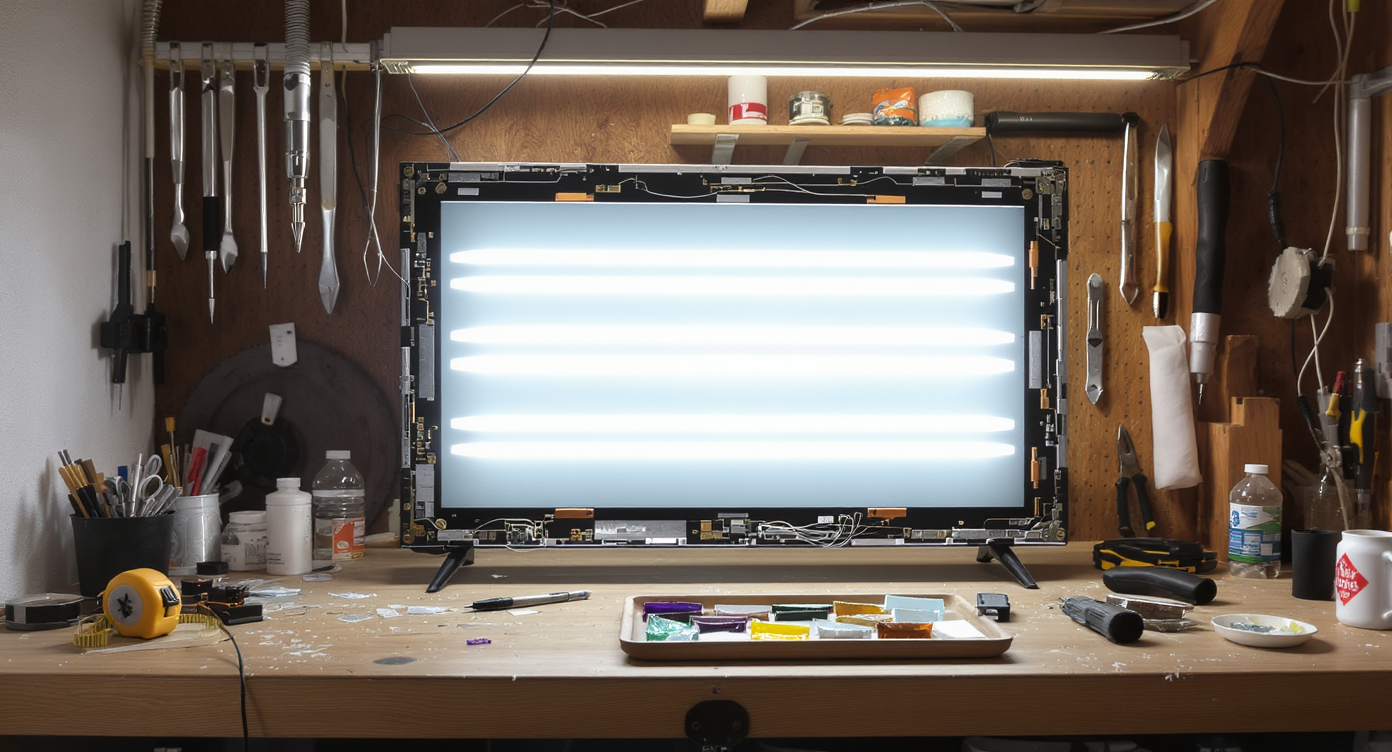
Salvaged LED TV components—LED strips and diffusion plate—are repurposed in a workshop for high-performance backlit stained glass setups.
Resourceful creators often look to retired LED television screens for superior LED strips and diffusion plates, a move that aligns with both sustainability and exceptional light quality. Disassembling an old TV provides high-output, flicker-free LEDs and specialty plastic diffuser panels. These factory-calibrated components, cut to size and fitted behind stained glass, outperform most off-the-shelf light panels. If sourcing and retrofitting these parts feels daunting, take cues from our overview of LED accent lighting strategies to maximize comfort and color rendering in your final display.
-
4. Diffuser Plate Installation Eliminates Hot Spots

Diffusion plate installed between LEDs and stained glass, held by precision 3D-printed brackets for flawless, uniform backlighting.
Consistency in backlighting depends on strategic placement of a plastic diffusion plate between the LEDs and glass. The plate—often salvaged from TV screens—should maintain a uniform gap (typically around 20 millimeters) from the art to prevent visible light points and streaks. Custom 3D-printed brackets, precisely designed for the frame, help lock the diffuser in place and protect against accidental shifting. This seemingly simple detail separates uneven, amateurish lighting from the seamless brilliance found in professional frameworks.
-
5. Smart LED Placement and Management
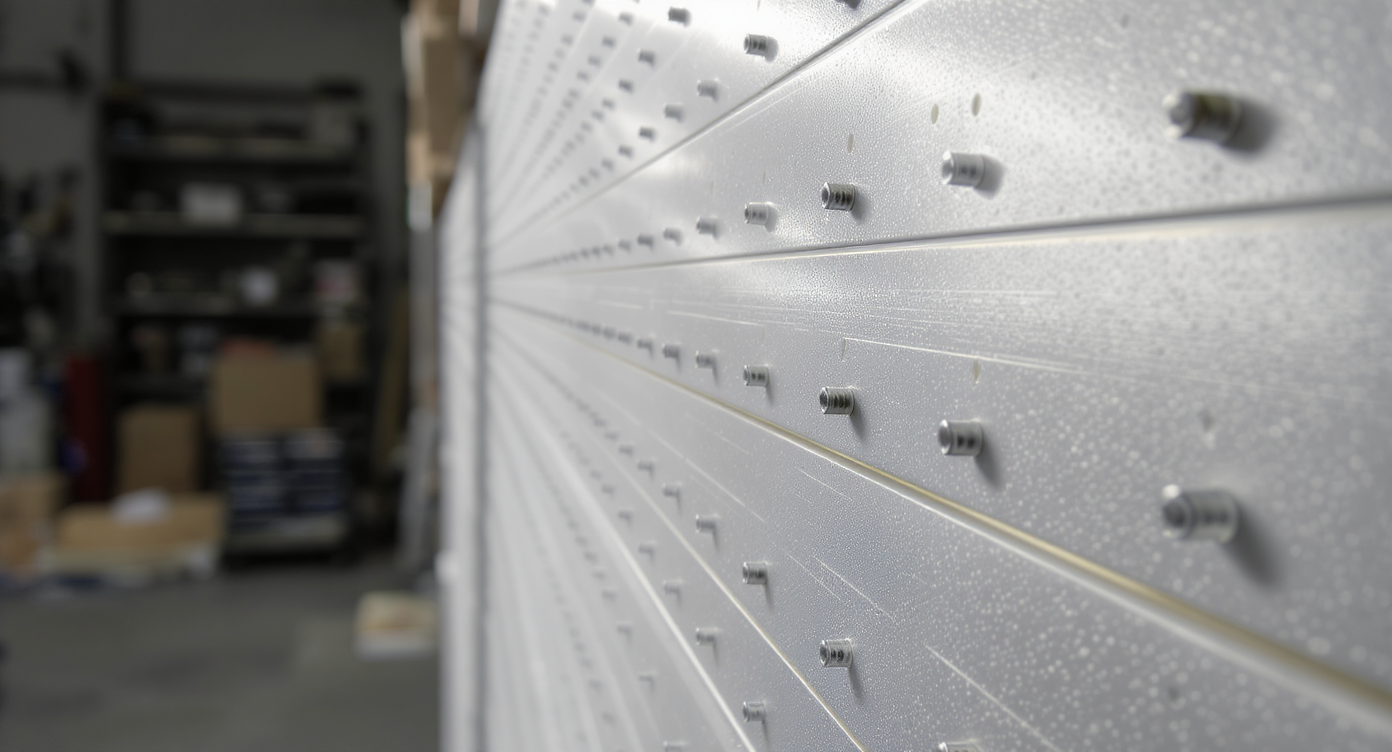
A precision-engineered aluminum backplate with dozens of LED strips, white reflective paint, and structural spacers for optimal backlighting.
Arranging LED strips on a purpose-built backplate is where design meets engineering. Advanced setups might include dozens of PCB-based LED strips secured to an aluminum plate, which also acts as a heat sink. Laser-cutting and tapping hundreds of holes evenly distribute the strips and facilitate airflow, while white paint on every surface optimizes reflection. It is critical to maintain consistent spacing for both the LED strips and their supporting screws, which serve as structural spacers to keep everything parallel and prevent sagging. Dimmable LEDs allow for complete control of intensity, so the piece can adapt to changing room conditions or personal mood preferences.
-
6. Advanced Wiring: Safety and Minimal Visual Disruption
High-performance backlighting demands careful electrical planning. Spring-clamp PCB connectors are valuable for both safety and convenience, eliminating the need for soldering and reducing maintenance headaches. All cabling, brackets, and connection hardware should be routed along the perimeter and colored to blend with interior frame surfaces—typically white—so that no stray colors or shadows distort the glass from behind. This meticulous approach mirrors methods seen in commercial displays and institutional art framing.
-
7. Integrating Hanging Systems Without Compromising Illumination
Backlighting success hinges on eliminating dark edges and uneven wash near the frame. Mounting an additional LED strip behind the wall-hanging rail, paired with a small air gap (created using subtle spacers), avoids shadows at the top of the glass and helps the entire panel glow from edge to edge. Professionals often adapt furniture-mount hardware as sturdy support for heavy installations. According to experts, paying close attention to mounting solutions early can prevent both lighting complications and wall damage.
-
8. Smart Controls and Special Effects Personalize the Display
Modern stained glass can benefit from more than static illumination. Incorporating features such as NeoPixel LED rings or using an ESP8266 Wi-Fi microcontroller enables color effects and dynamic lighting layered behind specific glass details, like a stylized hand or emblem. These touches are especially compelling for contemporary or pop-culture-inspired pieces. Dimmable power supplies and smart home dimmers bring flexibility, echoing recommendations in our guide on living room accent lighting.
-
9. Aesthetics and Usability: The Final Finish
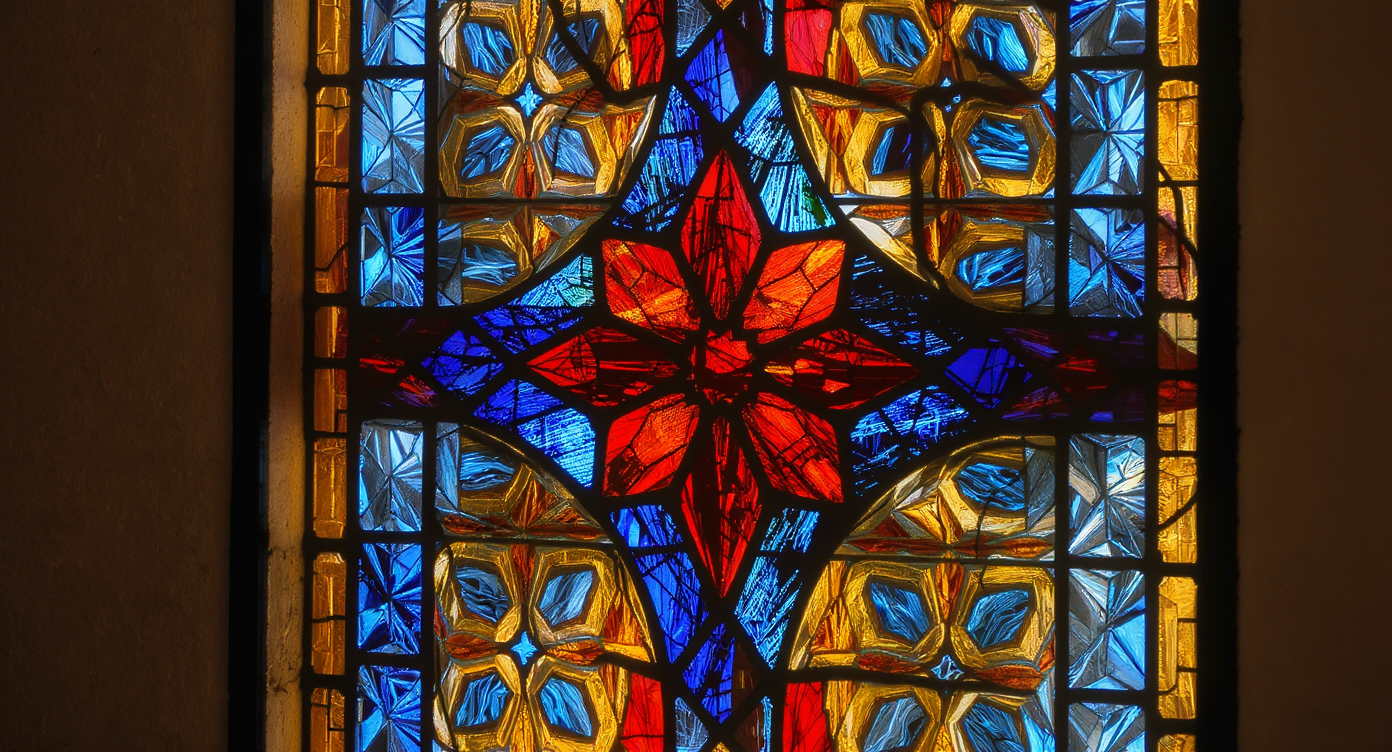
A pristine backlit stained glass panel seamlessly finished with color-matched hardware and filled gaps, glowing vividly in a flawless installation.
With all technical components in place, the finishing process matters just as much as internal engineering. Filling gaps, painting all hardware to match, and conducting tests at varied light levels ensures the artwork’s colors truly pop, day or night. A well-executed backlight breathes new character into glass details, whether evoking a museum-worthy look or quirky, personalized flair. Designers emphasize that every backlit project should reflect the owner’s intent and emotional connection, as seen in loving collaborative builds or reinterpretations inspired by trusted design principles. For those eager to unleash more DIY creativity, our compilation of in-demand DIY decor strategies offers further inspiration.
FAQ: Professional Backlit Stained Glass
Crafters often struggle to create a uniform wash of light without visible hotspots or color inconsistencies. Using reclaimed TV diffusers and keeping all frame interiors white can help address these challenges.
How can you adapt these techniques for smaller glass pieces?
Techniques such as using mini LED strips and 3D-printed brackets scale down well for compact panels. However, always check weight distribution and diffusion plate sizing before committing.
Is there an easy way to plan or test lighting before building?
Yes, using a platform such as REimagineHome.ai can help map out lighting temperatures, frame finishes, and even digital mock-ups.
How important is dimming functionality for backlit stained glass?
Highly important—dimmable power either via manual controllers or smart tech preserves eye comfort and can enhance artistic effects, as explained in our LED lighting coverage.
Where can I find more inspiration for DIY home decor projects?
Explore our summary of 2025 DIY decor ideas for trending and timeless creative strategies.
Key Takeaways for Next-Level Stained Glass Displays
Creating a perfectly backlit stained glass panel is an intersection of technical know-how and creative intention. From precision-engineered frames to mindful LED diffusion, each decision underscores a commitment to quality and longevity. Designers suggest early planning and testing options with platforms like REimagineHome.ai to visualize lighting, placement, and material combinations. Ultimately, a well-lit piece is more than an accent—it is a celebration of craft, color, and the memories behind each pane.