What to Expect When Reviving Old Hardwood Floors in a Family Home
TL;DR
Restoring old hardwood floors, especially those hidden under carpet for decades, is very possible but requires planning. Cleaning, assessing water damage, and choosing between DIY and pro refinishing are key decisions. Experienced advice and modern tools mean even rough floors can gain new life, though severe stains or uneven planks may warrant calling in pros for a faster, more polished result. Strategic upgrades—and knowing when to get help—set the stage for a transformation that preserves heritage and adds real value.
Rediscovering History Underfoot
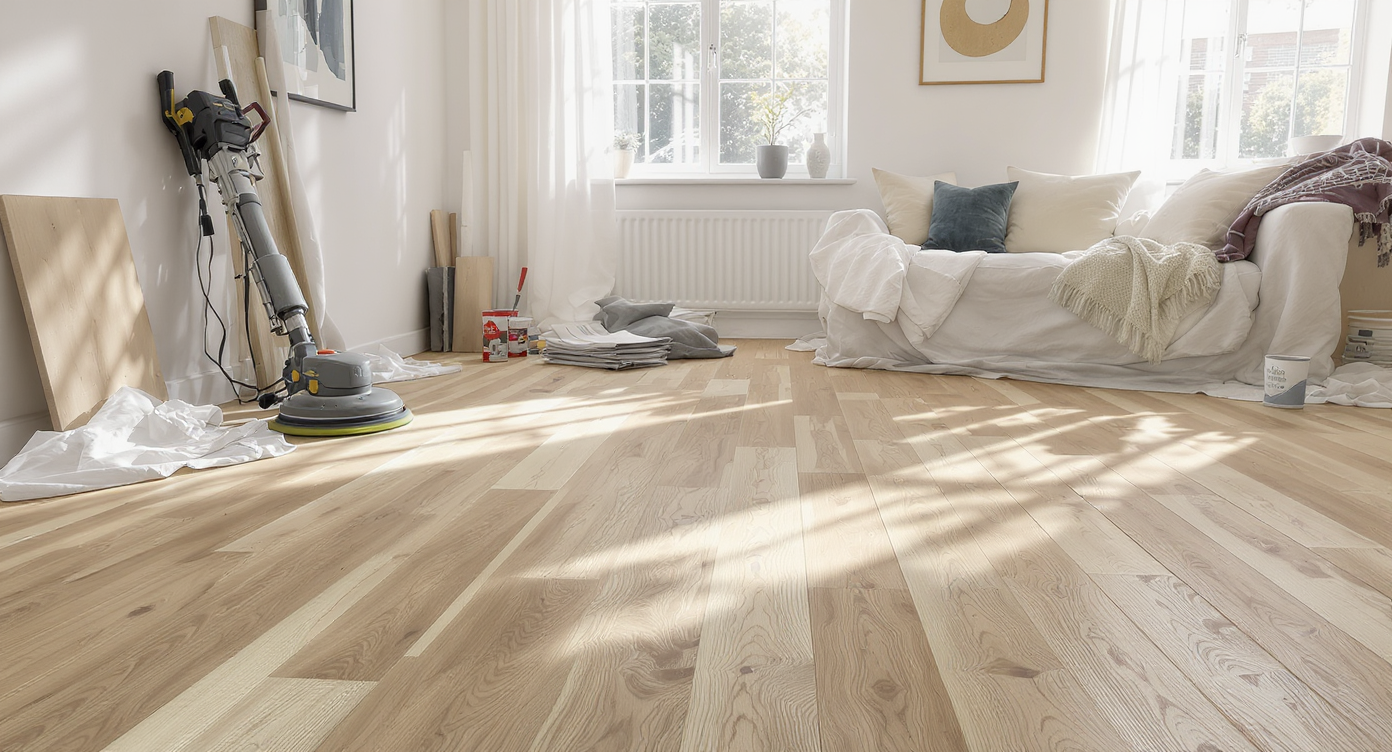
In a lived-in family home, pulling back decades-old carpet reveals original hardwood floors—stained, worn, and ready for a thoughtful restoration.
Pulling up wall-to-wall carpet in a home that’s been lived in for sixty years can feel like opening a time capsule. The process is full of surprises, both good and challenging. Beneath decades of daily life, old hardwood floors often re-emerge, sparking hopes of original charm and warmth returning to halls and living rooms. But reality usually reveals stains, scuffs, and mysterious darkened patches that prompt questions about what’s real, what’s fixable, and whether this is a job for determined DIY hands or seasoned pros. For many homeowners inheriting such spaces, the initial glimpse of the wood sparks a mix of nostalgia and ambition. The desire to blend historic character with modern usability is strong. However, knowing how to approach the restoration—what’s possible with home effort and what demands skilled craftsmanship—makes all the difference in protecting both the floor and your investment.
-
First Steps: Evaluating What You Have
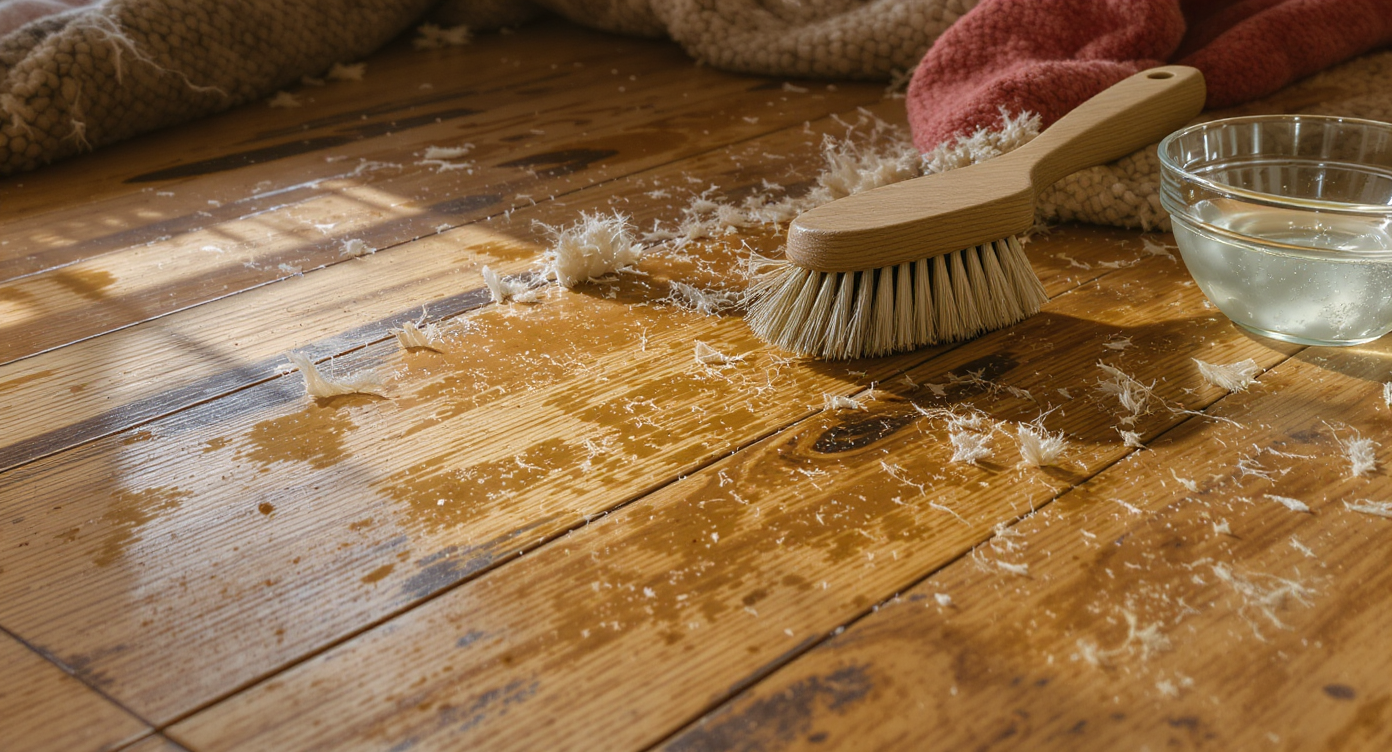
Section of vintage hardwood floor partly exposed from beneath carpet, displaying visible stains, mild cupping, and cleaning tools for inspection.
Old wood floors covered by carpet for decades can surprise even those familiar with home construction. Initial assessment is crucial. Start by gently cleaning sections with a soft brush and a diluted vinegar solution to remove surface grime and reveal the condition beneath. Pay close attention to boards showing cupping or warping, as these indicate current or past moisture issues. Some stains may be from water intrusion or accidental spills, while pet accidents can leave telltale dark spots that resist conventional cleaning. If the boards show a general evenness and stains are superficial, you may be able to tackle a partial DIY refresh. However, widespread marking, persistent cupping, or soft planks demand closer inspection. It’s worth pausing the project for thorough investigation—sometimes, issues like ongoing water seepage or hidden HVAC condensation require professional guidance before restoration can succeed. Before you invest in sanding or refinishing, be certain that any sources of moisture have been fully resolved to prevent future damage.
Expert Insight
A young couple recently inherited a former family home and discovered battered hardwood hiding beneath aged orange carpet. Encouraged by tales from friends and online before-and-after photos, they tackled several rooms solo, pulling staples and cautiously sanding one weekend at a time. Their most-loved room, the old den, stubbornly retained dark stains from a long-forgotten plant. Ultimately, they called a local refinisher who blended dark walnut stain over the worst spots. The home now glows with original character and the couple relishes every imperfection, knowing each mark tells part of their family’s story.
-
DIY vs Professional: Weighing Costs, Effort, and Results
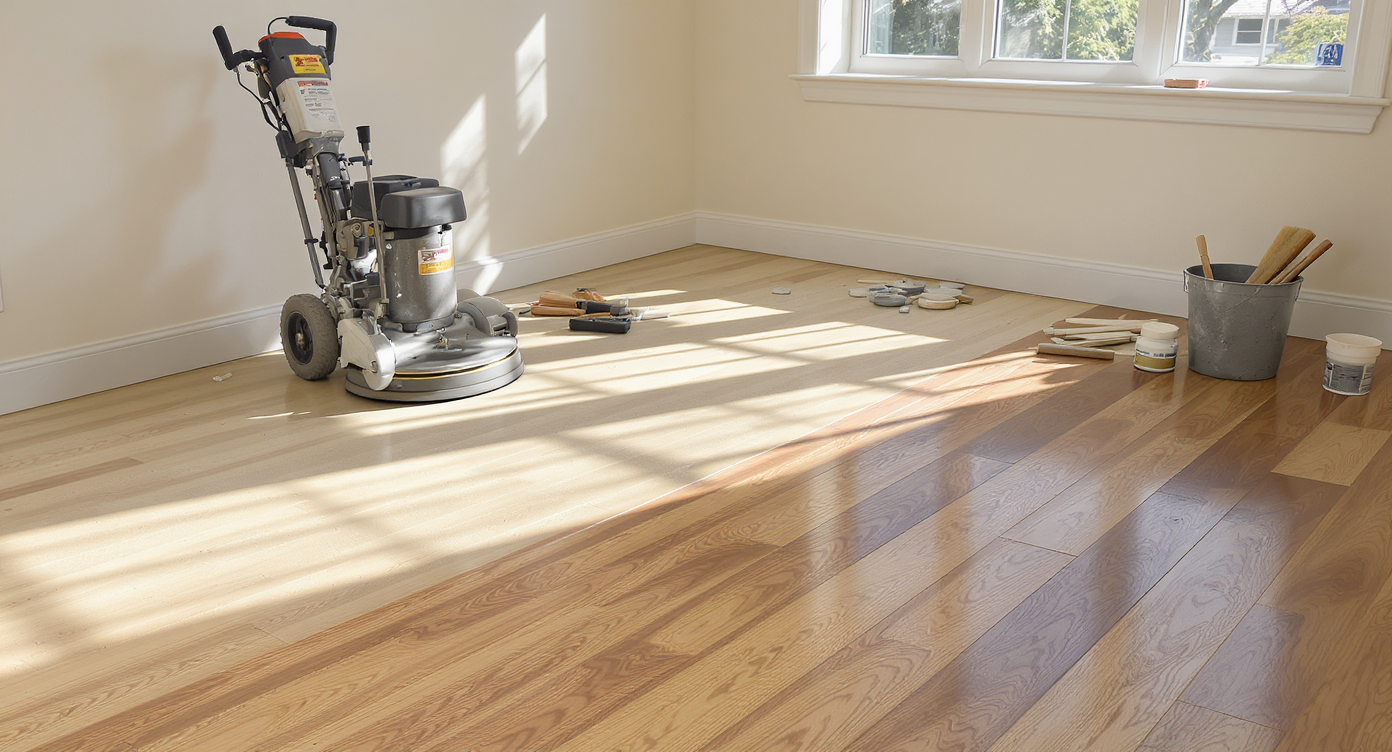
Contrasting areas of restored and unrestored hardwood flooring alongside professional sanding tools and supplies, clearly showing a DIY setup.
Opting to restore hardwood floors yourself or hiring professionals hinges on comfort with physical work, available time, and the floor’s condition. Rental stores can provide all manner of sanders and supplies, and some handy homeowners find immense satisfaction in tackling a floor room by room. The project typically involves removing staples, tacking strips, and leftover adhesives, then sanding with increasingly fine grits to remove finish and shallow stains. For a single 15 x 15 foot room, expect the bulk sanding and sealing phase to take one to three days, if you’re well-prepared and persistent. Yet, there are pitfalls. DIYers frequently underestimate the physical toll and technical learning curve, especially with uneven or deeply stained boards. Some problems—such as deep pet stains or uneven coloring—may not sand out, no matter how many passes you make. These cases often benefit from the expertise (and dustless equipment) of professional refinishers. As highlighted in our piece on DIY renovation value for resale, a pro can sometimes deliver results that are better and faster than a solo effort, especially when matching finishes between several rooms or overcoming hidden repairs.
-
Navigating Stains, Smells, and Subfloor Surprises
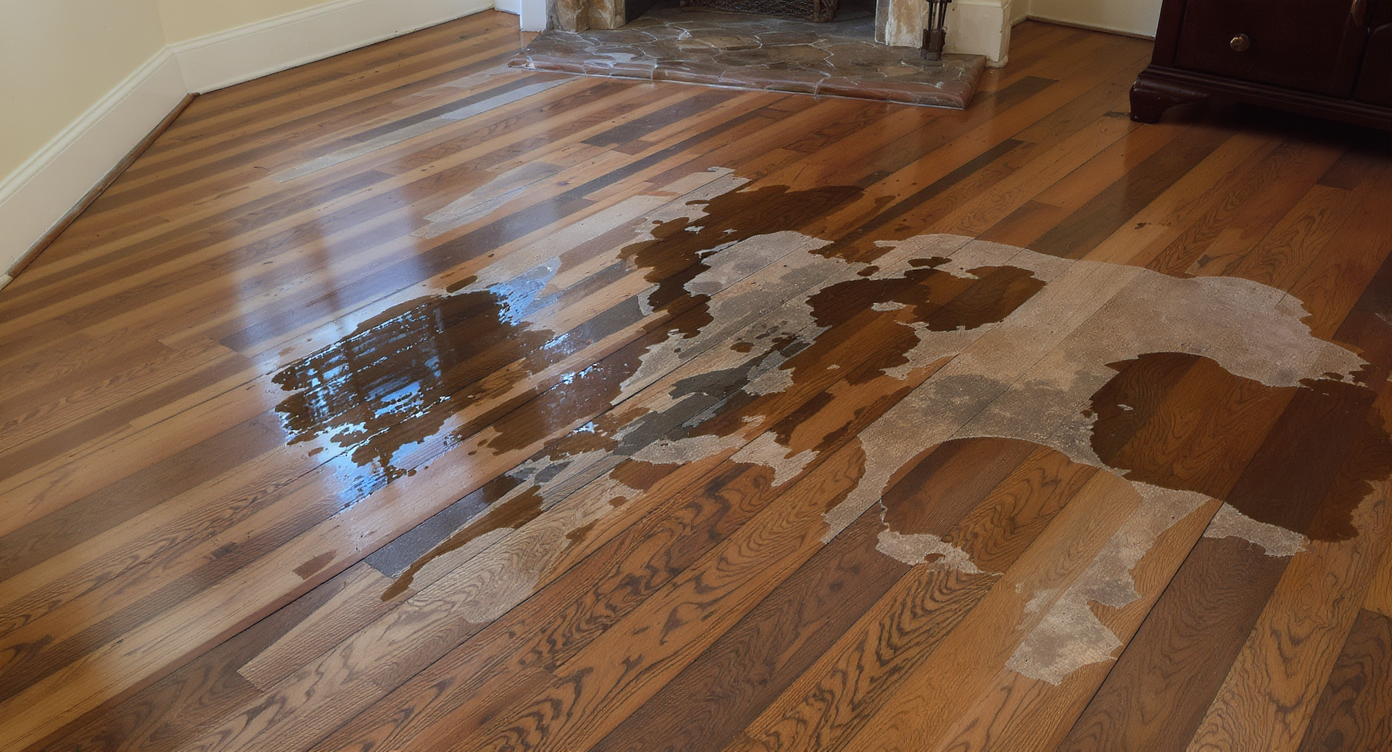
Real-life scenario of an old hardwood floor showing water stains, pet marks, and a partially exposed subfloor ready for inspection.
Several real-life scenarios highlight why old homes deliver unpredictable puzzles. Water stains lurking beneath TV stands or near exterior doors suggest issues like past leaks, persistent humidity, or even HVAC condensation. Sometimes, discolored boards are simply reminders of a by-gone pet or long-forgotten flowerpot. If surface stains don’t vanish with cleaning, targeted sanding using a random-orbit sander might lighten them, but deep black marks from water or urine may persist. In these cases, designers recommend either embracing the patina via darker, forgiving stains or considering partial board replacement. Subfloor condition is equally important. Soft spots or evidence of moisture call for further inspection before investing effort in cosmetic fixes. Sometimes floors must be allowed to dry fully to prevent post-sanding warping, a step often overlooked by first-timers. Floored by doubt? Take heart in the fact that expert help is only a call away—some pros even offer consultations before the dust flies. Addressing these practical challenges upfront delivers lasting satisfaction.
-
When Refinishing Equals Reinventing: Design Choices and Tradeoffs
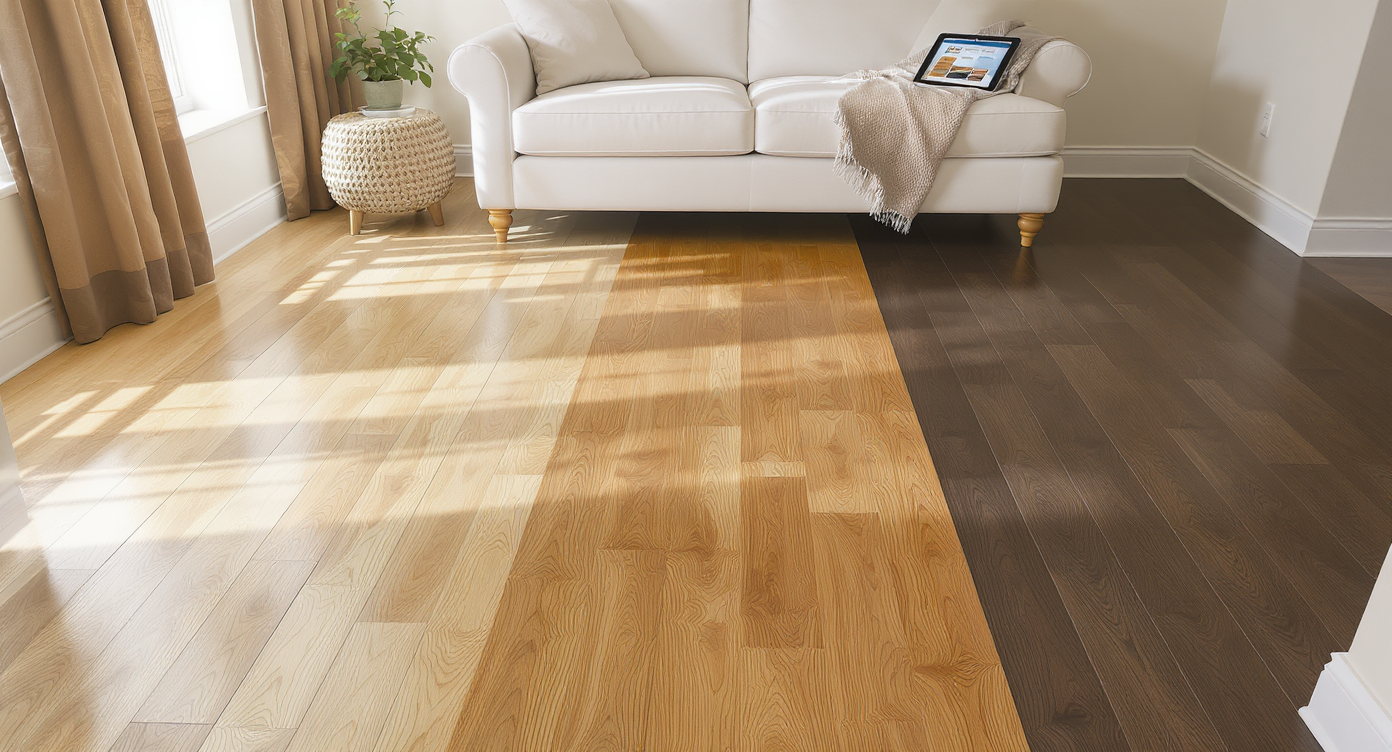
Three adjacent hardwood floor sections in a living room—matte light, semi-gloss mid, and dark satin—plus a tablet previewing refinishing choices.
Restoring vintage floors is a chance to make design choices that shift both the look and perceived value of a space. Matte or semi-gloss finishes, for example, can conceal imperfections and amplify natural light. Color selection matters too. While lighter tones can brighten rooms and showcase wood’s grain, darker stains camouflage persistent flaws and can evoke a sense of coziness. The key is to choose options that suit both your lifestyle and the home’s architecture. Increasingly, homeowners are using technology to preview outcomes before committing. Modern tools let you visualize side-by-side comparisons of refinished versus replaced planks, simulating stain choices and finish styles instantly. As explored in depth in choosing to refinish or replace hardwood floors, these innovations can simplify decision-making and avoid costly mistakes, especially for those new to remodeling & upgrades in older homes.
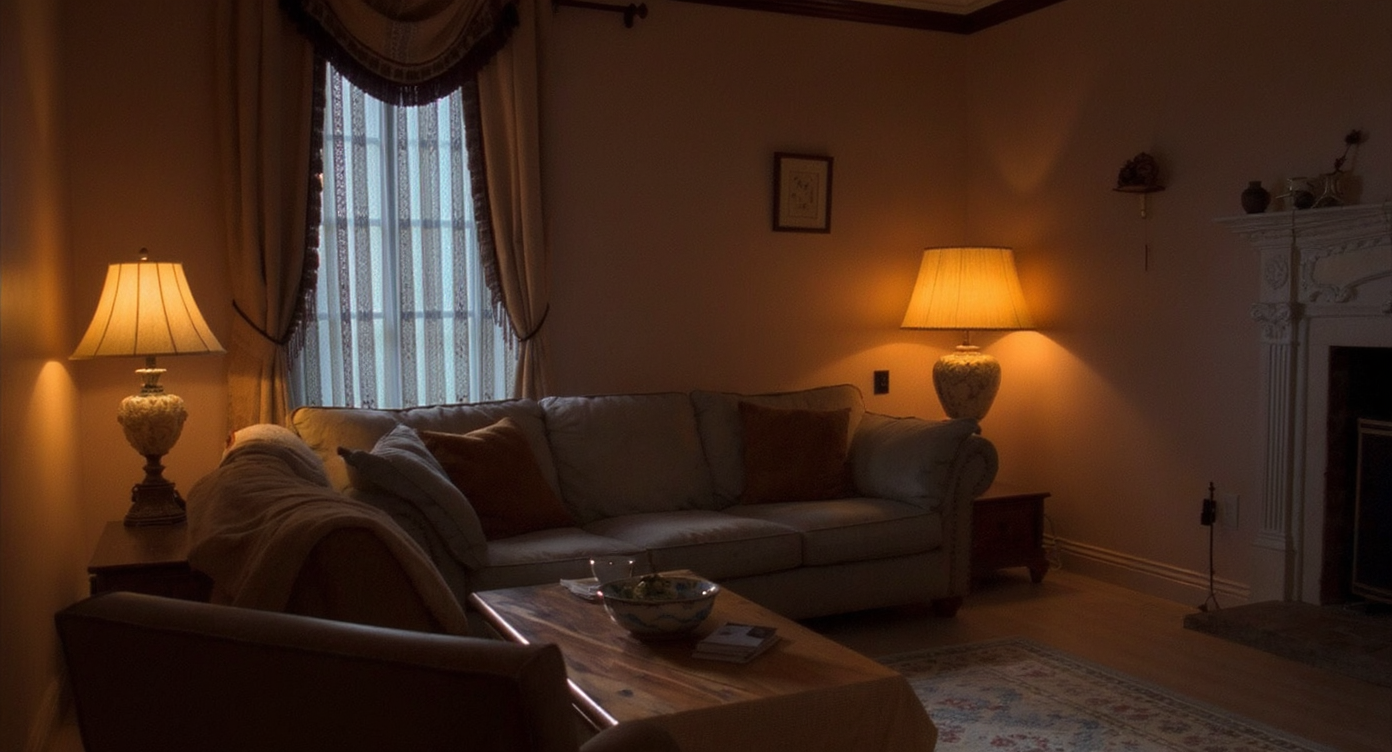
Visualization Scenario
Picture standing in a bright living room, sunlight streaming across newly revealed hardwood floors. In one corner, gentle undulations in the boards hint at years of quiet foot traffic and celebrations. Using a mobile app, you drag your finger across the screen to test a soft driftwood finish, instantly transforming the feel of the space. With another swipe, deep walnut emerges, masking persistent dark patches and enhancing the room’s architectural details. The vision begins to extend—matching the hallway, guest bedroom, and dining space—pulling the entire home’s history together in a seamless new chapter.
Frequently Asked Questions
Begin with a thorough cleaning and visual inspection, looking for stains, warping, or soft spots. Address any moisture issues before any refinishing work.
Is it worth trying to refinish badly stained or water-damaged sections?
Minor surface stains can often be sanded away. Deep stains may remain even after sanding and sometimes require board replacement or blending with a darker stain.
Should I refinish the entire space at once for consistency?
Designers often suggest refinishing contiguous areas together to achieve a seamless result and avoid visible transition lines between newly finished and older floors.
How do I decide between DIY and professional help?
If the floor is mostly even and stains are minor, a determined homeowner can refinish a room using rental equipment. More complex damage, widespread cupping, or time constraints are all good reasons to contact professionals.
Where can I preview what different finishes will look like?
You can upload photos and try design possibilities at ReimagineHome.ai to help visualize options before making a final choice.
Making the Most of Old Floors
Vintage hardwood floors often hold more potential than first impressions suggest. Giving them new life can add comfort, value, and a sense of continuity to a family home. Whether your story includes hours spent sanding, careful color selection, or embracing expert help, the result can be a personal legacy under your feet. Modern visualization tools and candid advice from design professionals ensure the journey from battered to beautiful is not only possible but inspiring. For further inspiration and planning support, ReimagineHome.ai offers resources to help you envision every possibility.