9 Hard-Earned Lessons from a DIY Board and Batten Wall Project
TL;DR
A DIY board and batten wall is a realistic yet detail-driven way to add impact to ordinary rooms, but the process is more involved than it seems at first glance. These nine insights offer beginners and enthusiasts a candid look at what it really takes, how to avoid the most common mistakes, and ways to achieve a professional result even as an amateur. Expect an honest look at planning, execution, and key pitfalls in DIY wall treatments.
Why Board and Batten Projects Deserve a Closer Look
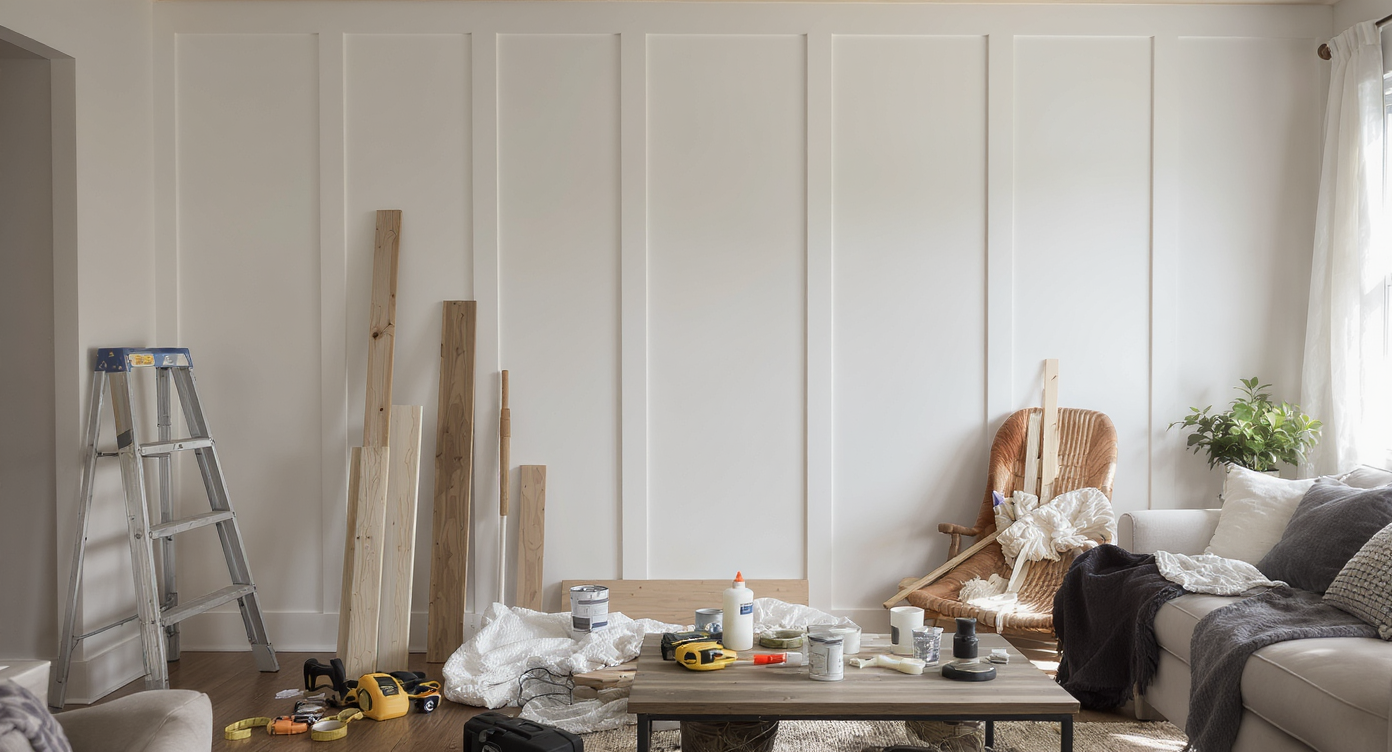
Editorial photo of a modern living room with an in-progress board and batten accent wall and DIY setup, illustrating real-life planning and effort.
Board and batten wall treatments have surged back into vogue, merging timeless appeal with modern interior design trends. For homeowners seeking a blend of architectural interest and achievable weekend project, these installations deliver character to otherwise plain, builder-grade rooms. However, despite the visual simplicity, turning design inspiration into reality demands careful planning, patience, and a willingness to tackle unexpected quirks of home construction. This list is for anyone considering a board and batten remodel project, whether to refresh a single feature wall or transform an entire room. It highlights the realities behind the polished photos: where even seasoned DIY enthusiasts stumble, how pros and real estate agents assess the value of these upgrades, and which steps are most frequently misunderstood. Each lesson underscores the balance between style ambitions and hands-on know-how, ensuring your DIY or pro-led project stands out for all the right reasons.
-
1. Board and Batten Is Never Quite as “Simple” as It Looks
Installing board and batten reveals complexities like spacing, different wall textures, and detailed planning before painting or finishing.
At first glance, board and batten seems like a linear process: attach boards, paint, and enjoy. In practice, each stage reveals additional layers that often go unmentioned in trend snapshots. For example, matching the desired spacing and managing how wall textures sit next to crisp trim highlights the type of planning and coordination easily overlooked by beginners. Choosing whether to cover existing wall treatments or work directly on drywall can define both the labor involved and the final look. Many projects gain significant complexity by adjusting for design preferences such as perfectly even squares or a desire to mask prior wall texture completely.
-
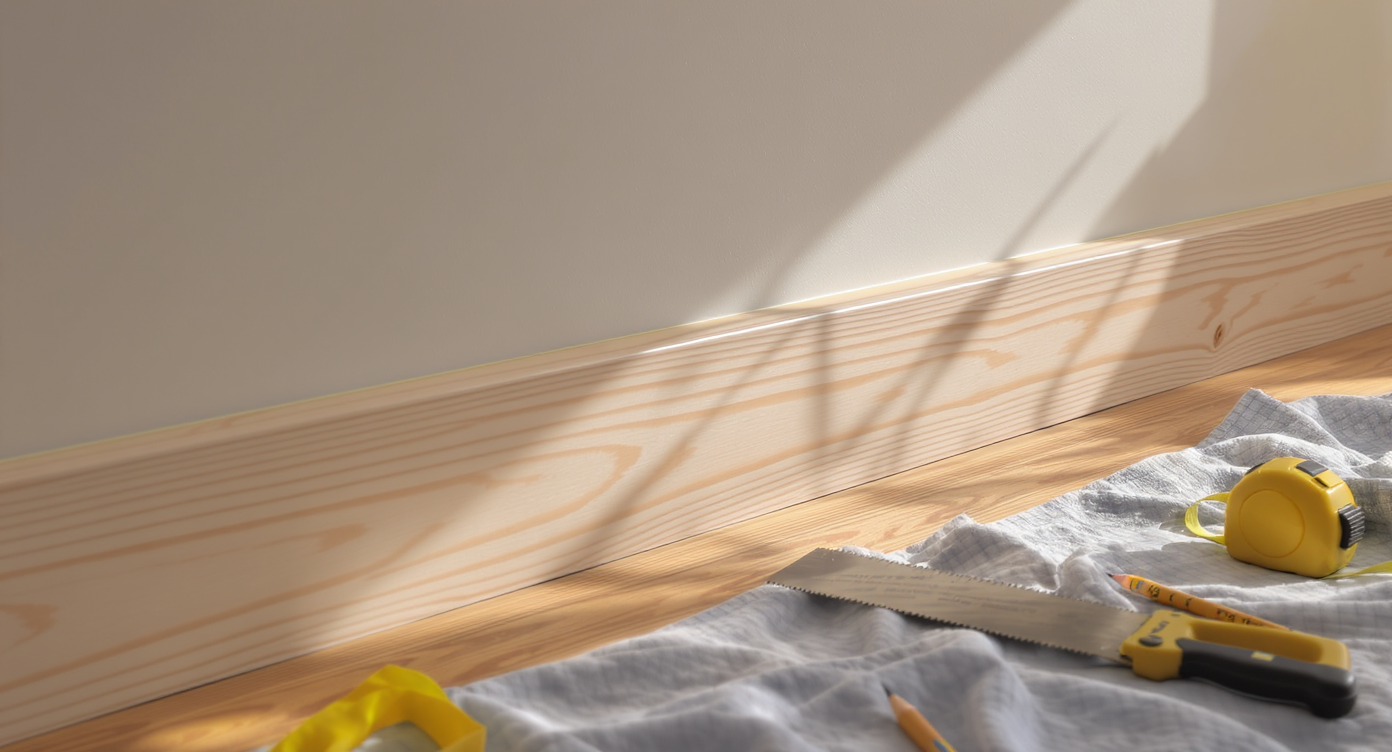
2. Precise Measuring Is Non-Negotiable—And Fractions Matter
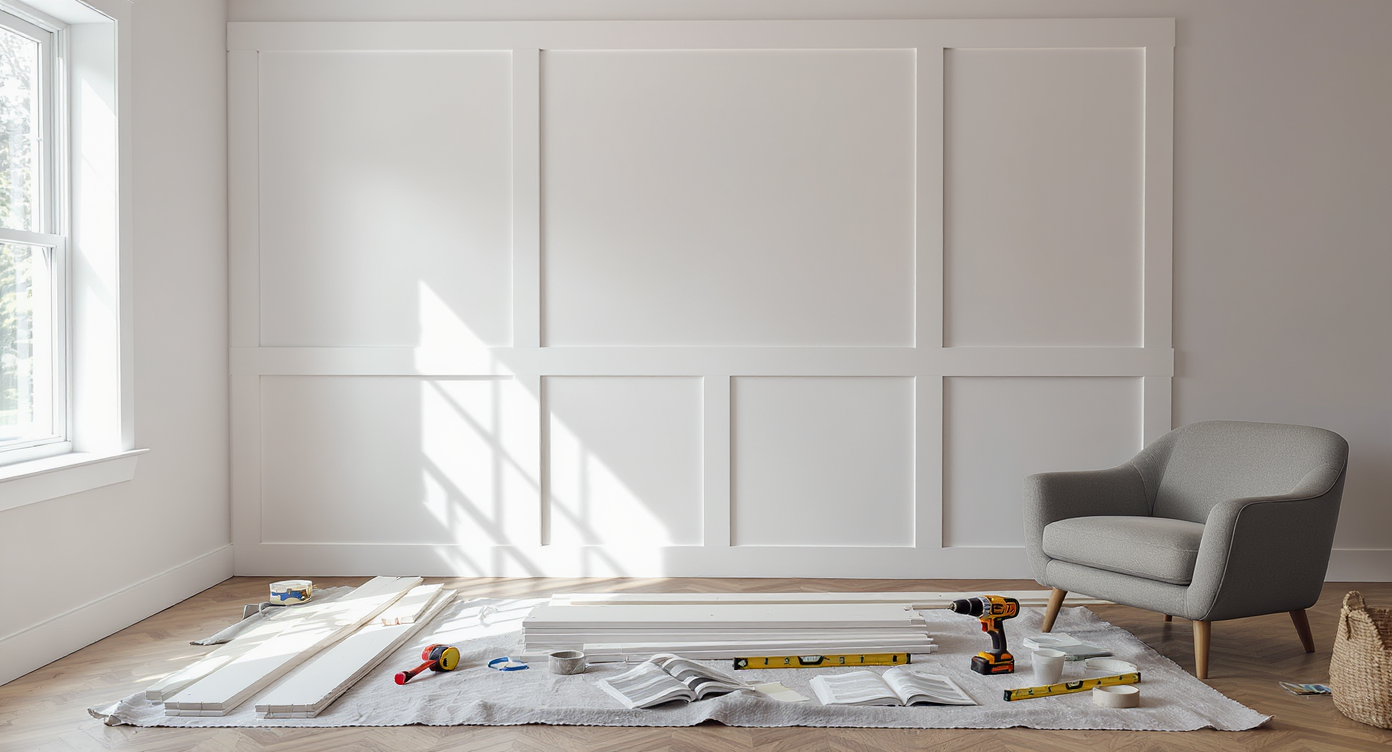
Precise batten spacing mapped with pencil lines, ruler, digital tape, and a tablet layout, showing essential measuring before installation.
Errors in measurement, especially when calculating spacing for battens, accumulate quickly and are glaring once the wall is finished. Achieving symmetrical patterns involves more than just measuring once or twice: professionals meticulously map out every batten location, often marking all placements before fixing a single piece. Small math errors cascade, resulting in uneven sections that might not be noticeable to casual observers but will bother anyone who pays attention to detail. There are helpful digital calculators for this exact challenge; utilizing such tools for layout can save hours of rework and is a tip often missed by novices.
-
3. Success Rests on the Right Materials and Tools—Not Just Skill
A common pitfall in board and batten projects is underestimating the impact of your tool quality and material selection. Pre-primed boards, for example, can speed up the finishing stage and reduce the risk of paint inconsistencies. Access to a table saw, versus making do with a circular saw and improvised guides, affects both precision and your tolerance for error. As shared in many step-by-step planning stories, investing in the right saw or sander pays off, especially when facing dozens of miter cuts for intricate trim. Beginners often adapt to what they have on hand but taking stock of your toolkit upfront prevents frustration and wasted materials down the line.
-
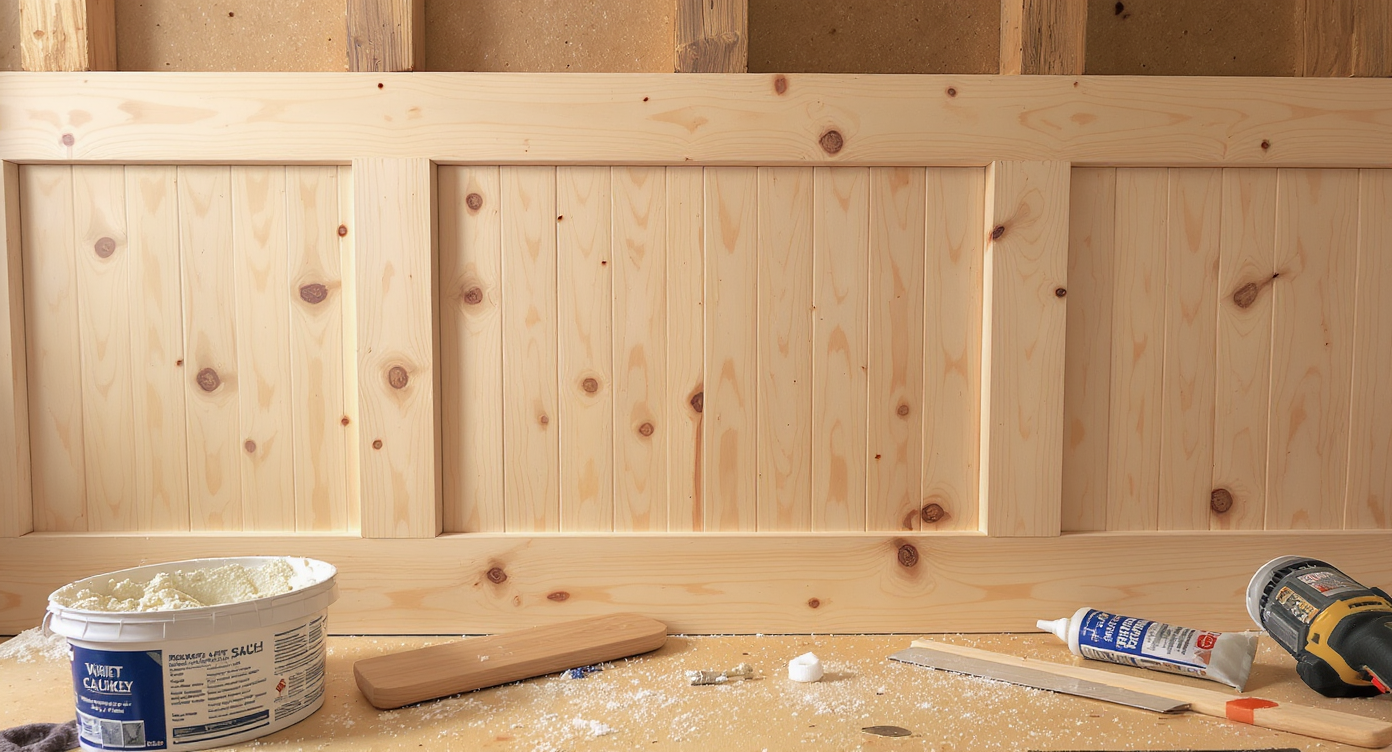
4. Houses Are Rarely Level, Plumb, or Square—Expect Compromise
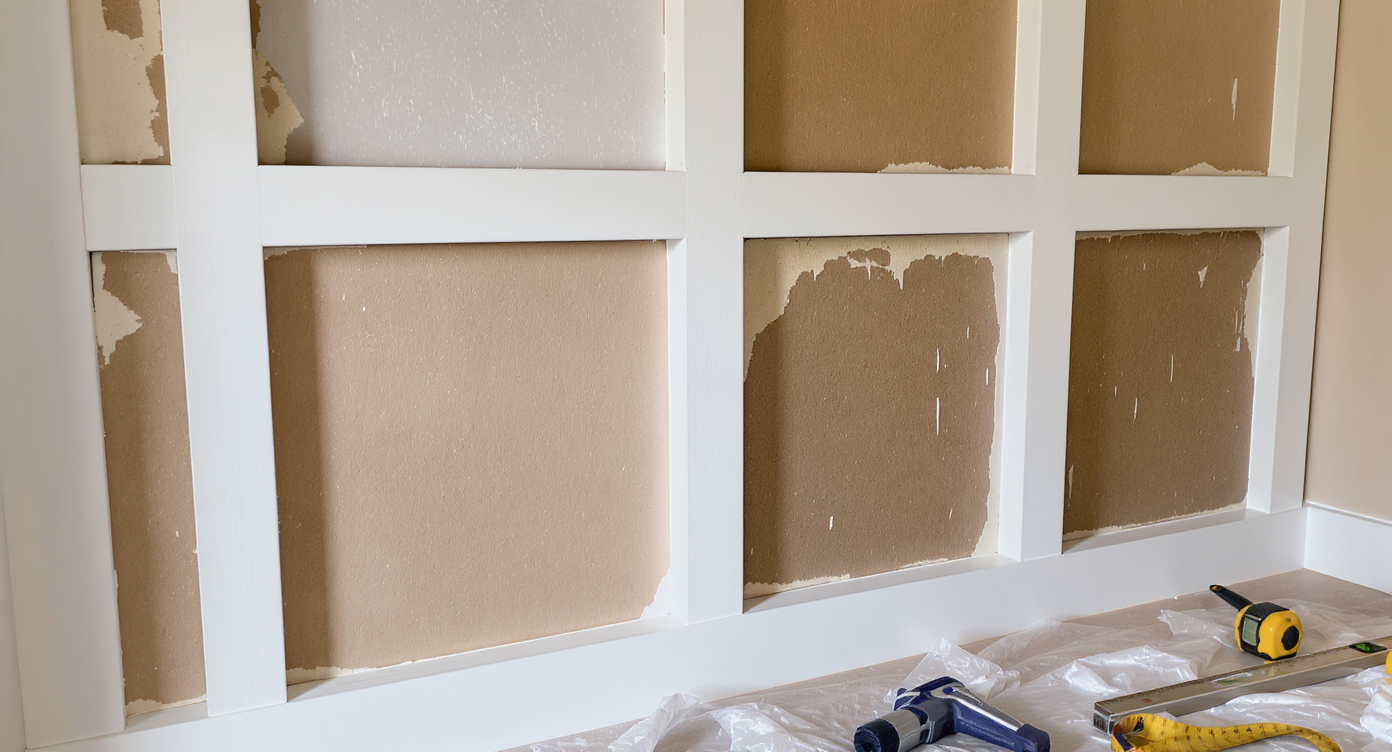
Precision-cut filler pieces and shims address visible gaps where a board and batten wall meets uneven ceiling and wall corners.
Walls and ceilings seldom meet at perfect angles, even in new homes. Once level boards are installed, subtle imperfections quickly become visible. Seasoned remodelers accept that shimming and scribing are sometimes necessary to achieve a visually flat look. Measuring gaps every few inches and custom cutting pieces to fill in as needed ensures the finished result feels intentional. DIYers report that approaching these irregularities with creativity and patience can make the difference between a professional look and a wall that draws the wrong kind of attention.
-
5. Installing Backer Boards? Know Why (and When) It Matters
Some board and batten enthusiasts choose to first cover the wall with a thin backer board to conceal existing texture. This is more than an aesthetic choice; it addresses the significant contrast between smooth trim and rough drywall which can read as amateurish if not handled well. While this step adds an extra layer of work—cutting backer sheets, accommodating electrical outlets, and matching seams behind battens—it is more than worthwhile if the wall surface is heavily textured. As explored in many real-world transformations, the hours spent here deliver a cleaner, more professional result.
-
6. Outlet and Fixture Planning Prevents Mid-Project Regret
Running battens and backers over existing wiring and outlets can turn a simple upgrade into a code issue or an eyesore. Planning ahead to address outlet extensions or deciding if they’ll be hidden behind large pieces of furniture helps avoid rushed, non-compliant solutions. Electricians and experienced DIYers recommend installing electrical box extenders to safely bridge the gap between the board face and the outlet, ensuring fire safety and code compliance. Skipping this detail compromises both safety and resale appeal, as motivated sellers and agents frequently note when assessing the value of DIY vs pro work, particularly in high-visibility spaces.
-
7. The Real Work: Filling, Caulking, and Sanding Every Seam
Board and batten wall finishing in progress showing filled seams, caulked joints, nail holes, and essential DIY tools for a seamless look.
Gaps between boards, uneven wood joints, and nail holes are inevitable even with the most precise installation. Finishing these imperfections is where most DIYers underestimate both time and effort. It is typically much more effective to use spackle and rigorous sanding over caulk for filling wood joints, as experienced project hands recommend. The finishing phase can take as long as installation and defines whether the board and batten wall reads as elegant or DIY. Allocating enough patience and the right products—long-lasting flexible caulks, reliable primers, and touch-up sanders—ensures every detail blends seamlessly. An eye for finishing strengthens step-by-step planning and can transform a good effort into a standout result.
-
8. Scale the Trim Treatment to Match Room Style and Function
It is easy to be tempted into complex trim options or intricate profiles after browsing the aisles or design blogs. However, interior designers frequently note the importance of scaling both the batten spacing and trim profile to the character of the room. Adding more trim pieces, such as quarter round or shoe molding within each square, can enrich the effect but dramatically increase required cuts, measuring, and finish work. Rooms that already have traditional or architectural details can handle more elaborate applications, while contemporary spaces often benefit from restraint. Knowing when to stop is as important as knowing how to start.
-
9. Master the Cleanup—From Caulking to Unexpected Injuries
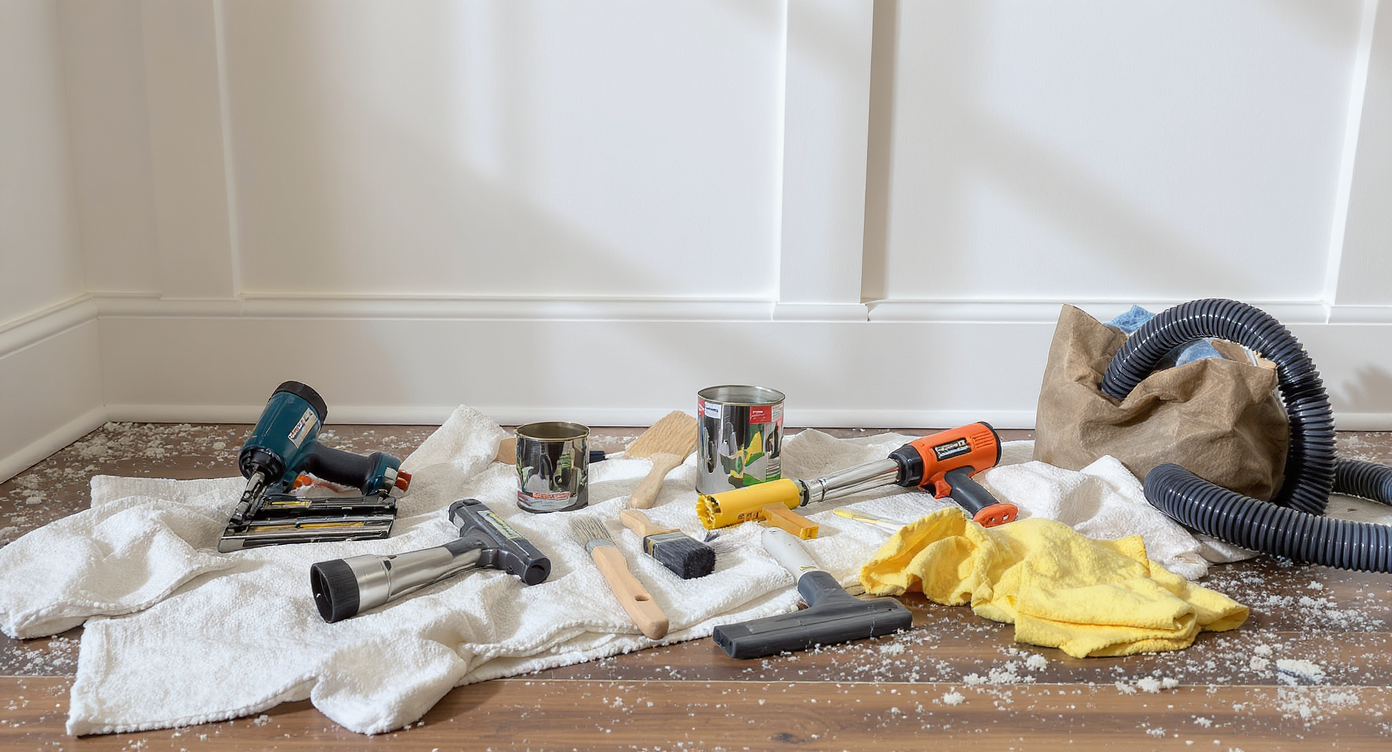
Thorough post-installation cleanup, with sawdust, caulk, and tools around a finished board and batten wall, marks safe project completion.
DIY board and batten projects tend to generate significant sawdust, spackle dust, and leftover caulk. Safety matters, especially with nail guns and power saws involved. Taking common sense precautions, such as controlling where your hands are during nailing and respecting your tools, prevents accidents which routinely occur even among home improvement veterans. Thoroughly cleaning after sanding and caulking, and attending to details like paint finish and hardware, signals project completion. Only after these steps do designer-worthy results emerge, an outcome supported by designers who share similar advice in our tips for successful home makeovers, such as these DIY home decor ideas.
Frequently Asked Questions About DIY Board and Batten Walls
Achieving perfectly even spacing and seamless joints emerges as the most common struggle, especially in older or irregular rooms.
Should I hire a professional or go DIY for a wall treatment like this?
DIY is realistic for many homeowners willing to invest time in preparation and finishing, but calling a pro pays off for complex layouts, tight timelines, or if high resale value is the end goal. For project-specific examples, explore this in-depth home transformation.
How can I make sure my measurements will work?
Careful step-by-step planning is essential; use graph paper or digital planning tools, and verify all measurements before making cuts. Visualizers like REimagineHome.ai allow you to preview proportions and final looks.
Is it always necessary to install a backer board?
No, but it is highly recommended when the original wall is textured or when a smooth, seamless appearance is the goal.
How much time does this project usually take?
The time frame varies depending on wall size, complexity, and experience. Enthusiasts report anywhere from one long weekend for simple walls, to several weeks for large or highly detailed installations.
A DIY Board and Batten Project Is a True Test of Patience—and Worthwhile
Completing a board and batten wall builds much more than visual appeal; it sharpens home improvement skills and offers a candid education in what separates a good DIY effort from a professional finish. While mistakes are inevitable, each miscalculation or workaround is a learning experience, making future projects less intimidating. Prospective sellers should weigh the value of their time and skill level against potential market appeal, as discussed in depth in insights from real estate agents. For anyone planning a similar step-by-step remodeling, tools such as REimagineHome.ai can help test design schemes, plan layouts, and make confident material choices before breaking out the saws.