7 Common Pitfalls When Fixing a Bad Paint Job and How to Avoid Them
TL;DR
Fixing a bad paint job often comes down to choosing the right remedy for visible flaws, previous color bleed, and subpar coverage. This list explores seven common mistakes, affordable solutions, and key decisions for renters and DIYers to transform their walls without regret.
Why Do Bad Paint Jobs Happen and What Can You Do?
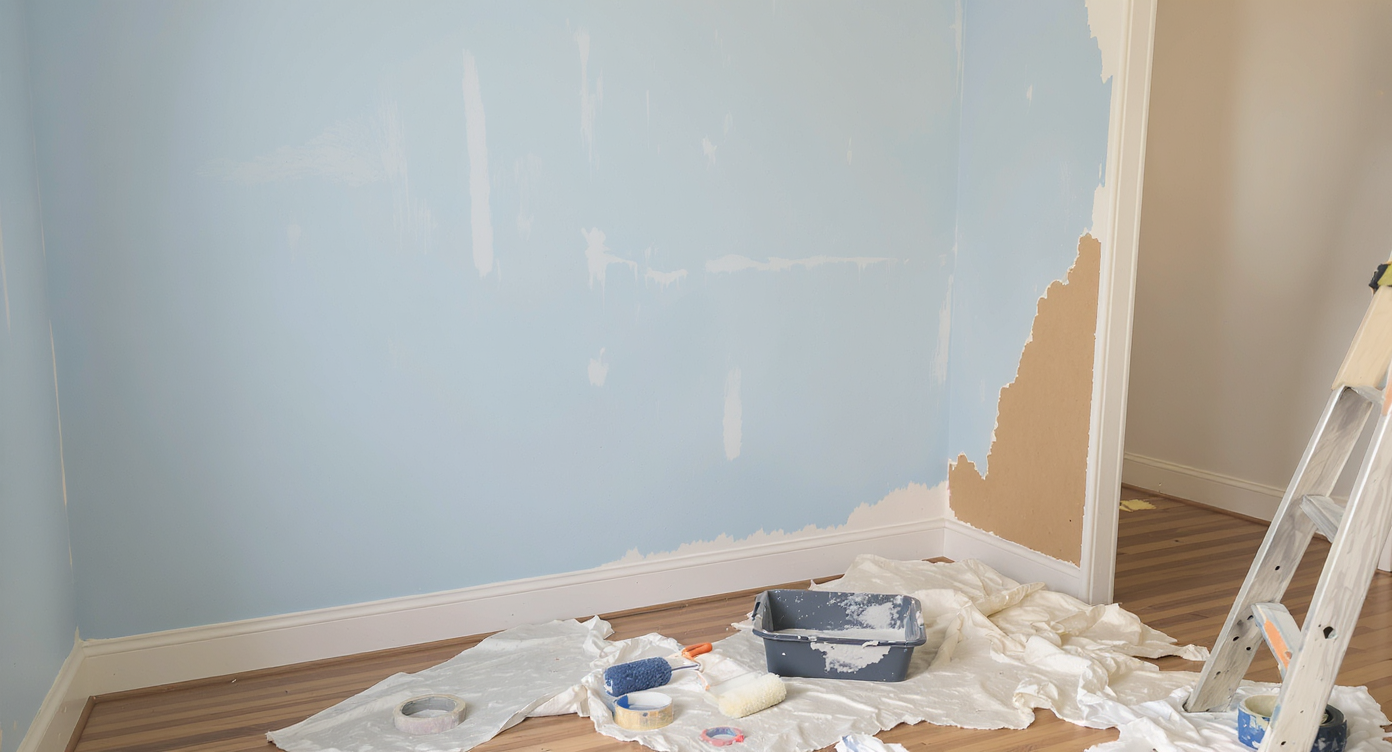
A freshly painted apartment wall with roller marks, patchiness, and color bleed, alongside painting tools—capturing common DIY paint job issues.
Few sights disrupt a freshly rented or recently painted space as much as patchy walls, roller marks, or obvious color bleed. Whether inheriting a poorly executed paint job or grappling with your own mistakes, these flaws can nag you every day. Simple coverage or cosmetic fixes often mask underlying problems, which resurface quickly if not dealt with carefully. Most renters and DIYers struggle to balance cost, time, and satisfaction when deciding how much effort a paint correction deserves. If you are not aiming for a perfect outcome but cannot tolerate visible flaws, understanding the most common pitfalls and the most effective, affordable methods is essential. This guide addresses real-world dilemmas and prioritizes solutions anyone can use—especially when stuck between doing it yourself or hiring a professional.
-
1. Skipping Primer and the Consequences
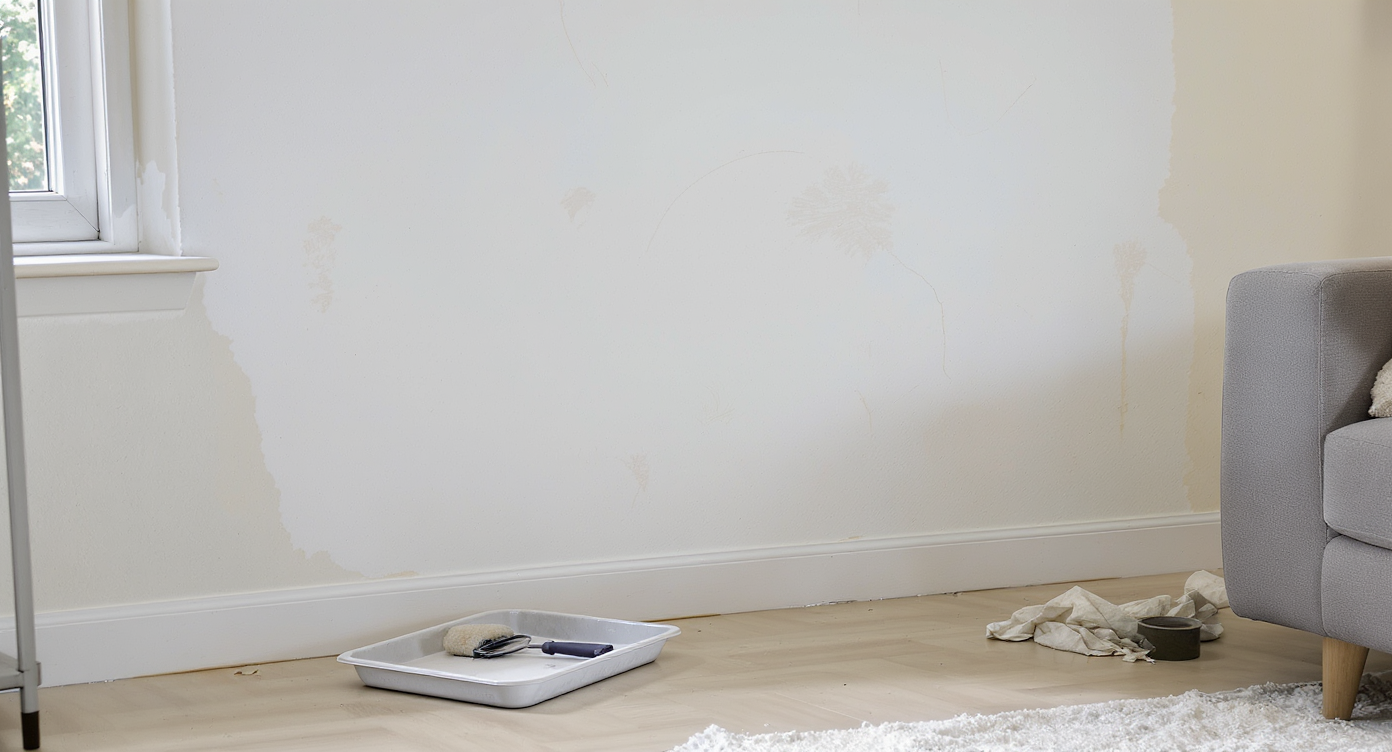
Visible grey bleed-through on a white-painted wall highlights the consequences of skipping primer, with painting tools ready nearby.
One of the most frequent errors is painting directly over an existing color without applying a primer. When white paint is rolled over a darker shade like grey, as in many rental units, previous colors often show through. Primer creates a neutral, adhesive base and improves coverage, especially if you plan on switching to a lighter hue. Experienced painters recommend that whenever possible, a quality primer should be used before applying the new color. Failing to do so will likely leave you facing visible bleed-through, forcing extra coats—and more expense—for a result that still may not satisfy. Our step-by-step guide to paint color selection emphasizes the importance of testing coverage and preparation before committing to a finish.
-
2. Underestimating the Power of a Second Coat
Paint manufacturers often claim one-coat coverage. In practice, nearly all jobs require at least two coats for solid, streak-free color. When a landlord or hurried DIYer uses just a single application, roller marks and original wall colors tend to peek through. Rather than fighting dissatisfaction, most professionals advise repeating the same paint and product for the follow-up coat, which blends old errors and strengthens coverage. Use leftover paint, if available, or match the product exactly for consistency. This strategy typically offers the most affordable design fix, as it avoids the need to prime and start from scratch again.
-
3. Misjudging Paint Quantity and Budget
Mistakes often stem from guessing how much paint is actually needed, leading to overspending or wasted products. Standard coverage estimates are only a starting point. Irregular application, previous color intensity, and wall texture all affect actual paint needs. If your project requires only a marginal improvement to pass rental standards, estimate conservatively and buy less—many stores allow returns of unopened cans, keeping out-of-pocket costs low. Affordable design does not mean cutting corners everywhere, but it does mean tracking receipts and opting out of unnecessary volume. This approach aligns with what savvy decorators do to stretch their budget further, as explored in our collection of DIY home decor ideas for small spaces and limited budgets.
-
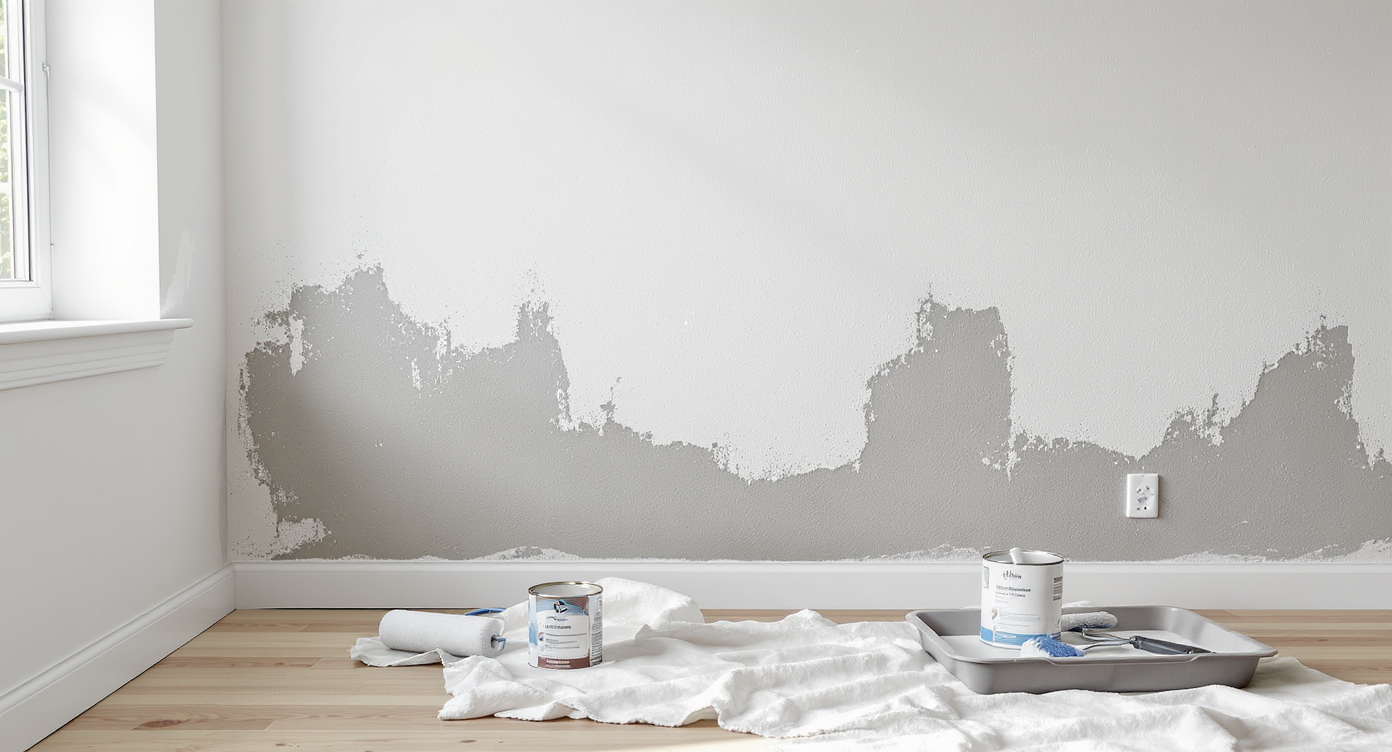
4. Overlooking Surface Prep Before Correcting Flaws
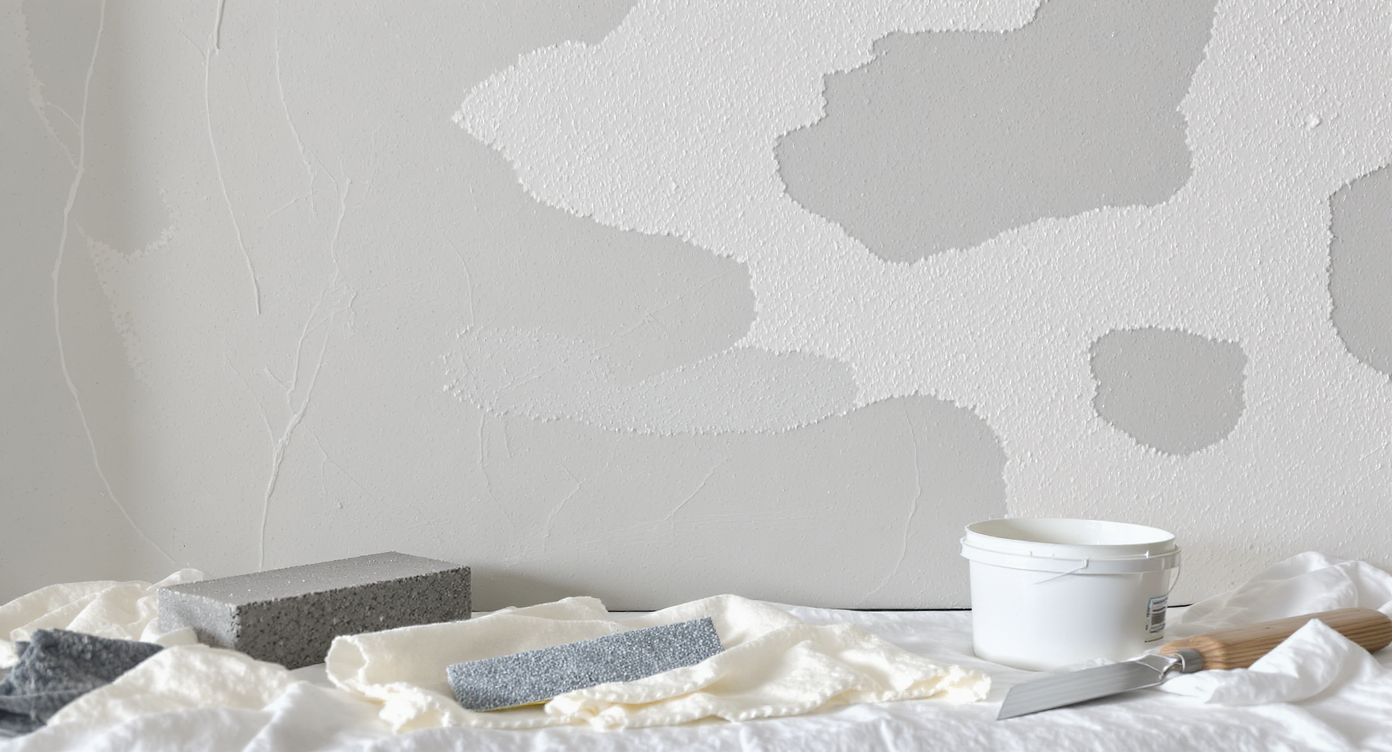
Editorial close-up of sanding blocks, joint compound, and a taping knife beside a flawed painted wall, showing how to prep surfaces properly.
A tempting shortcut is adding another coat in hopes of masking flaws. However, visible roller marks, drips, or patchy areas often worsen unless the underlying texture is smoothed out first. Light sanding of rough sections, followed by a thorough wipe-down, gives your next coat a much better chance for a uniform finish. For major divots or persistent roughness, skim coating the wall with joint compound can make a world of difference without major expense. In the context of affordable design, investing a bit of time upfront ensures your fixes are more durable and visually satisfying—even if you do not plan on staying forever.
-
5. Ignoring Paint and Texture Compatibility
Mixing different paint brands, finishes, or bases introduces risk, especially if you do not know what was used before. For seamless results, use the same type, sheen, and brand for all touch-ups and new coats whenever possible. If the landlord or previous occupant cannot provide details, do a small patch test in an inconspicuous area first. Inconsistent paint choices can result in visible differences in gloss, color tone, and texture—quickly undermining all your effort. For larger projects or when in doubt, evaluating your color plan visually can help prevent surprises after everything dries.
-
6. Deciding Between DIY and Pro: Know When to Call for Help
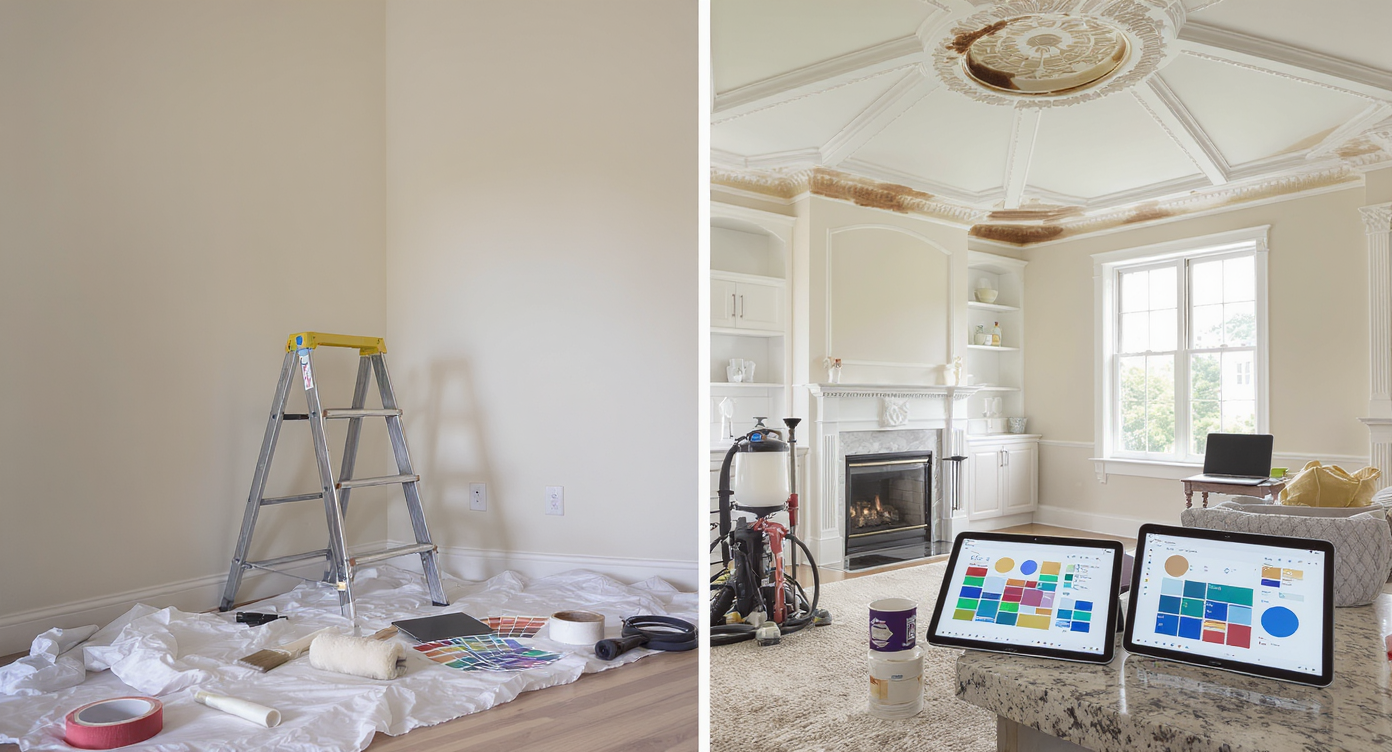
A split scene highlights the DIY paint prep for simple fixes and the advanced equipment needed for high ceilings and intricate trim.
While most rental-grade paint problems can be tackled by a motivated DIYer, some scenarios merit professional intervention. High ceilings, intricate trim, historic finishes, or unremitting stains often need advanced tools and skilled workers. Calculate the DIY versus pro tradeoff by comparing not just costs but also the time you are willing to invest. According to guidance from experienced decorators, DIY jobs can be effective for small spaces and straightforward fixes but become time-consuming and risky as scope expands. Plan ahead and be realistic about your endurance and tool access. For help with layout and finish options, testing ideas virtually on REimagineHome.ai offers a practical middle ground before making a final call.
-
7. Accepting Good Enough for a Rental (And When to Move On)
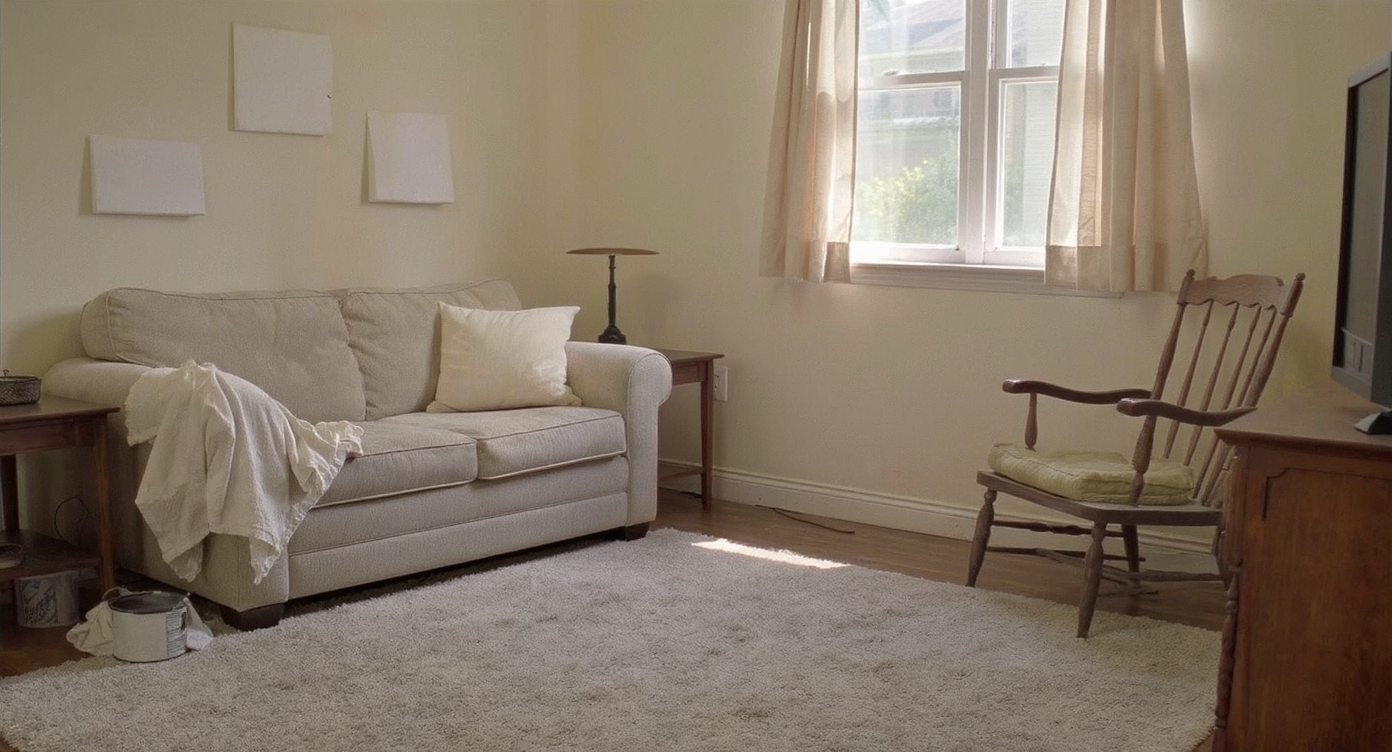
A rental living room with a freshly painted wall—minor imperfections remain, but the space is now comfortable and work has stopped.
Perfection is rarely possible in a fast fix, especially when budget and ownership are not in your favor. Once bleeding color, streaks, or rough patches are brought within an acceptable range for comfort and livability, recognize when to stop investing further. Renters especially benefit from drawing this boundary, since over-improving only benefits the property owner. Set expectations appropriately and move on to other projects that bring you more long-term enjoyment. Sometimes the win is simply no longer being distracted by obvious mistakes.
FAQ: Fixing Bad Paint Jobs in Rentals and Budget Spaces
Primer is best when previous colors show through or coverage is still uneven after two coats. For minor flaws, a repeat of the same paint may do the trick if you are using high-quality coverage.
Is it worth repainting a rental with professional-quality paint?
Usually only if you plan on staying for several years. For shorter rentals, use decent mid-tier products and focus on visible areas only.
How do I know how much paint to buy?
Always start with a conservative estimate based on wall size, but remember that texture and previous colors affect coverage. Many stores offer returns for sealed cans.
How do I decide between DIY and hiring a pro?
If the project involves simple coverage, most renters can tackle it themselves. For complex layouts or stubborn flaws, run through possible designs using REimagineHome.ai or consult a pro as needed.
Key Takeaways for Smarter Fixes
Addressing bad paint jobs begins with honest evaluation and realistic expectations. Prioritize proper surface preparation, primer, and consistent materials to make fast improvements where they matter most. Consider both affordable design and the time it will take to get things right, especially in a rental scenario. Explore REimagineHome.ai when planning colors, finishes, and layouts so you can visualize changes before investing further in paints and textures.