Decoding Lawn Grading and Planning: Practical Advice for Homeowners
TL;DR
Accurate grading sets the foundation for successful backyard landscaping. By learning to read elevation plans, use practical tools like water levels, and sequencing projects from patios to turf, homeowners can minimize costly errors and ensure a smooth transformation—without calling in a designer every step of the way.
Understanding the Basics of Lawn Grading
Thoughtful grading with practical tools ensures water drainage and a smooth base for landscaping—crucial first steps for any backyard makeover.
Grading is at the heart of every successful landscape makeover. Establishing the right ground levels ensures water flows away from your home, creates a smooth canvas for patios and grass, and shapes the very function of your backyard. Even if you’re working from a designer’s blueprint or tackling improvements solo, decoding those elevation markings isn’t as daunting as it looks. Modern tools and smart sequencing empower homeowners to manage their own grading, staking, and planning. Whether you’re embarking on an ambitious backyard transformation or simply revitalizing a patchy lawn, understanding these steps is crucial before rolling out new turf, adding hardscapes, or investing in custom features.
-
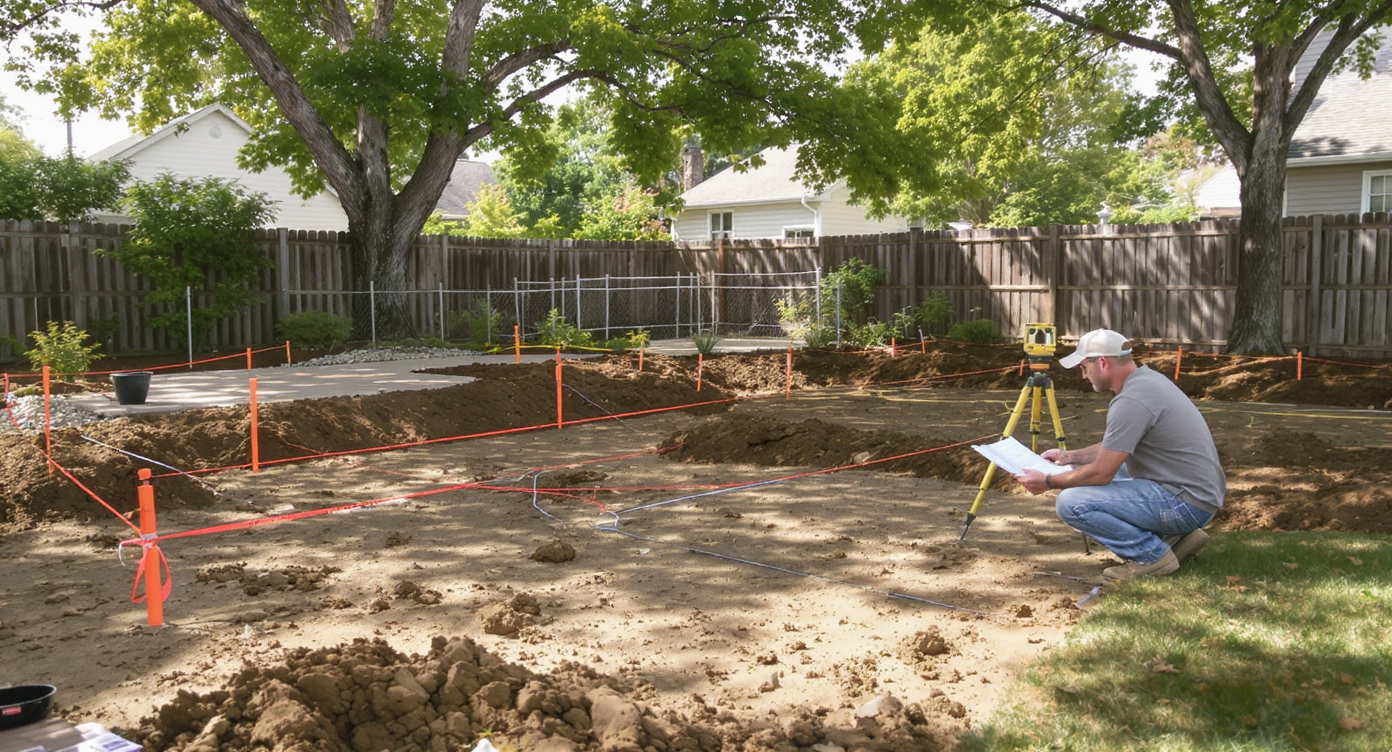
Translating Elevation Markings into Action
Transferring elevation markings outdoors with a water level helps homeowners accurately stake and grade their backyard for landscaping success.
Landscape plans often feature numbers like 100/0 or 99/6, each corresponding to a specific height. The first number is the reference elevation—typically the main indoor floor—while the second denotes precise changes. Understanding what these changes mean on the ground is foundational. For example, if the inside floor is 100/0 and a patio is marked 99/6, the patio sits six inches below your house floor. When working with elevation changes, accuracy is key. Professionals recommend tools like water levels, which use basic physics to duplicate a reference point at any distance. By aligning the water level to a fixed spot indoors, you can transfer that benchmark across the yard. From there, marking surveying stakes lets you visualize and measure the exact grade needed—turning blueprints into a tangible, manageable plan.
Expert Insight
A homeowner in a quiet suburb recently inherited a yard described as 'potentially great with patience.' Unsure how to decode her landscape plan’s numbers, she began by measuring elevations with a borrowed water level. As she worked, she realized that marking stakes saved her countless hours of rework—and one muddy dog incident. Her patio, installed after careful grading, remains level and dry even after heavy rains.
-
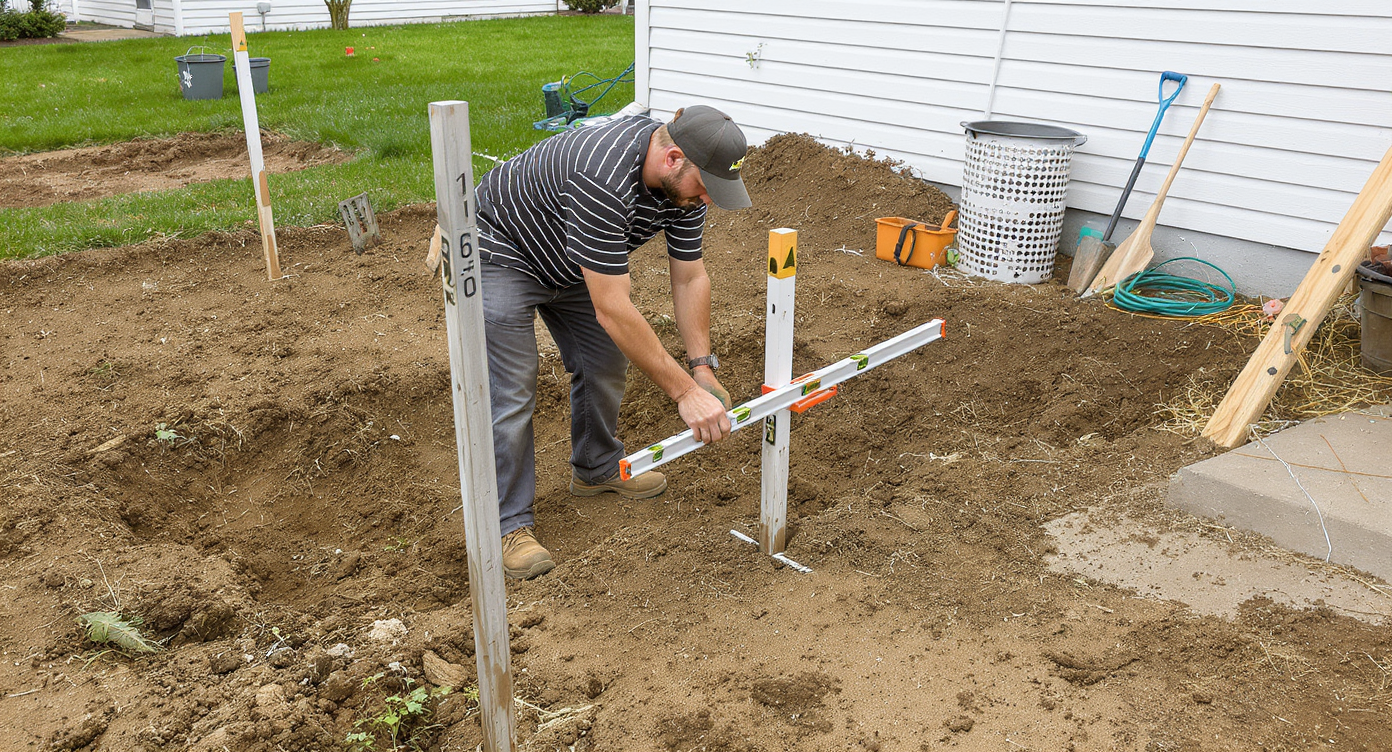
Practical Grading: Tools, Tricks, and Pitfalls
Many homeowners are tempted to eyeball their grading—especially for smaller projects. However, minor miscalculations can cause issues like uneven patios or water pooling near foundations. That’s why experts favor simple, reliable tools. Water levels remain a favorite for DIYers, prized for their low cost and high accuracy over long distances. After establishing your interior reference point, you’ll use the water level outdoors, sink stakes into the ground, and mark them to match your benchmark. To find your required soil grade (for instance, dropping from 100/0 to 98/9), simply measure downward from your mark. This clear approach keeps measurements consistent and limits errors. Designers frequently see homeowners rush this process, only to over-dig or leave high spots that complicate later sod installation. Keep your soil movement strategic—moving too much earth rarely saves time or money.
-
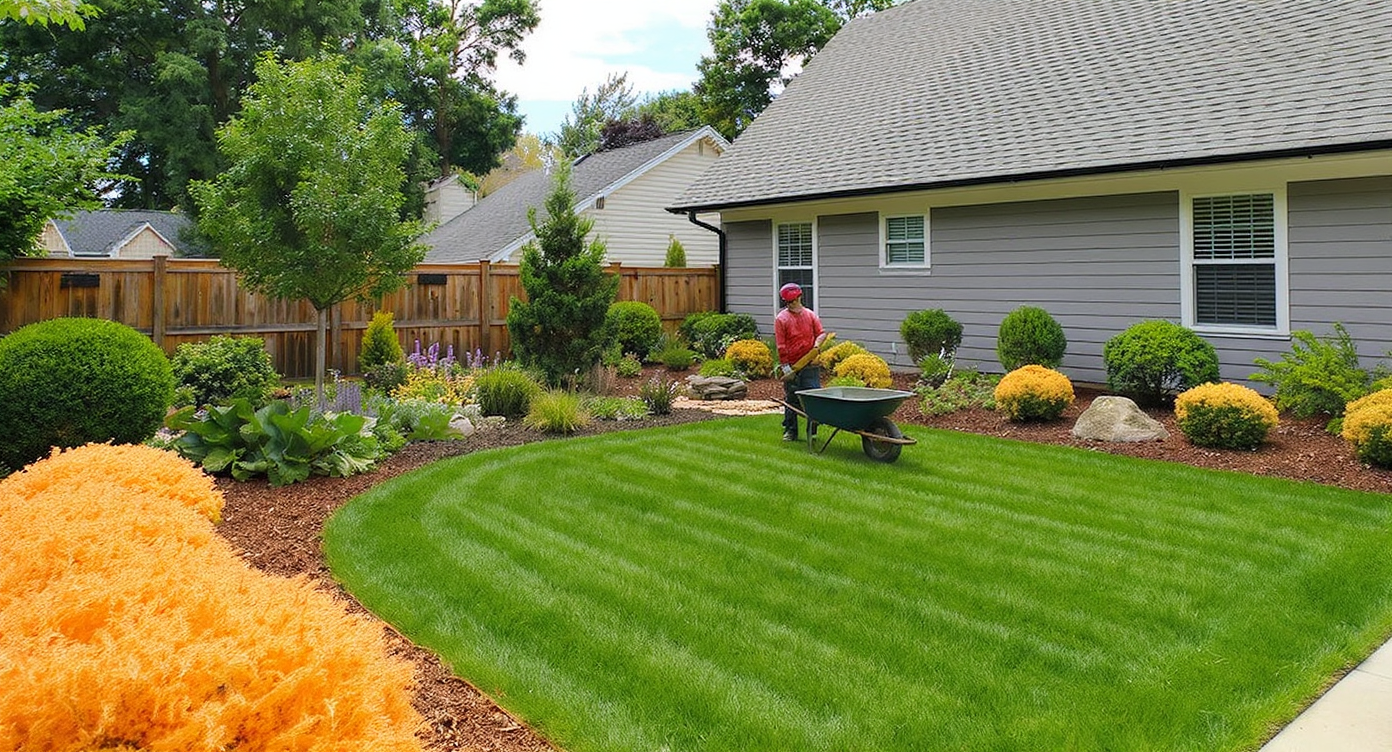
Sequencing Your Yard: Patios, Sod, and Mulch

Hardscaping first: Patios are installed on stable, graded soil before laying sod and mulch for clean, lasting landscape results.
The order in which you tackle backyard projects matters more than most people realize. Generally, hardscaping—such as patios and walkways—should come first. Installing these structural features on freshly graded, stable soil helps preserve level surfaces and crisp edges. Only after hardscaping is set should new sod or mulch be added. Laying the groundwork this way prevents accidental damage to soft surfaces like lawn or freshly planted beds. In practice, professionals almost always build patios before rolling out turf, ensuring clean transitions between hard and soft landscaping elements.
-
Giving Turf a Strong Start: Soil, Sod, and Dogs

Fresh sod installation on prepped soil and a pet-friendly design set healthy roots for a durable lawn—consider behavior solutions for dogs.
With grading complete and hardscape installed, lawn preparation begins in earnest. Healthy sod needs level, loosened soil to ensure good root contact. Soil should be lightly tilled, debris-free, and watered before new rolls are set in place. Edges matter—tightly butted seams prevent weeds from sneaking in, and a heavy roller helps keep things even. Pet owners face unique challenges. While some homeowners consider laying mesh below sod to deter digging, experts find mixed results. Shallow mesh may hamper root growth and create tripping hazards over time. Instead, behavioral solutions or designated digging zones are often preferred, keeping lawns intact without compromising turf health. For those managing weed-prone areas or battling compacted soil from previous lawns, staged repair can make a dramatic difference. Explore approaches for budget-friendly lawn repair to bolster new grass.
-
Blending Softscape, Hardscape, and Water Flow
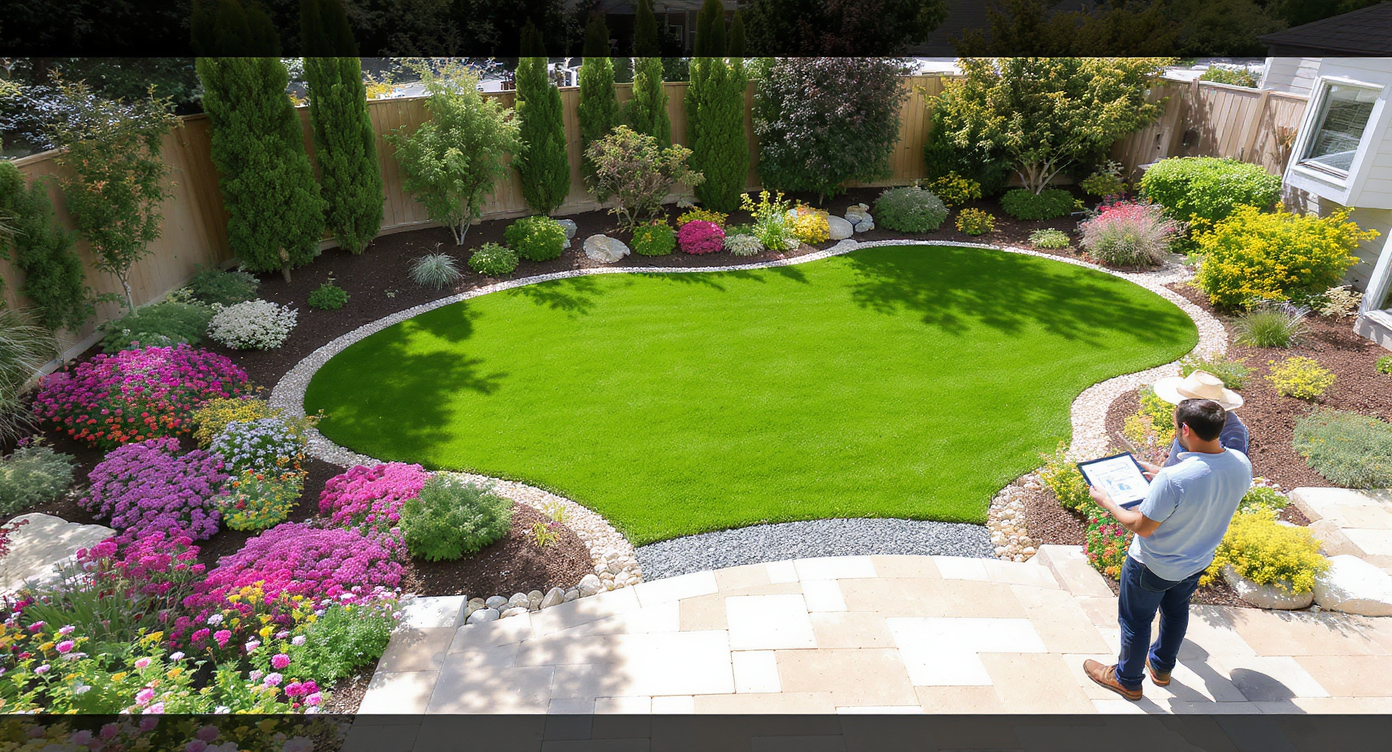
Integrating plantings, stonework, and water flow creates stunning, functional backyards—especially when guided by smart design tools.
Great backyards result from blending plantings, stonework, and careful water management. As designers often suggest, integrating both hardscape and landscape creates a more functional, visually appealing outdoor space. Pathways, patios, and retaining walls can be designed to gently direct the flow of rainwater away from structures, protecting investments and lowering future maintenance. Modern AI-driven tools now enable homeowners to preview layouts virtually, reducing guesswork and costly mistakes. Solutions such as the latest hardscaping tips offer new possibilities to visualize the impact of stone paths, raised beds, or structural features alongside healthy lawns. The dynamics between living plantings and built structures are increasingly recognized as crucial. The contemporary approach recommends planning these together, which supports curb appeal and efficiency—a theme explored in detail by landscape professionals.
Visualization Scenario
Imagine looking out your back window and seeing the yard unfold in clearly defined layers: a smooth patio meeting perfectly aligned sod, gentle slopes guiding water away, and lively borders of low-maintenance shrubs. The process begins with methodically placed stakes and measured lines, but the outcome reveals a seamless blend of living green and crafted stone—just as you envisioned.
FAQ: Backyard Grading and Planning Essentials
Start by identifying your home’s established floor level as the main reference point. Measurements on your plan will indicate how much higher or lower to set patios and other features. Use tools like water levels or laser levels to transfer these elevations accurately from your house to your yard.
Do I need to install hardscaping or sod first?
Generally, patios and hardscape elements should be constructed before laying new sod. This helps maintain clean edges and prevents accidental damage to new turf during construction.
Is it effective to use mesh under sod for dogs who dig?
While mesh may slow digging temporarily, it can also affect lawn health by impeding grass root growth. Instead, consider redirecting your dog’s digging habits or creating a dedicated spot in your yard for play.
Are there modern tools for visualizing outdoor designs?
Yes. Homeowners now have access to advanced visualization tools, including AI-based platforms such as ReimagineHome.ai, which allow you to preview layout changes, test hardscaping ideas, and experiment with different design features virtually.
What’s the quickest way to repair a lawn full of weeds on a budget?
Tackle repair in stages: focus on weed control, soil health, then overseed or lay new sod. Learn about starting lawn repair on a budget for a thorough breakdown.
Building Confidence in DIY Lawn Planning
Mastering basic grading, staking, and project sequencing empowers you to transform your yard, whether you’re starting from scratch or working with a detailed landscape plan. By adopting tried-and-true measurement techniques and making logical decisions about project order, homeowners can avoid frustration and achieve professional-quality outcomes. Embracing digital visualization tools and learning from expert advice ensures that your investment not only looks great but functions for years to come. For further design experiments or virtual planning, explore platforms like ReimagineHome.ai.