7 Mobile Room Photo Mistakes That Make 3D Planning Harder
TL;DR
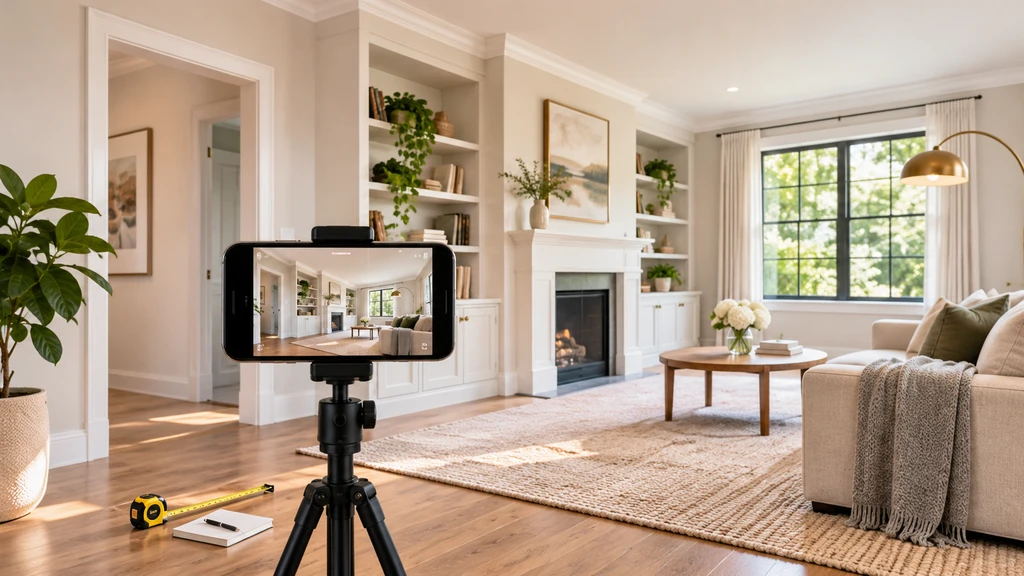
Use clear, overlapping room photos from different positions. Chez recommends at least two photos, ideally four to eight, and important measurements should still be verified in the real room.
Why Mobile Photos Matter for 3D Planning
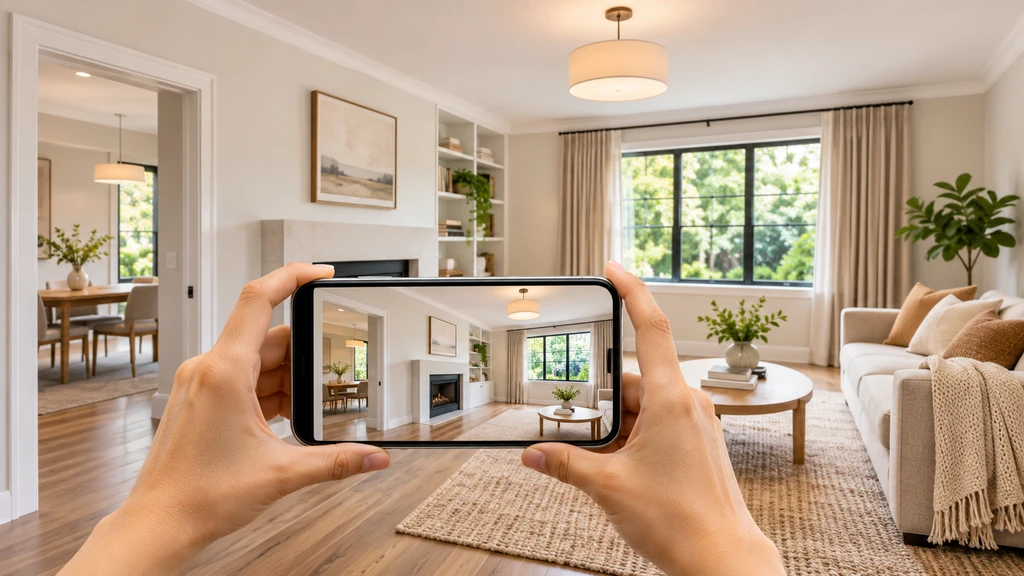
Frame each mobile room photo to include key architectural features and enough surrounding context so overlapping views can connect more reliably in the 3D reconstruction.
A good-looking room photo is not always a useful 3D-planning photo. The goal is to show how the walls, openings, corners, and fixed features connect.
Think coverage before composition: each photo should reveal something new while still connecting to another useful view.
-
1. Mistake: Taking Every Photo From One Spot
Rotating from the doorway or room centre can leave the same corners hidden in every image.
- Move between different corners.
- Capture the opposite walls.
- Add a targeted view for alcoves or hidden openings.
- Make each photo reveal something new.
Chez recommends overlapping views from different corners rather than repeated angles from one position.
-
2. Mistake: Taking Views That Do Not Overlap
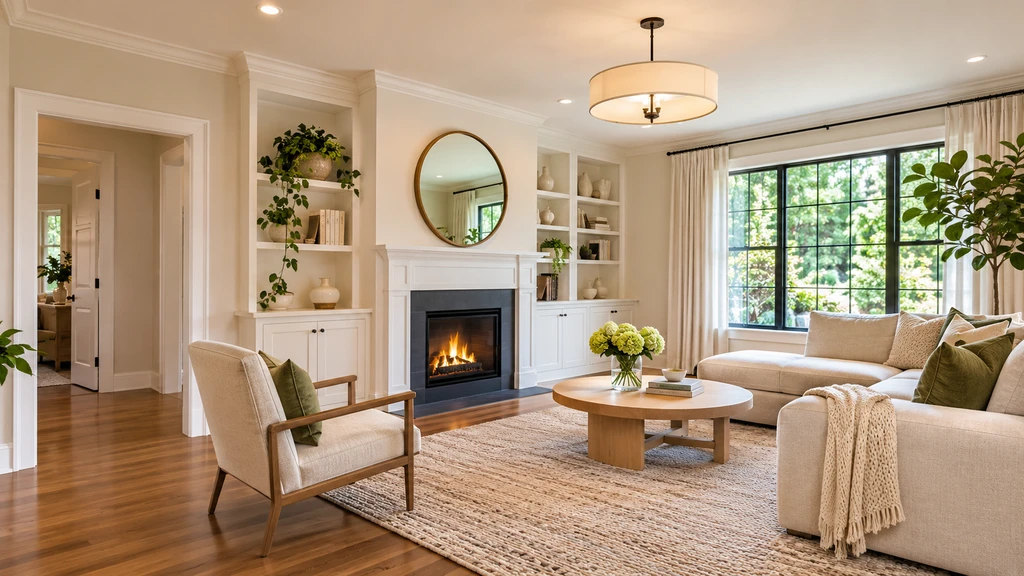
Include key room boundaries, openings, and built-in features in each photo so the 3D reconstruction has enough architectural context to understand the space.
Neighbouring photos should share a recognizable feature such as a doorway, window, fireplace, or built-in.
Use this simple rule: New angle + shared feature + new information.
Not every image must overlap with every other image, but the full set should form a connected sequence.
-
3. Mistake: Cropping Out Architecture
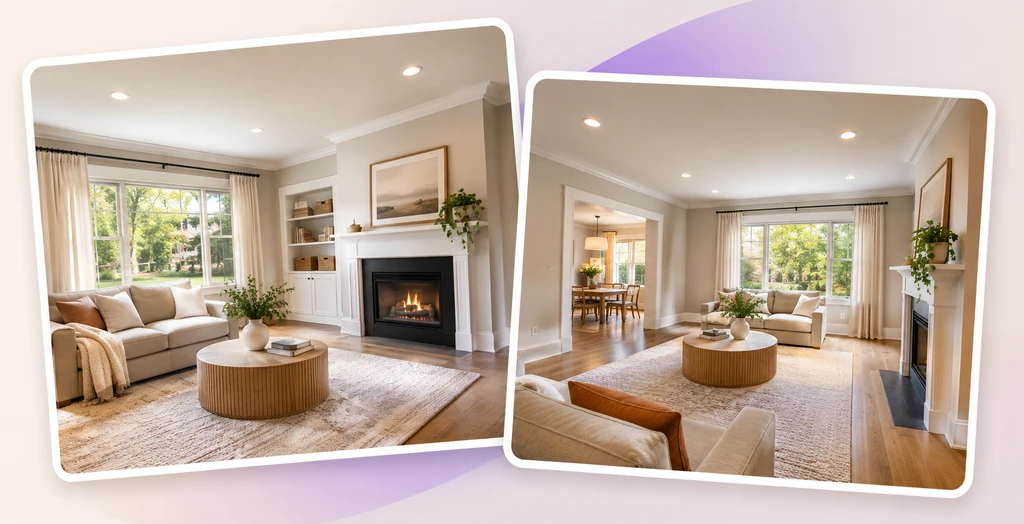
Capture neighbouring room photos with shared architectural features so each new angle adds information while still connecting clearly to the previous view.
Tight crops can remove the architectural details needed to understand the room’s geometry.
- Include some floor and ceiling.
- Show doors and windows with surrounding wall.
- Keep wall junctions visible.
- Include fireplaces, openings, and built-ins when they affect the layout.
Chez’s photo guidance recommends showing doors, windows, built-ins, and some floor and ceiling.
-
4. Mistake: Tilting the Phone or Changing Lenses
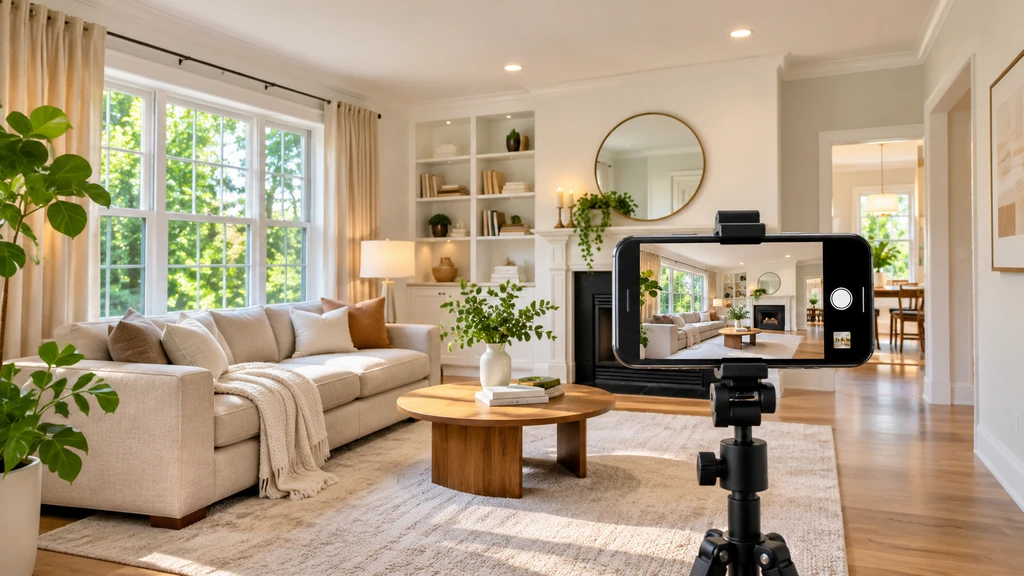
Keep the phone level and frame the room consistently so important architectural features remain clear across every photo used for 3D planning.
Keep the phone reasonably level, around chest height, and use the same lens setting where practical.
Avoid switching repeatedly between standard, ultra-wide, and zoomed views. Move your position instead of relying on digital zoom so the photo set stays consistent.
-
5. Mistake: Keeping Dark, Blurry, or Glare-Heavy Photos
A photo may look fine on a small phone screen while hiding important edges and details.
- Clean the phone lens.
- Steady the phone before shooting.
- Open curtains or switch on lights when needed.
- Retake blurred images.
- Avoid glare that hides windows or wall edges.
Chez asks for bright, sharp, original photographs.
-
6. Mistake: Changing the Room Between Shots
Keep furniture, curtains, and doors reasonably consistent while capturing the room.
If something must move to reveal a hidden wall or opening, keep other changes to a minimum. Too many changes between photos can create inconsistent visual information across the set.
-
7. Mistake: Prioritizing Photo Count Over Coverage
Eight nearly identical images are less useful than a smaller set that covers different walls, openings, and corners.
- Does it reveal a new area?
- Does it connect to another view?
- Are important fixed features visible?
- Is it more useful than another photo in the set?
Chez requires at least two photos and recommends four to eight overlapping views, but useful coverage matters more than simply reaching the highest number.
-
Use the Corner–Overlap–Edge Check Before Uploading
Run this quick check while you are still standing in the room.
Check Question Corner Did I move to different useful positions? Overlap Do neighbouring views share recognizable features? Edge Can I see important room boundaries and openings? Clarity Are the important details bright and sharp? Consistency Did the room stay mostly unchanged? Use real, original photographs. Chez does not accept AI-generated room images or 360° panoramas for this workflow.
-
What to Check After the 3D Room Is Built
Compare the reconstructed room with the real space before making detailed layout decisions.
Check the room outline, doors, windows, openings, and built-ins first. Chez estimates dimensions from photos and may infer areas that were not visible, so verify critical measurements physically before buying furniture, materials, or planning construction.
Frequently Asked Questions
How many mobile photos should I take?
Chez requires at least two photos of the same room and recommends four to eight overlapping views from different corners. Useful coverage matters more than reaching the maximum.
Can I use a normal smartphone?
Yes. A regular smartphone is suitable for capturing the original still photographs. Prioritize level, clear, overlapping views.
Should I use the ultra-wide lens?
Try to keep one lens setting throughout the set where practical rather than repeatedly switching focal lengths.
Can I upload a 360° panorama?
No. Chez currently asks for standard original room photographs rather than 360° panoramas.
Do better photos guarantee an exact 3D room?
No. Better coverage gives Chez more information, but dimensions and unseen areas remain photo-derived estimates. Verify important measurements in the physical room.
Make Every Photo Add Room Information
The best mobile photo set is not the prettiest one. It is the set that explains the room clearly. Move between corners, keep views connected, include architectural edges, stay level, and replace duplicate angles with missing coverage. Then use the 3D room for exploration while checking important dimensions in the real space.