Portrait vs Landscape Room Photos: Which Works Better for AI Room Design?
TL;DR
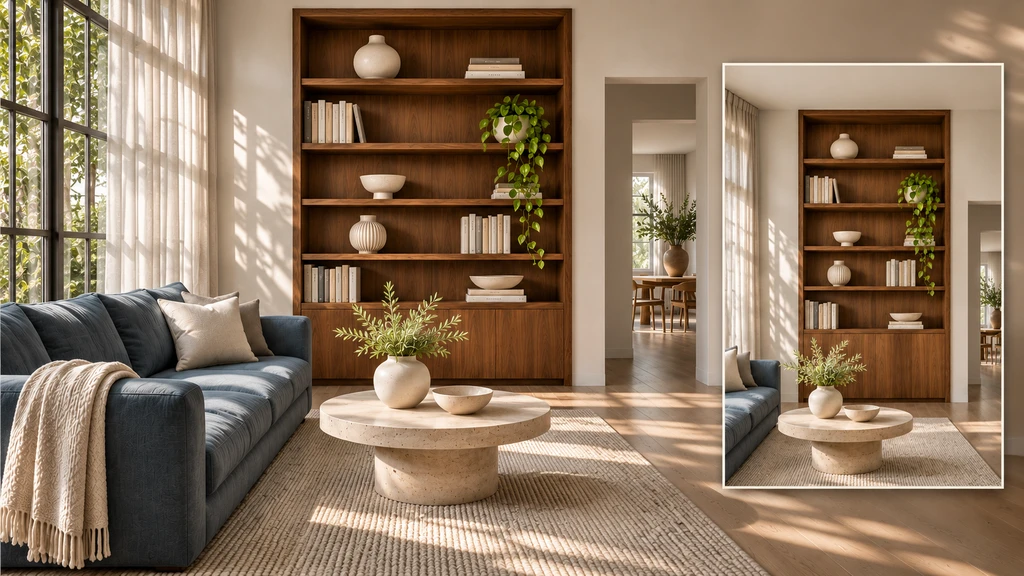
Landscape is a useful starting point for a room overview. Portrait can be more useful when a tall feature needs extra vertical coverage. Choose the frame that shows your design goal, nearby openings, and surrounding architecture. Neither orientation guarantees a better AI result. Keep useful context, avoid unnecessary crops, and follow your tool’s photo upload requirements.
-
1. Why Your Room Photo Orientation Matters for AI Design
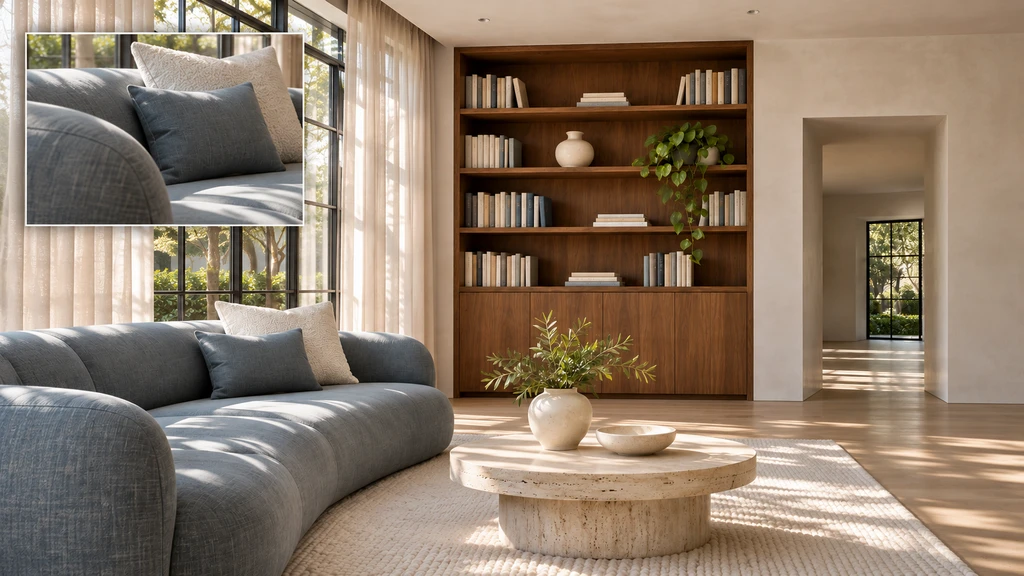
Landscape shows more room width, while portrait includes more vertical context.
Identify your design decision before choosing portrait or landscape. A sofa close-up may help with upholstery choices, while a layout decision needs nearby doorways and surrounding floor space in view.
A photo of your existing room documents its features and constraints. A separate style reference communicates the colors, materials, and look you want to explore.
-
2. Portrait vs Landscape: What Actually Changes?
Landscape is wider than tall; portrait is taller than wide. With the same lens and camera position, orientation changes what fits in the frame. It does not inherently reduce resolution: 4032 × 3024 and 3024 × 4032 both contain approximately 12.2 million pixels. Aspect ratio describes image proportions, not pixel count.
Portrait orientation differs from Portrait camera mode. Use ordinary Photo mode to avoid artificial background blur. Focus, lighting, and image processing still affect how clearly room details appear.
-
3. Choose the Frame Around Your Design Decision
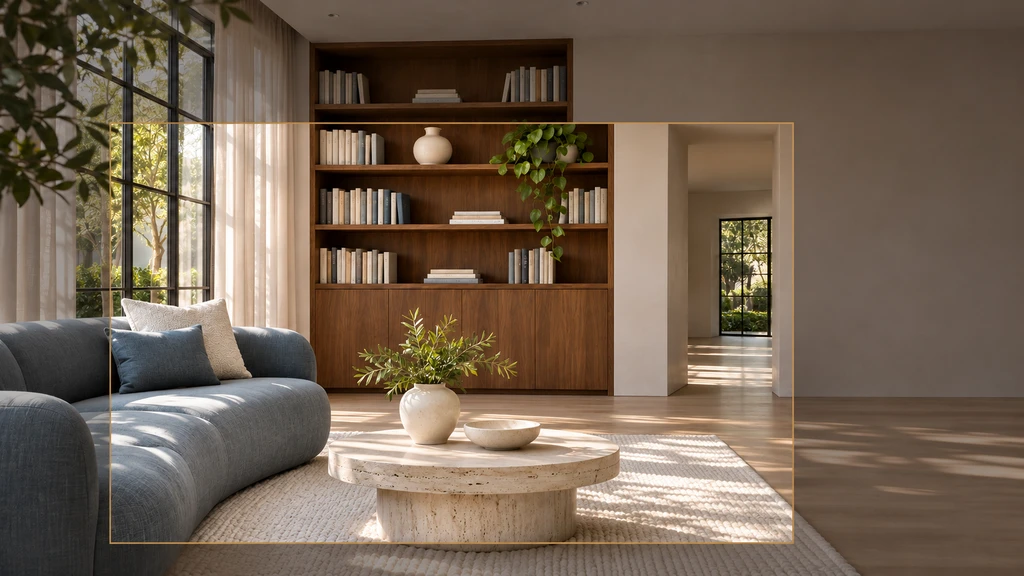
A tighter crop can remove architectural details needed to understand the space.
Choose a frame that shows what your design decision requires and meets the app’s upload requirements.
Design decision Useful starting frame Details to keep visible Rearrange a living room seating group Landscape overview Seating, nearby openings, wall edges, and surrounding floor Explore a tall cabinet or shelving wall Portrait if landscape cuts off its height The complete top and base, plus adjacent wall context Plan a compact bedroom or narrow hallway Compare both orientations The entrance, usable width, furniture, and obstructions Change artwork, paint, or a wall finish Either orientation The target area and relevant surrounding boundaries Treat these as starting points. A portrait photo may show a cabinet’s full height but hide a nearby doorway. Choose the view that captures the feature and its surrounding constraints, or add a complementary photo if the workflow supports it.
-
4. Should You Crop a Portrait Photo to Landscape?
Not automatically. Cropping can isolate a small editing target, but it removes context and does not guarantee better AI results. Retaking changes what you capture. Camera aspect ratios vary, so follow your app’s requirements rather than assuming 16:9 is necessary.
- Original: A 4:3 landscape photo measuring 4032 × 3024 pixels.
- Crop: A 16:9 image measuring 4032 × 2268 pixels, keeping the same width.
- Image area removed: 25%, calculated as 1 − (2268 ÷ 3024).
The 25% figure describes removed image area, not reduced AI accuracy. Preserve surrounding wall context for focused edits and relevant openings and floor space for layout decisions. If those details were never captured, take another photograph.
-
5. Single Photo Redesign and Photo to 3D Need Different Coverage
For a single-photo redesign, show the intended change and its immediate surroundings. For photo-to-3D, use overlapping views that document the room together.
- Photo count: Chez requires at least two photos per room and recommends four to eight overlapping views from different corners.
- Photo quality: Use bright, sharp, real photographs with level framing and some floor and ceiling visible. The Chez upload guide excludes AI-generated images and 360-degree panoramas.
- Orientation: Follow the uploader’s requirements for orientation and aspect ratio. Where both orientations are accepted, choose each for useful coverage. Mixing them does not automatically improve results.
- Connected views: Include adjacent walls or doorways when photographing a tall feature so it connects with the room overview. Read The Overlap Rule for guidance.
-
6. Quick Photo Prep Checklist for AI Room Design
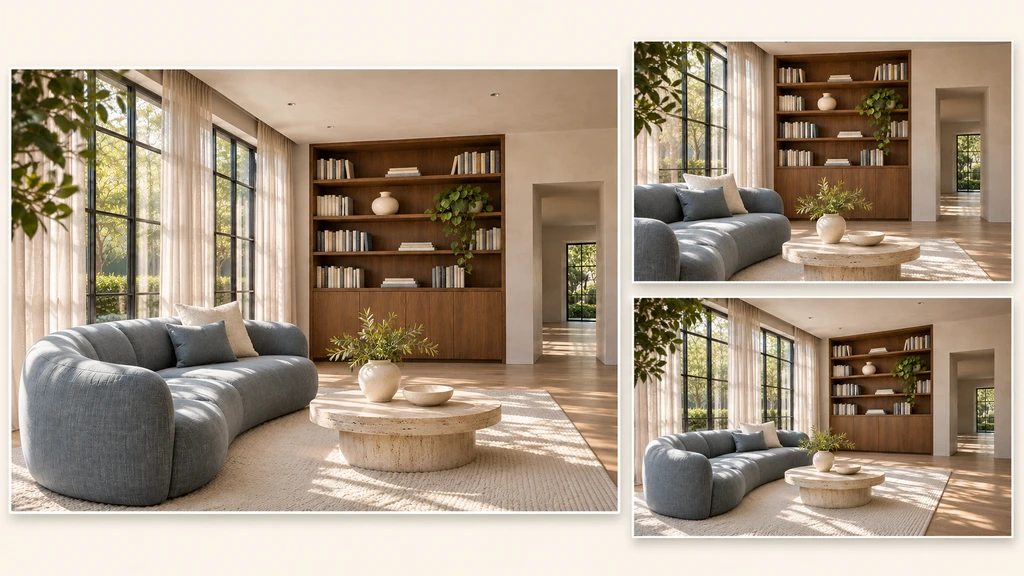
Clear details, level framing, and visible architecture make a room photograph easier to assess.
Before uploading, check that:
- The full feature is visible: Include the cabinet’s top and base or the seating area involved in the change.
- Relevant architecture remains visible: Keep nearby doors, windows, wall edges, and necessary floor space in the frame.
- Details are clear: Use ordinary Photo mode and avoid artificial background blur.
- The camera is level: Keep the room’s vertical lines easy to assess.
- Cropping preserves useful context: Remove only what is unnecessary for the task.
- The file meets upload requirements: Check the app’s size, format, and orientation guidance.
- Additional photos add coverage: Include recognizable features that connect overlapping views.
Frequently Asked Questions
Can I use a portrait room photo I already have?
Yes, if the app accepts portrait photos and the image shows your target area and relevant surroundings. Retake it if important details are missing. Rotating the file will not reveal them.
Will cropping my photo to landscape make the design more accurate?
Not automatically. Cropping can help focus a local edit, but it removes context. Keep the features needed for your design decision rather than cropping just to make the image horizontal.
Should multiple room photos all have the same orientation?
Follow the app’s requirements. If both orientations are accepted, choose clear, overlapping views that capture the relevant architecture. Matching or mixing orientations cannot compensate for missing room details.
Choose the Orientation That Explains Your Room Best
Photo orientation is a tool for communication, not a requirement for AI success. Whether portrait or landscape, pick the frame that offers a clear view of your design goal and all surrounding constraints. For 3D workflows, combine several photos, including both orientations if helpful, that together reveal the full picture. Always review the original photo: good design starts with good input.