How Many Photos Do You Need for a 3D Room? 2 Minimum, 4–8 Recommended
TL;DR
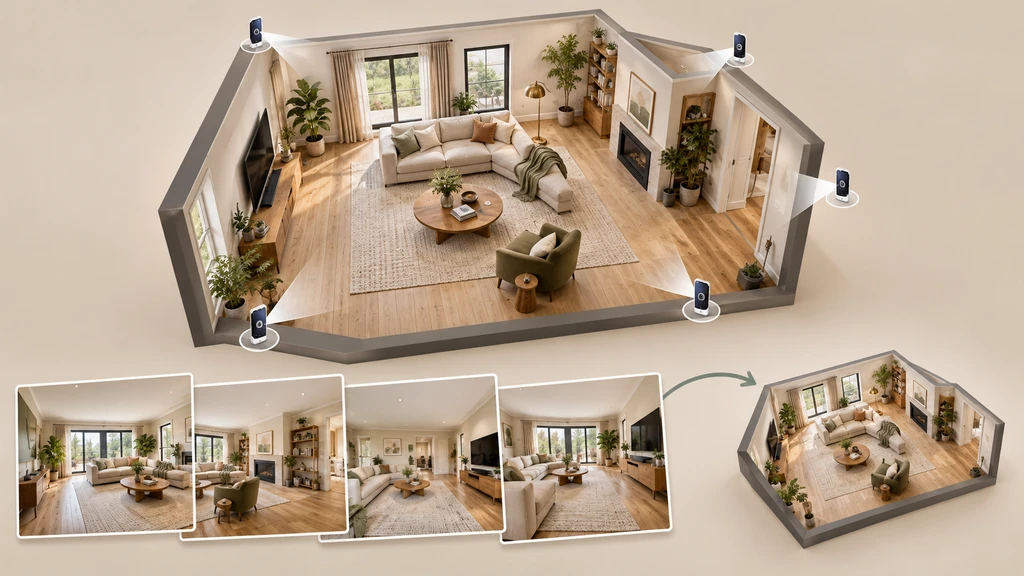
Chez by ReimagineHome requires at least two clear photographs of the same room, but four to eight overlapping views from different corners are recommended. Useful coverage matters more than quantity because anything the photographs do not clearly show may need to be inferred.
Getting the Right Photos for a 3D Room
Turning a real room into an explorable 3D space begins with clear photographs. But more photos do not automatically produce a more useful room model. Eight nearly identical images from one position reveal less than four carefully chosen views from different corners.
Chez by ReimagineHome requires at least two photographs of the same indoor room and recommends four to eight overlapping views. The aim is to show walls, corners, openings and built-in features across connected images.
Before uploading, ask a better question than “Have I taken enough?” Ask: Does this photograph reveal something useful while connecting with another view?
-
The Quick Photo-Count Guide
Number of photos Practical guidance 1 photo Not enough for Chez. Add another view from a different corner. 2 photos The minimum accepted, but parts of the room may remain unseen. 4 photos A useful starting point for a simple room when the views come from different corners. 4–8 photos The recommended range for overlapping coverage of walls, openings and fixed features. More than 8 Review the set first and replace redundant images with more useful angles. The count is only a starting point. Anything your photographs do not clearly show may need to be inferred, so inspect the coverage rather than relying on the number alone.
For an overview of the available 3D views and design tools, read our introduction to Chez and photo-to-3D room design.
-
Why Do Overlap and Camera Position Matter?
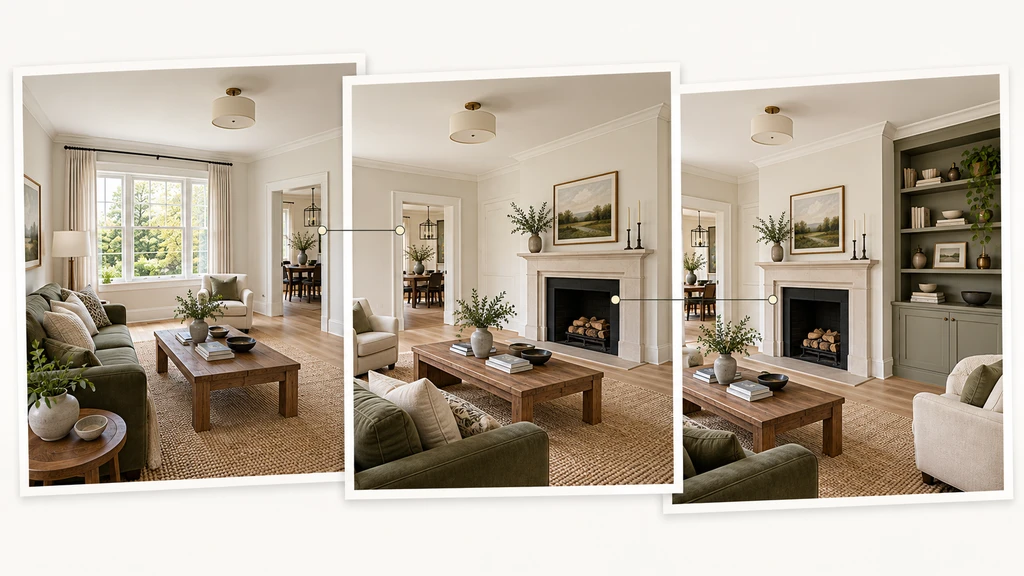
Several nearly identical photographs of the same corner add little new information. More useful images come from different positions while retaining shared visual details.
For example, one photograph may show a window beside a doorway. The next can show the same doorway beside a built-in cabinet. The shared doorway connects the views, while each photograph reveals a different part of the room.
Four to eight carefully selected images can cover more of the walls, corners and architectural features than a larger set of near-duplicates. This gives Chez more room information to work with, but it does not guarantee an exact reconstruction.
-
Use the Corner–Overlap–Edge Test
Useful room photographs share recognizable features with neighbouring views while adding new coverage of walls, openings and built-ins.
Before uploading each photograph, check three things:
- Corner: Was the image taken from a different, useful position in the room?
- Overlap: Does it share recognizable features—such as a doorway, window or built-in—with another photograph?
- Edge: Does it include some floor and ceiling while showing the edges of doors, windows, openings or built-ins?
If a photograph passes all three checks, it is probably contributing useful room information rather than simply increasing the upload count.
Photo-derived dimensions remain estimates. Read why a 3D room may differ from the original photographs and verify important measurements in the physical room.
-
How to Photograph Your Room for 3D
- Move between corners: Photograph across the room instead of standing in one place and rotating.
- Keep the camera level: Shoot around chest height and keep walls and doorframes upright.
- Connect neighbouring views: Let consecutive photographs show some of the same windows, doors, furniture or built-ins.
- Include some floor and ceiling: Give each image broader visual coverage of the room.
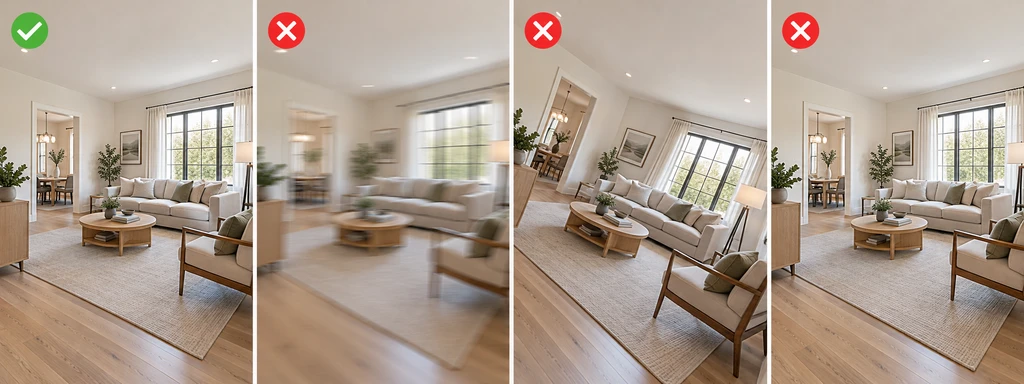
- Use bright, sharp originals: Avoid deep shadows, strong glare and motion blur.
- Keep one lens setting: Avoid switching between ultra-wide, normal and zoomed views.
- Keep the room consistent: Avoid moving furniture, curtains or doors between photographs where possible.
For the complete upload process, see our step-by-step guide to creating a 3D room from photographs.
-
Common Photo Mistakes That Weaken Room Coverage
Use sharp, level photographs from different positions; avoid motion blur, tilted framing and redundant views.
- Taking every photograph from one position: Move between corners to reveal different parts of the room.
- Uploading near-duplicate angles: Each image should add useful coverage.
- Leaving out doors or windows: Show each opening with some of the surrounding wall.
- Photographing only the attractive side: Include awkward corners and fixed features too.
- Using dark or blurry images: Important edges and room details should remain visible.
- Changing objects between shots: Keep the scene as consistent as possible.
- Using AI-generated images: Upload original photographs of the real indoor room.
- Uploading 360-degree panoramas: Use standard room photographs instead.
-
Should You Upload More Than Eight Photos?
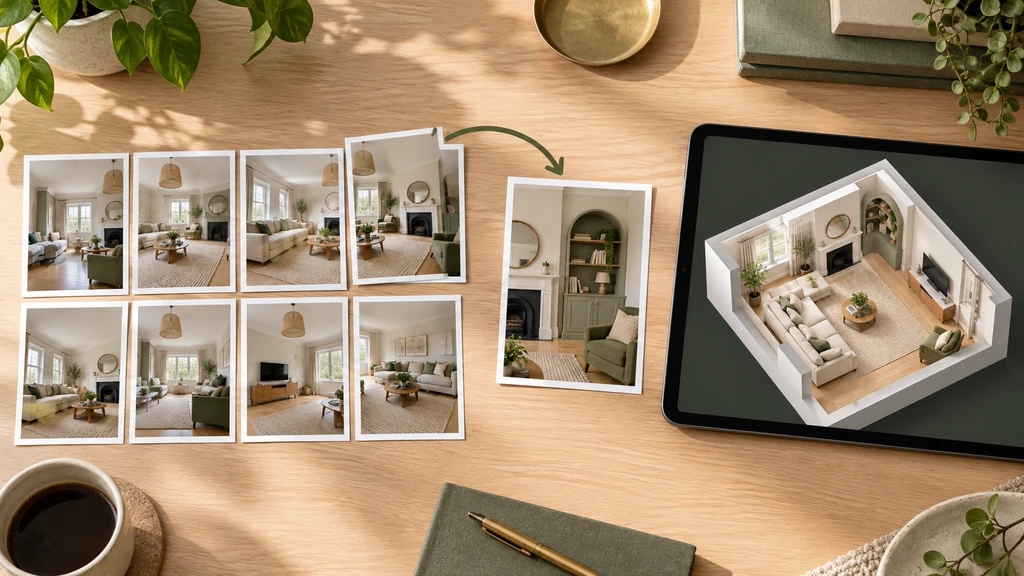
Replace redundant photographs with targeted views that reveal missing corners, alcoves or built-ins. Better coverage matters more than a higher photo count.
Aim to stay within four to eight useful photographs. If an important corner, opening or built-in is still missing, review the set before adding more.
Replace a blurry or redundant image with a targeted view that reveals the missing feature while still overlapping with another photograph.
Use this rule: add or replace a photograph because it solves a specific coverage gap—not because a higher number feels safer.
-
Key Takeaway: Better Coverage Beats More Photos
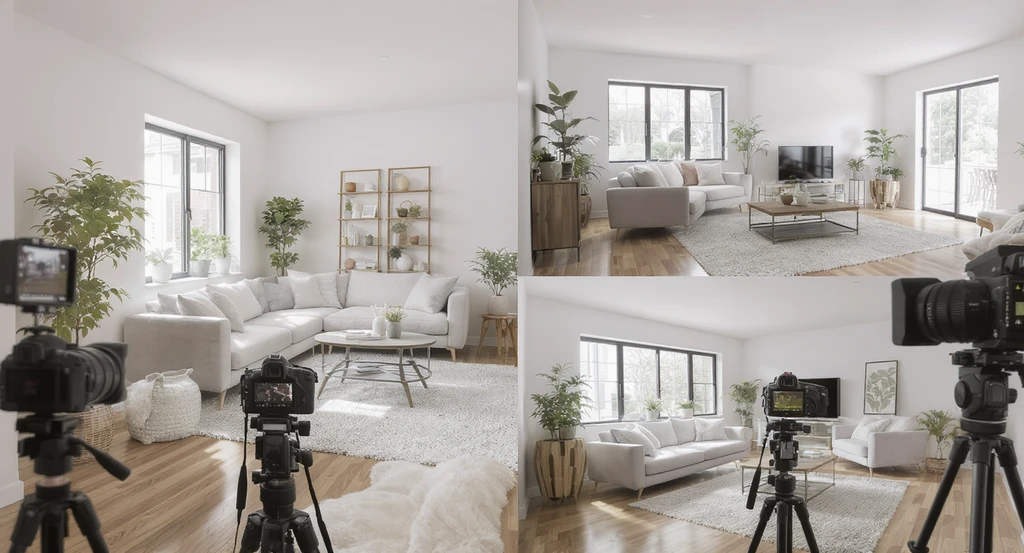
For optimal 3D room creation with AI tools, use 4–8 clear photos from strategic, overlapping angles. Avoid common mistakes in 3D room photography by prioritizing coverage over quantity for accurate models.
You don’t need a fancy camera or an enormous photo archive—just four to eight clear, strategically chosen images from different corners. Consistent, overlapping photos produce a more accurate and livable 3D Chez model than piles of nearly identical shots.
Visualization Scenario
Imagine photographing a living room from one corner, capturing the window, sofa and adjoining doorway. From the opposite corner, the next image shows the same doorway beside a built-in shelf. The doorway connects the views, while each photograph reveals a different part of the room. Repeating this carefully from four to eight useful positions gives Chez broader information for building the photo-derived 3D space.
Frequently Asked Questions About Room Photos for Chez
1. Can I create a 3D room in Chez with one photo?
No. Chez requires at least two clear photographs of the same indoor room.
2. What is the recommended number of room photographs?
Four to eight overlapping photographs from different corners are recommended. The usefulness of the views matters more than reaching the highest number.
3. Does the room need to be empty?
No. Furnished rooms can be used. However, furniture and clutter may hide walls, openings or corners, so capture important features from more than one position where possible.
4. Can I upload a 360-degree panorama or an AI-generated room image?
No. Use bright, sharp, original photographs of the real indoor room rather than 360-degree panoramas or AI-generated images.
5. Will more photos make the model and measurements exact?
No. Useful coverage gives Chez more room information, but dimensions, floor plans and wall elevations remain photo-derived estimates. Verify critical measurements on site.
Better Coverage Beats a Bigger Photo Count
Creating a useful 3D room is not about taking the greatest number of photographs. It is about showing the same room through connected, informative views.
Start with four to eight clear images from different corners. Keep shared features visible, include some floor and ceiling, and check that doors, windows and built-ins appear clearly across the set.
Better photographs give Chez more room information to work with. The finished model remains a photo-derived representation, so verify important dimensions in the physical room before making decisions that depend on exact fit.