Winter Renovation Planning: Preview Your Room in 3D Before Calling Contractors
TL;DR
Before contacting contractors, decide what must stay, what could change and what still needs checking. A photo-derived 3D room can help you compare layouts, storage and finishes before requesting quotes. Use it to prepare a clearer renovation brief, then confirm measurements, materials and technical requirements in the actual room.
Why Winter Renovation Planning Needs a Visual Head Start
Winter can compress renovation planning around shorter daylight hours, holiday schedules and product availability. When homeowners approach contractors with broad requests such as “add more storage” or “make the room feel warmer,” each contractor may interpret the project differently.
A visual brief makes the project easier to explain and the resulting proposals easier to compare. By reviewing layouts, storage ideas and finish directions inside a 3D version of your existing room, you can approach contractors with a defined objective and practical questions.
-
Stay, Change, Check: The Essential Renovation Brief
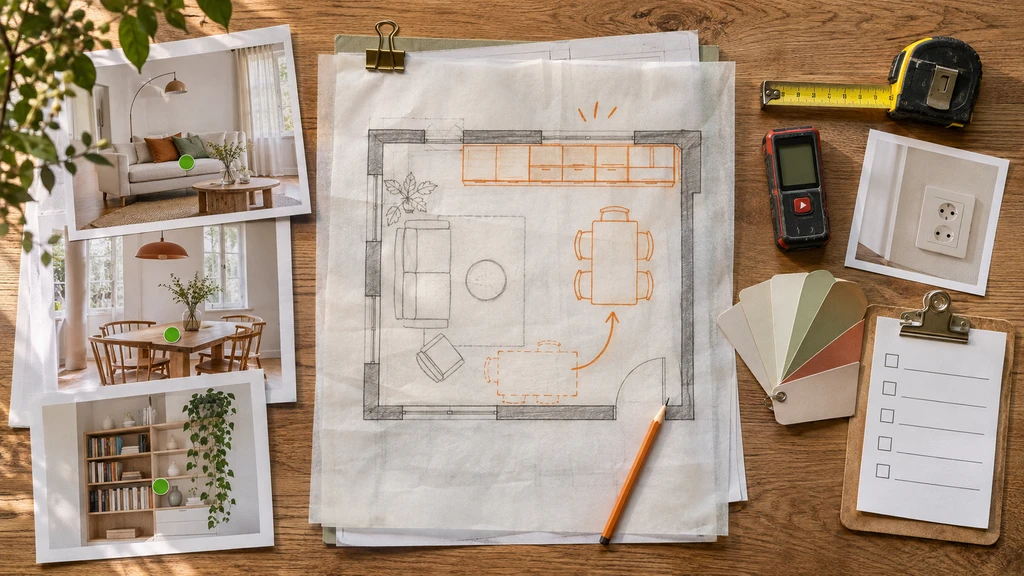
Organize the renovation around what stays, what may change and what still needs to be checked on site.
Before selecting paint colours or shopping for cabinets, divide your winter renovation plan into three categories:
- Stay: Record the windows, doors, built-ins and favourite furniture that must remain.
- Change: List the layout, storage, furniture placement, circulation or finishes you may alter.
- Check: Identify dimensions, hidden conditions, physical samples and technical questions that still require site verification or professional input.
Condense the project into one outcome-focused sentence. For example: “Add concealed living-room storage without narrowing the route between the entrance and seating area.” This gives the renovation a specific problem to solve instead of a vague request to “make the room work better.”
-
How Does a 3D Room Preview Support Renovation Decisions?
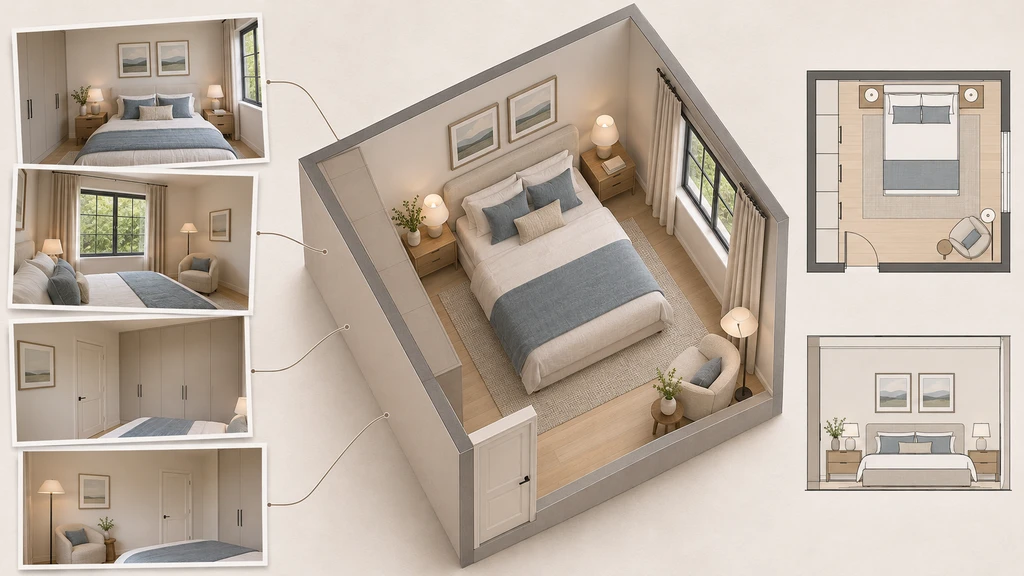
Multiple photographs of one bedroom combine into a connected 3D space that can be reviewed from plan, elevation and in-room perspectives.
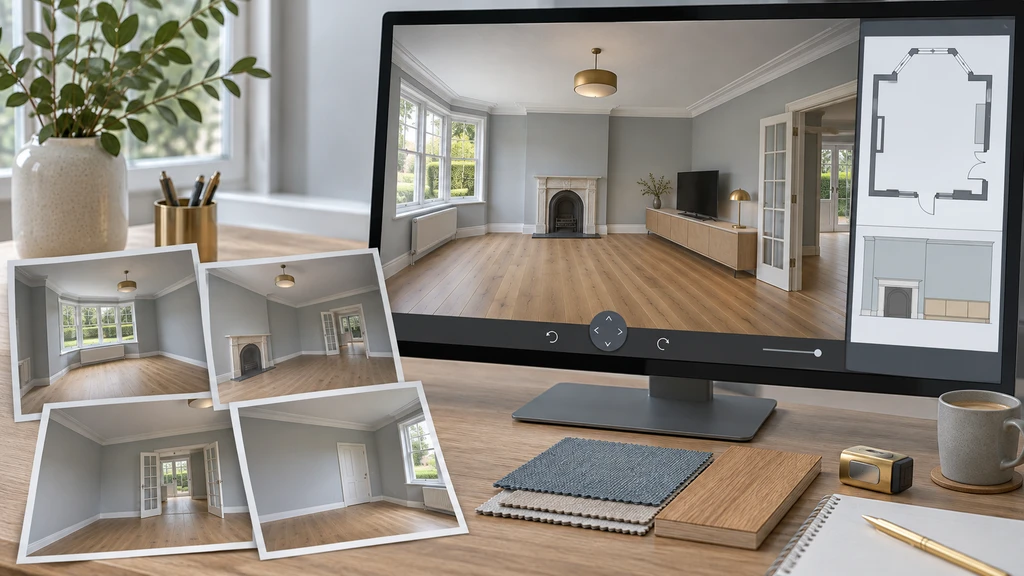
Chez by ReimagineHome uses multiple photographs of an existing room to create a photo-derived 3D space for exploration. You can walk through the room, access its floor plan and wall elevations, try furniture from a preset catalogue, and compare colours and textures.
This workflow is explained in our overview of turning room photographs into an explorable 3D space.
- Floor-plan view: Compare furniture positions, circulation and possible storage locations.
- Walkthrough view: Review the proposed change from the entrance, seating area or another viewpoint that matters in daily use.
- Wall elevation: Examine how storage, furniture or artwork relates to windows, doors and other wall features.
- Colour and texture changes: Compare broader finish directions before ordering physical samples.
The value is not simply seeing an attractive room. It is reviewing the same renovation decision from several useful viewpoints. For a step-by-step explanation, see our guide to creating a 3D room from photographs.
-
Compare Two Strong Options Not Ten Minor Tweaks
Instead of refining dozens of small variations, use your 3D room to compare two meaningfully different solutions.
Consider an illustrative living-room renovation in which the homeowner needs more storage. The sofa and door positions will remain, but the media wall may change:
- Option A: A full-height storage wall provides more concealed storage but may dominate the view from the sofa.
- Option B: A lower media unit preserves more visible wall and may feel lighter, but it provides less storage.
Review both options from the same floor-plan, entrance and seating views. Keep the remaining furniture, viewpoints and finishes consistent so that storage height and placement are the only meaningful variables.
As explained in our existing-furniture planning guide, holding retained furniture in place makes it easier to understand how each proposed addition affects circulation, sightlines and visual balance.
Decision Helpful 3D view What still needs checking Storage position Floor plan Clearances and site measurements Visual impact Walkthrough View the location in person Wall composition Wall elevation Structure, services and installation Colour or material Colour and texture changes Physical samples in the room’s light -
Crafting a Contractor-Ready Brief From 3D Exploration
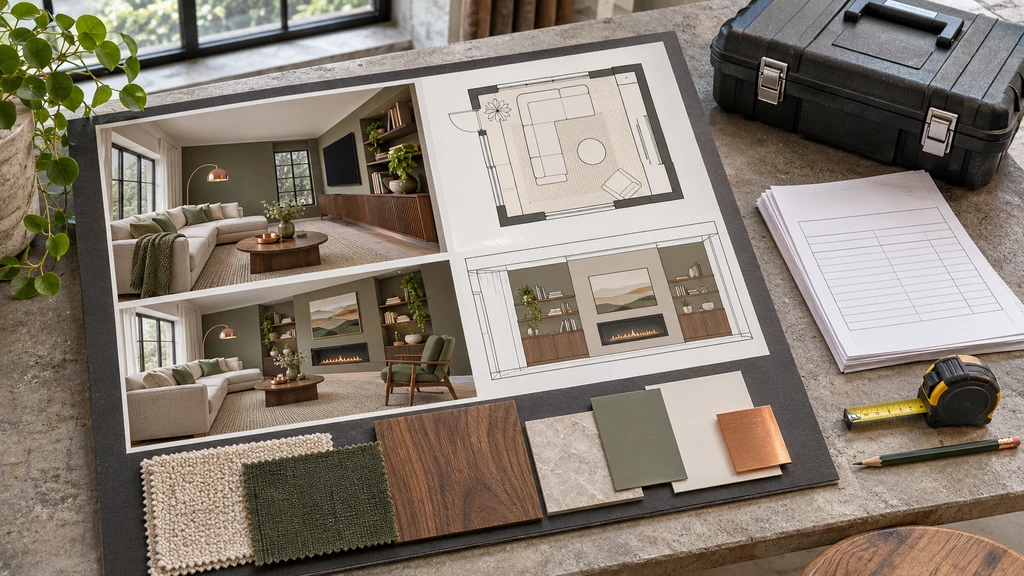
Combine the preferred room direction, layout views, finish samples and unresolved checks into one contractor-ready brief.
After comparing the options, turn the preferred direction into a short brief that every contractor receives. Using the same starting information makes their assumptions and proposed scopes easier to compare.
- Room objective: State the single problem the renovation should solve.
- Fixed elements: Record the architecture and furniture that must remain.
- Options considered: Summarise the principal benefit and compromise of each alternative.
- Preferred direction: Identify which option currently works better and explain why.
- Finishes to sample: List the colours, flooring and surfaces that require physical review.
- Items to verify: Mark dimensions, hidden conditions, structure, services and compliance questions for professional checking.
A 3D preview gives the contractor context, but it should not be presented as a technical drawing or final construction instruction. Ask the contractor to identify what is feasible, what requires further investigation and what could affect the proposed scope.
-
Turn Your 3D Exploration Into a Contractor-Ready Brief
It’s important to recognize what a 3D room preview can’t do. Dimensions and geometry are estimated based on your photographs—critical measurements and hidden obstacles should always be verified onsite. Likewise, visual simulations of color or material in Chez are for shortlisting purposes; always order or view physical samples under the actual lighting conditions before committing. Our 3D photo-modeling guide covers these points in detail. Preset furniture in Chez is intended for layout exploration rather than representing exact, shoppable items.
Visualization Scenario
Imagine uploading clear, overlapping photographs of your living room and receiving a photo-derived 3D space to explore. You compare a full-height storage wall with a lower media unit from the same entrance, seating and elevation views. One provides more storage; the other keeps the room visually lighter. The preview does not choose for you, it makes the trade-off easier to see and explain.
Winter Renovation Planning FAQs
1. Can I plan a room renovation visually before getting estimates?
Yes! By previewing your room in 3D using Chez by ReimagineHome, you can compare storage, finishes, and layout possibilities, helping clarify your plan before contacting contractors.
How accurate are the 3D dimensions in Chez?
Dimensions estimated from photos provide a strong guide, but for construction and purchases, always take physical measurements and confirm with professionals.
Does 3D preview replace reviewing real finish samples?
No. Screen previews help narrow choices, but final selection requires checking actual samples in your room and light.
Is Chez only for living rooms?
No. Chez supports nearly any indoor room—bedrooms, kitchens, and more—for preview and planning.
Preview, Compare and Prepare for Your Winter Renovation
By previewing your actual room in 3D, you can better understand which ideas deserve further consideration before speaking with contractors. Begin by defining what stays, what might change and what still requires checking. Compare two purposeful alternatives in Chez, then turn your preferred direction into a concise contractor brief.
A 3D preview does not replace physical measurements, material samples or professional assessment. It helps you narrow the options, explain your priorities and identify the questions that must be answered before physical work begins.