When Painters Tape Goes Wrong: What DIYers Need to Know About Tape, Caulk, and Avoiding What Comes Next
TL;DR
Painter’s tape can transform a painting or staining project—but only if used with care. When left on too long, especially on top of flexible materials like old caulk, tape can fuse and leave residue, stains, or worse, permanent eyesores. Avoiding these issues and knowing what to do if they arise is key for every DIYer trying to balance ambition and practicality.
The Stuck Tape Dilemma: When DIY Projects Fight Back
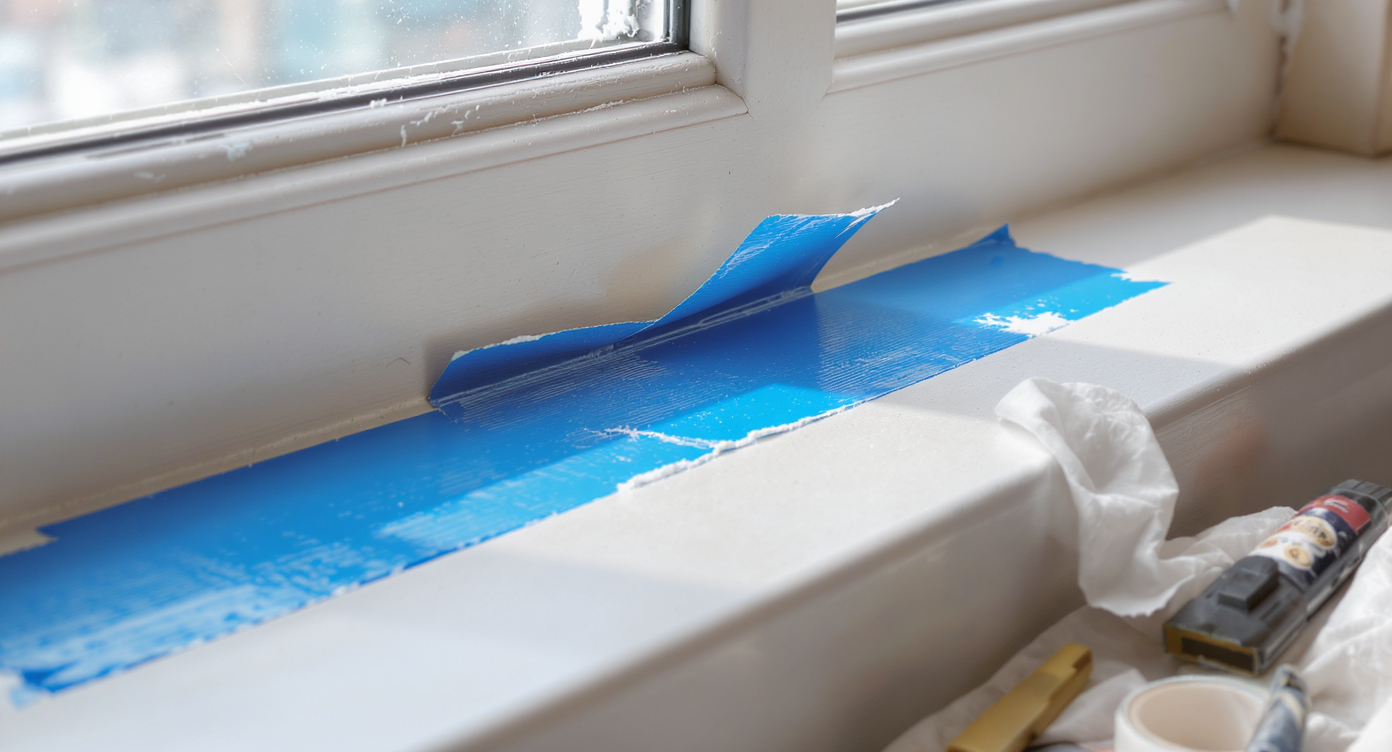
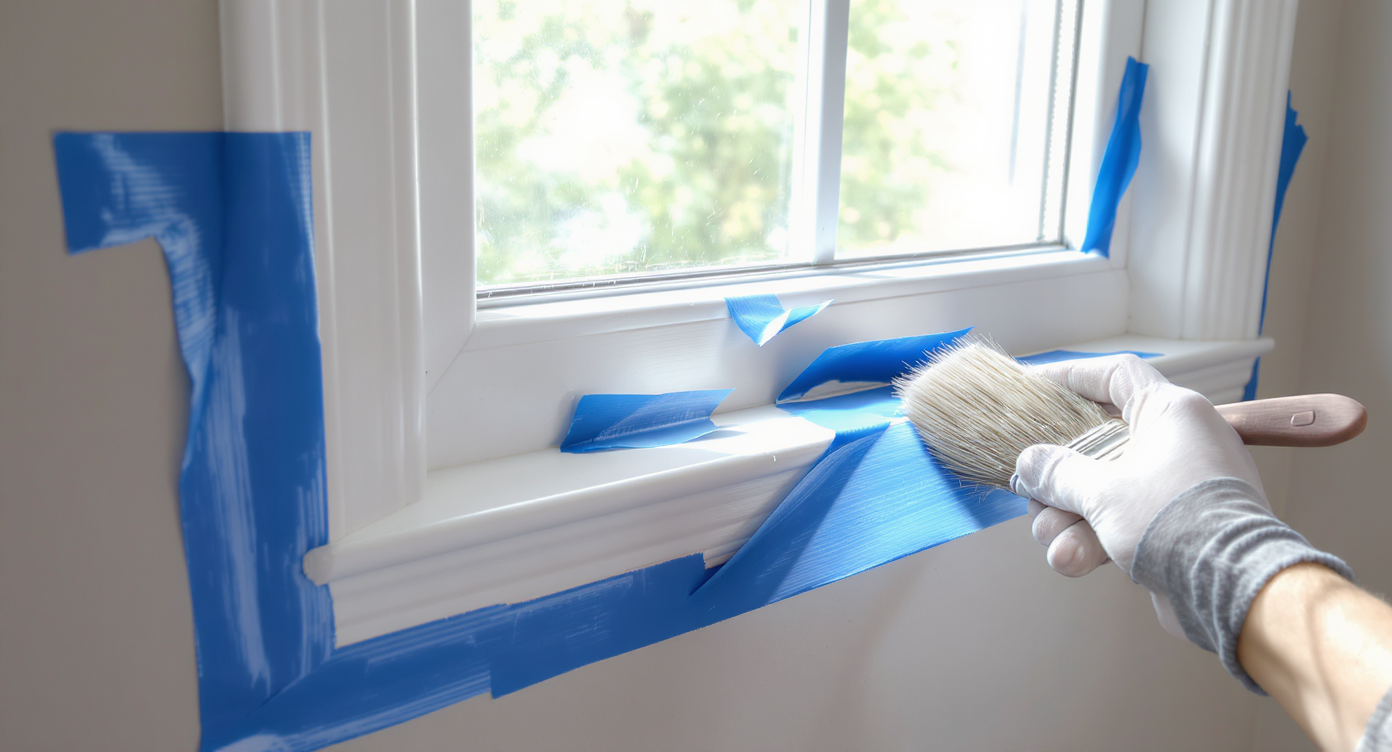
A freshly painted windowsill with stubborn blue painter’s tape stuck over cured caulk, perfectly illustrating a common DIY frustration.
Home improvement often promises the satisfaction of a fresh finish or clean lines, but not every project goes to plan. One misstep that has caught even experienced renovators off guard: painter’s tape that refuses to budge—especially when it meets cured caulk. It’s a scenario few homeowners anticipate, but the frustration is real and, at times, costly to undo.
Whether refinishing windowsills, painting trim, or refreshing tight architectural corners, painter’s tape feels like a safety net. But what happens when that net turns into a sticky trap? Understanding the chemistry, common mistakes, and practical fixes can help avid DIYers and novices alike emerge unscathed, and might even save a future weekend from sticky regret.
-
Why Painter’s Tape Sometimes Becomes a Permanent Fixture
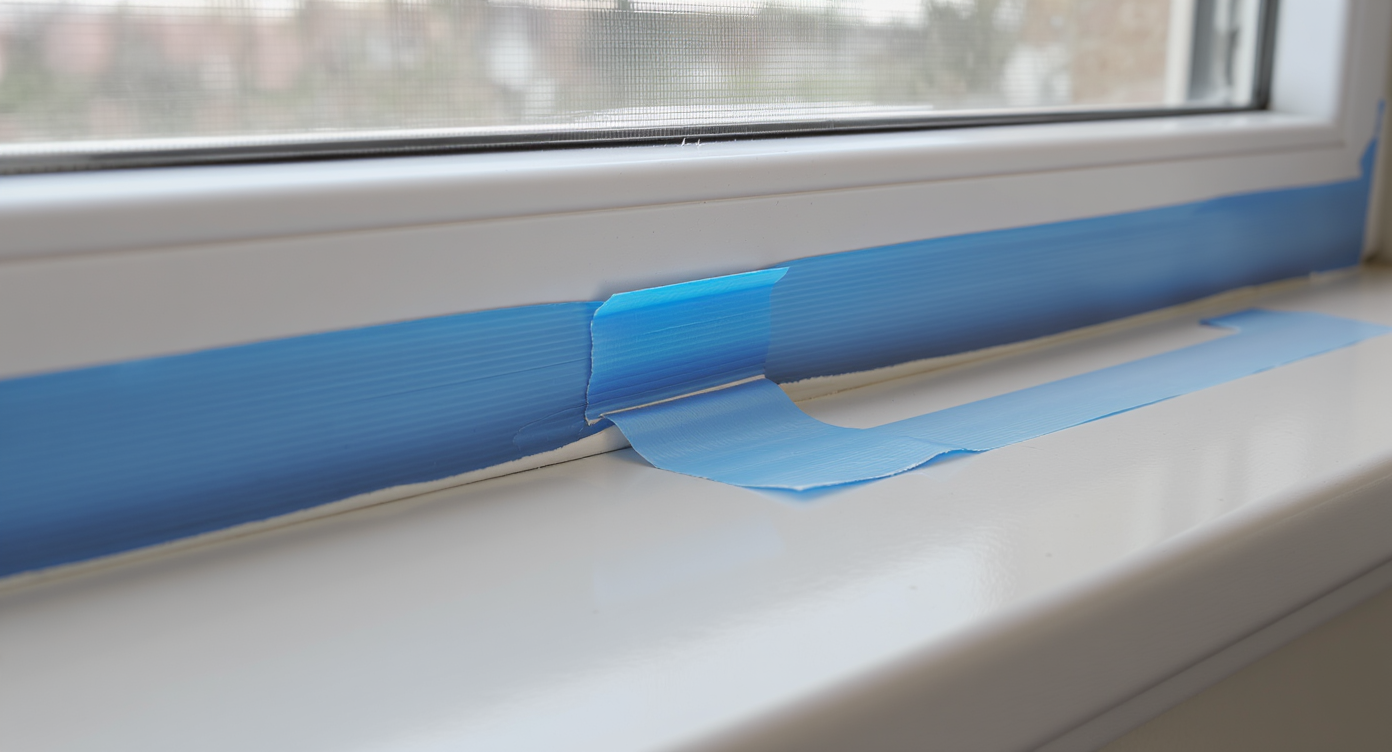
Blue painter’s tape stuck to caulk on a vinyl window illustrates how tape can bond, bleed color, and damage adjacent woodwork when left too long.
Painters tape is marketed as removable and low-adhesion, designed for crisp paint lines and easy clean-up. Yet, its interaction with certain surfaces—especially old, cured caulk—can defy expectations. Vinyl windows with flexible silicone or acrylic caulk are common in newer homes, and over time, their chemical structure evolves. When painter’s tape, particularly the colored varieties favored for visibility, is left attached for days, it can chemically bond with the caulk. Adhesives from the tape, solvent migration, and pressure from sanding or finishing processes all contribute to this unwanted marriage.
In some instances, as contributors in DIY forums recount, the colorant from blue tape migrates into clear caulk, creating permanent stains. Worse, attempts to remove fused tape can mar freshly refinished woodwork or scratch delicate surfaces. Many DIYers realize too late that tape designed for paint does not always play well with flexible sealants, and the longer it stays, the greater the risk of a difficult clean-up.
Expert Insight
A weekend renovator once recounted spending an entire evening coaxing stubborn blue tape from a sun-exposed window, only to find blue-tinged caulk lines left behind as a lasting memory. After hours of careful scraping and gentle persuasion with a citrus-based remover, the lesson stuck—never underestimate the power of timely tape removal.
-
DIY vs Pro: Knowing Where the Boundary Lies
Tales of tape trouble are so common that even seasoned home stagers and renovators warn about it. As real estate professionals attest, visible tape residue, stained caulk, or damaged trim from clumsy tape removal can diminish a freshly redone room’s appeal. When prepping a home for sale, or simply maintaining a polished look, the hidden costs of a tape mishap show in both time and resale value. According to Are DIY Renovations Worth It for Resale?, any post-DIY regret related to finish flaws can wipe out the perceived value a well-executed project might offer.
The line between a manageable DIY fix and a job for professionals is subtle but important. Removing tape from firm, painted surfaces is one thing. However, dealing with adhesives fused to elastic or porous caulk requires a more careful approach. Attempting brute-force scraping or aggressive solvents risks making minor cosmetic issues far worse, sometimes requiring full recaulking or window frame touchups. Savvy homeowners know their limits and aren’t afraid to call in a pro if gentle DIY methods fail.
-
Unsticking the Situation: When Tape Refuses to Leave
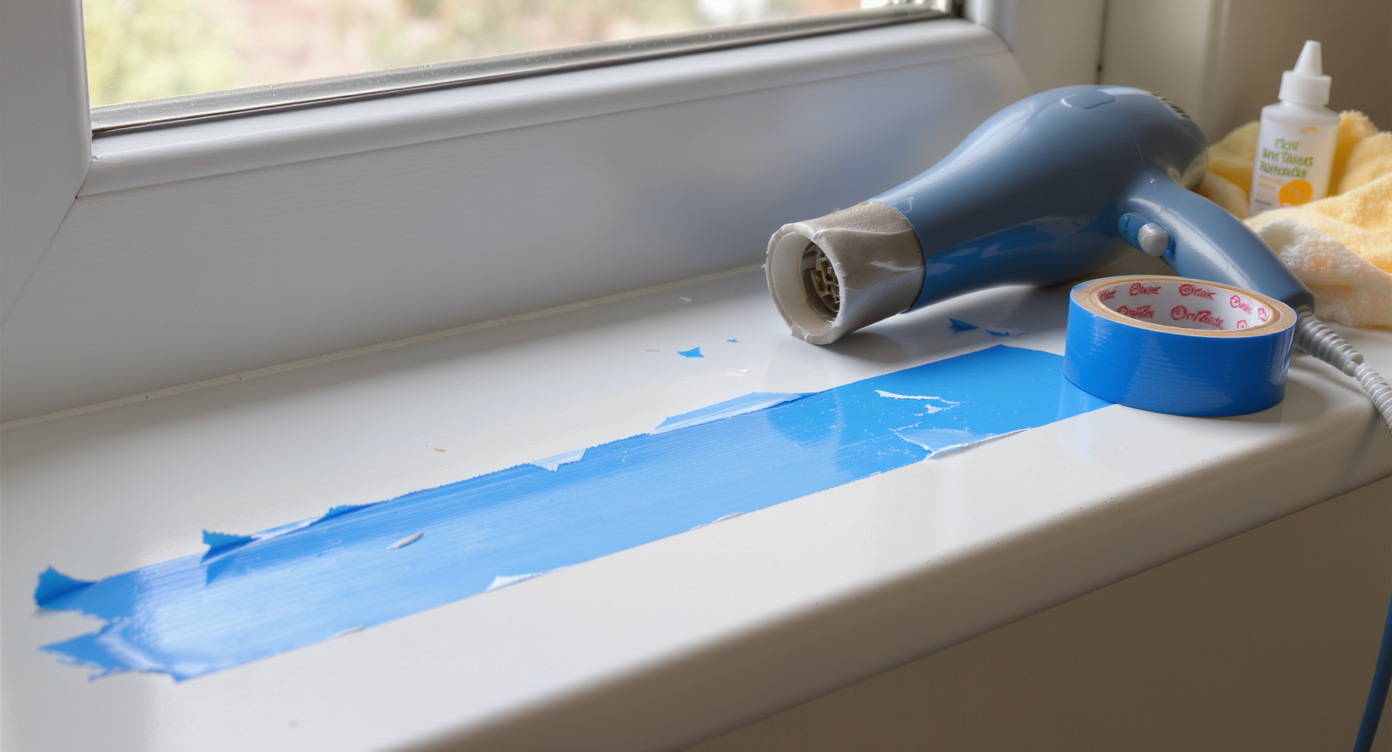
Stubborn painter's tape stuck to caulk on a windowsill, with practical tools like a hairdryer, adhesive remover, and putty knife ready for gentle removal.
When painter’s tape has fused to caulk, initial instinct often leans toward scraping, tweezing, or dousing the area in household cleaners. The reality is that most common removers—soapy water, alcohol, light oils—only work on superficial residue and can leave stains behind. More aggressive measures, like acetone or solvent-based adhesive removers, risk damaging surfaces further unless tested in an invisible spot.
There are scenarios where a digital preview of project steps or problem areas can save time and money. Many DIYers have turned to visualization platforms to anticipate how materials interact before starting in earnest. As explored in The Easiest DIY Home Repairs That Save Real Money, testing colors, caulk lines, or protective layers in a virtual setting can head off experimental errors. But when tape is already stuck, gentle heat from a hairdryer or softening the adhesive with a targeted, citrus-based remover may help, provided the surrounding surfaces are properly protected. When all else fails, careful recaulking is sometimes the cleanest way forward, hiding past mishaps under a renewed seal.
Homeowners often weigh the effort of painstaking tape removal versus re-caulking entirely. The scale tips based on personal patience, material cost, and visibility of the issue in the context of the finished space.
-
Anecdote: A Cautionary Tale from Window Trim
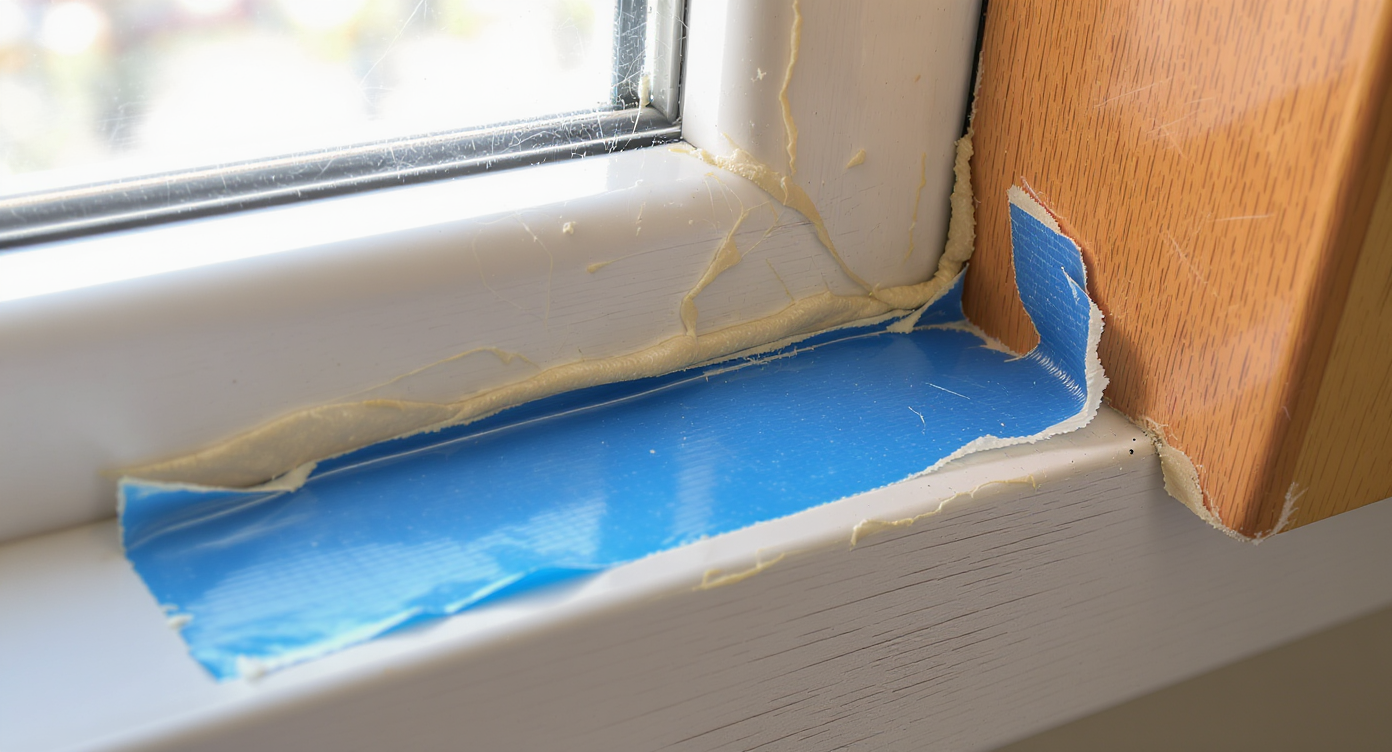
Consider the experience of a first-time homeowner who set out to refresh window sills before a big family gathering. Confident in their plan, they masked the vinyl frames and existing caulk with blue painter’s tape and set to sanding and staining. Three days later, peeling the tape revealed it was stubbornly fused to the old caulk, the blue dye bleeding into the clear lines, and attempts to pry it up left frayed edges and sticky residue. After an afternoon with a hair dryer and a cautious application of a plastic scraper, much of the tape came loose, but some caulk needed to be replaced entirely. The hardest part? The realization that a small oversite early on led to a marathon of tedious cleanup, reminding them never to underestimate the simple rules of painter’s tape again.
-
Common Mistakes to Avoid
Several patterns emerge when reviewing stories of painter’s tape mishaps. First, leaving tape attached for multi-day projects, especially over caulk, dramatically increases the risk of adhesion failure. Second, using off-brand or generic tape can mean unpredictable adhesives that bond more strongly or discolor over time. Overlapping steps—where tape is reused between sanding, staining, and sealing—also increases the potential for tape to degrade and become ingrained in soft or flexible joints.
Many DIYers discover too late that forceful scraping with metal blades or harsh solvents creates more problems than it solves, often damaging new finishes or window frames. The temptation to improvise can be strong, but a cautious, deliberate approach, and respect for the limits of consumer-grade tapes, is the surest protection.
-
Tips and Expert Insights for Happier Finishes
Designers and home improvement specialists share practical wisdom: treat every surface individually, and remove tape promptly. Schedule work so that tape can come off within a few hours, before adhesives have a chance to migrate or cure in place. For projects requiring protection over longer periods, consider investing in specialty tapes made for extended exposure, or use removable film barriers that do not rely solely on adhesives.
Pro tip: when in doubt about compatibility, test tape on a scrap or hidden area before widespread use. For corners where tape must cross over caulked lines, use the smallest strip possible and press it lightly, avoiding overlap with old or flexible caulk. Always have a plastic scraper, gentle adhesive remover, and the patience to pause before escalating to drastic measures.
-
How to Use This Knowledge in Your Next Designs
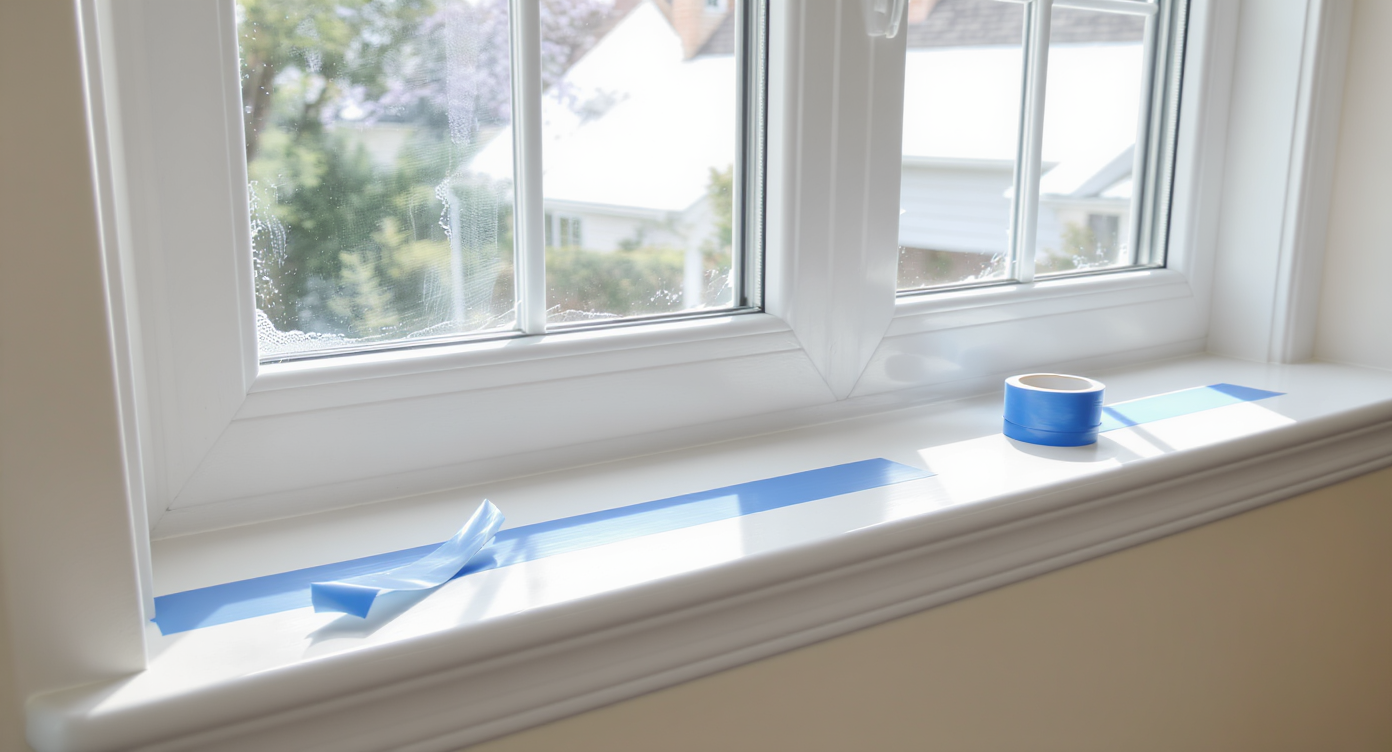
Proper taping on vinyl but not on cured caulk during a bathroom window trim update, ensuring a clean, damage-free painted finish.
The lesson for design-loving DIYers is less about perfection and more about process. Plan any window or trim update in stages, allowing for drying and removal windows that suit the properties of each surface. For example, when refinishing a bathroom window with old silicone caulk, tape only the adjacent vinyl—not the caulk itself—and pull up the tape as soon as possible after painting or staining. If convenience demands longer masking, look to mechanical barriers or invest in painter’s tapes rated specifically for cured caulk and longer dwell times.
This approach minimizes the risk of damage, reduces clean-up time, and preserves the aesthetic integrity of your finished space. In larger upgrades, such as prepping a home for the market, these small routines often spell the difference between first impressions that wow and finishes that frustrate.
-
Visualization Section: Picture-Perfect Windows, Tape-Free Regret
Freshly peeled painter’s tape reveals immaculate window sills and caulk lines in a sunlit kitchen nook—no mess, just perfection.
Imagine the next time you undertake a creative update. You carefully prep a sun-dappled kitchen nook, tape applied with intention only to the rigid surfaces, and as the final coat dries, you peel away the tape in one smooth, satisfying pass. The finished look: pristine sills, undisturbed caulk lines, and none of the telltale blue stains or sticky surprises that haunt so many DIY dreams. For many, it only takes one mishap to become fastidious about tape removal—and the repeat satisfaction of a job well done is worth it every time.
Visualization Scenario
Picture setting up an open-concept living room refresh. You mask off the baseboards, lay drop cloths, and quickly spot where old caulk meets crisp vinyl. This time, a mental checklist reminds you to tape only hard surfaces and to peel tape up as soon as you finish painting. The reveal is a clean, modern border—no tape residue, no stains, just a look that feels as expertly pulled together as any high-end renovation.
Frequently Asked Questions
- How long should I leave painter’s tape on during a window or trim project?
- Most experts recommend removing painter’s tape within a few hours of application, or as soon as the surface is dry to the touch, to prevent it bonding permanently or leaving residue on caulk surfaces.
- Is it better to DIY caulk removal or call a pro if the tape is stuck?
- If a small area is affected and the adhesive is superficial, careful softening and scraping can work. For larger problems or if discoloration and tearing occur, consulting a professional can prevent further damage.
- Are specialized tapes available for taping over caulk or flexible surfaces?
- Yes, there are tapes formulated for flexible or sensitive surfaces. Always check manufacturer guidelines and test compatibility with your caulk before applying broadly.
- Can I preview how finishes and protective barriers will interact before starting my DIY?
- Visualization tools, such as ReimagineHome.ai, let homeowners anticipate how colors, materials, and barriers might behave in real spaces, minimizing surprises during actual projects.
- What’s the top mistake to avoid with painter’s tape?
- The most frequent error is leaving tape on while multiple steps are completed, increasing the risk of bonding and staining. Remove tape promptly for the cleanest results.
Tape Smarter, Not Harder
Learning the nuances of tape, surfaces, and timing saves more than frustration—it preserves your project’s impact, your finishes, and sometimes even your budget. By treating painter’s tape as a precision tool rather than a blanket solution, DIYers can avoid preventable setbacks and enjoy more time admiring their work, less time undoing it. When in doubt, digital planning tools or expert advice may save you from the most common paint disasters, ensuring each upgrade brings only pride, not post-DIY regret. For those eager to visualize their next home transformation with less risk, ReimagineHome.ai provides a smart starting point to plan confidently.