
TL;DR
ReimagineHome.ai’s image enhancement adjusts white balance, exposure, and color cast so kitchen photos look accurate and inviting. It’s the simplest way to correct LED strip lights that photograph too cool, balance stainless glare, and bring tile texture and wood tones back to life. Try it now: upload a photo and run ReimagineHome.ai’s Enhance Image tool to see the difference in seconds. If you’re searching “ai interior design from photo” but really need your existing design to photograph well, start here.
The Real Cost of Showing Rooms “As They Are” Online
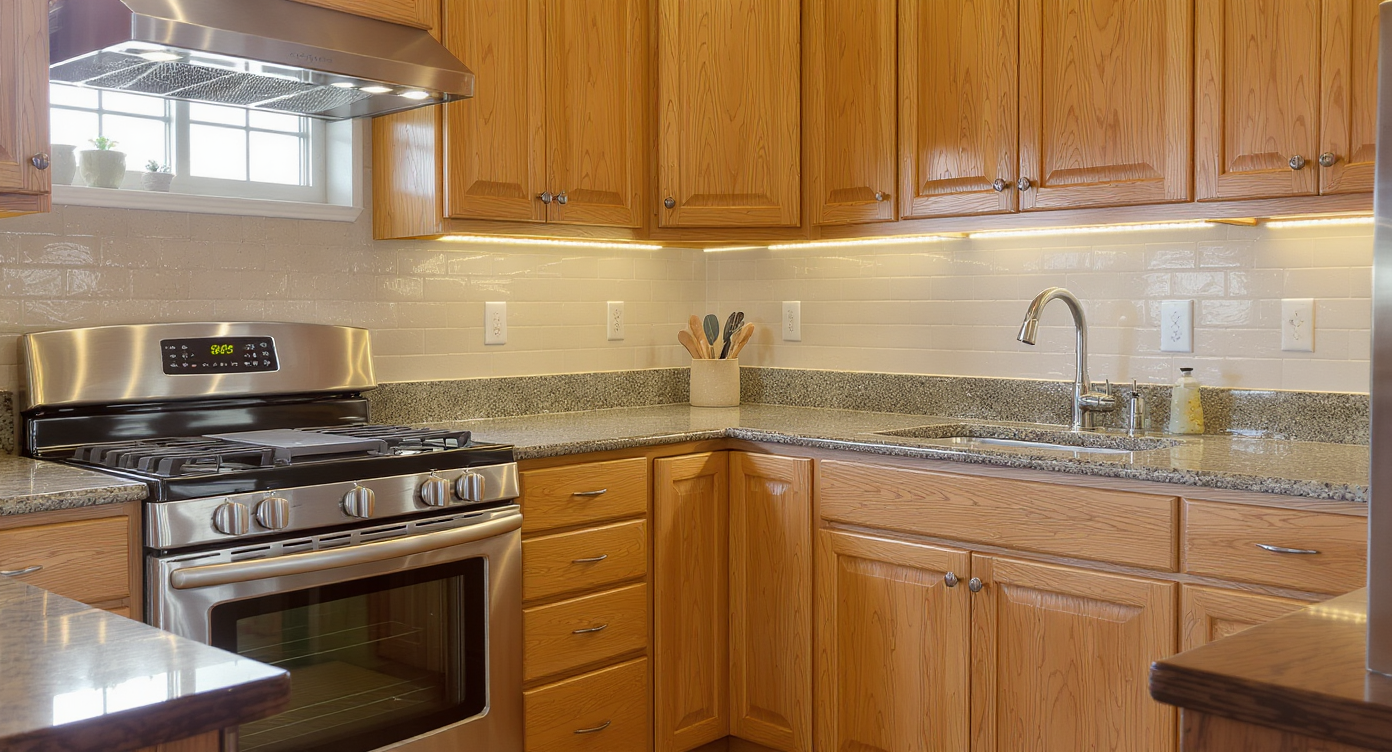
Balanced lighting in a kitchen helps show how image enhancement corrects tricky mixed-lighting effects.
Image enhancement is the fastest way to correct color temperature, shadows, and glare so interiors read true to life. When toe-kick LEDs skew purple on camera or warm cabinetry turns orange, a targeted enhancement restores believable color and clean light—no reshoot.
- Results: Truer colors, softer shadows, and more natural light that mirrors the room in person.
- Realism: Keep materials and finishes intact—just remove the camera-induced color cast and haze.
- Speed: Upload, enhance, export in minutes.
- Cost: Avoid reshoots and complicated lighting setups.
- Workflow: Balance white and mixed light, reduce glare, lift detail, and output MLS-ready files.
- ROI: Clearer photos get more saves, fewer “what color is that?” questions, and smoother approvals.
- Peace of mind: Your remodel won’t be misunderstood by a phone camera’s auto white balance.
If you already have a tricky interior shot in mind, upload it to ReimagineHome.ai and test this solution on a real image while you read.
Why This Visual Problem Hurts More Than You Think

Color drift misrepresents materials; image enhancement restores authentic wood warmth and navy tones.
Perception shifts when colors drift: a navy island can read purple, warm oak can look orange, and a creamy tile wall can skew green under mixed light. That disconnect leads to second-guessing, lower confidence, and comments about lighting rather than design. Kitchens are especially vulnerable—glossy tile, stainless appliances, window daylight, pendants, and LED accent strips all mix together, forcing your camera to guess at white balance.
In practice, small corrections have big impact. Neutralizing a cool strip light to match the room’s ambient temperature keeps the glow cozy instead of clubby. Taming stainless highlights preserves texture instead of hot spots. Lifting shadow detail in toe kicks and under-cabinet areas clarifies the lines you spent money to build. Image enhancement redirects attention to what matters: layout, materials, and craftsmanship.
Anecdote
That perfect new kitchen where the toe-kick LEDs felt cozy in person but photographed purple? Enhancement nudged the white balance and suddenly everyone noticed the waterfall island, not the glow.
What Image Enhancement Actually Is (In Plain Language)
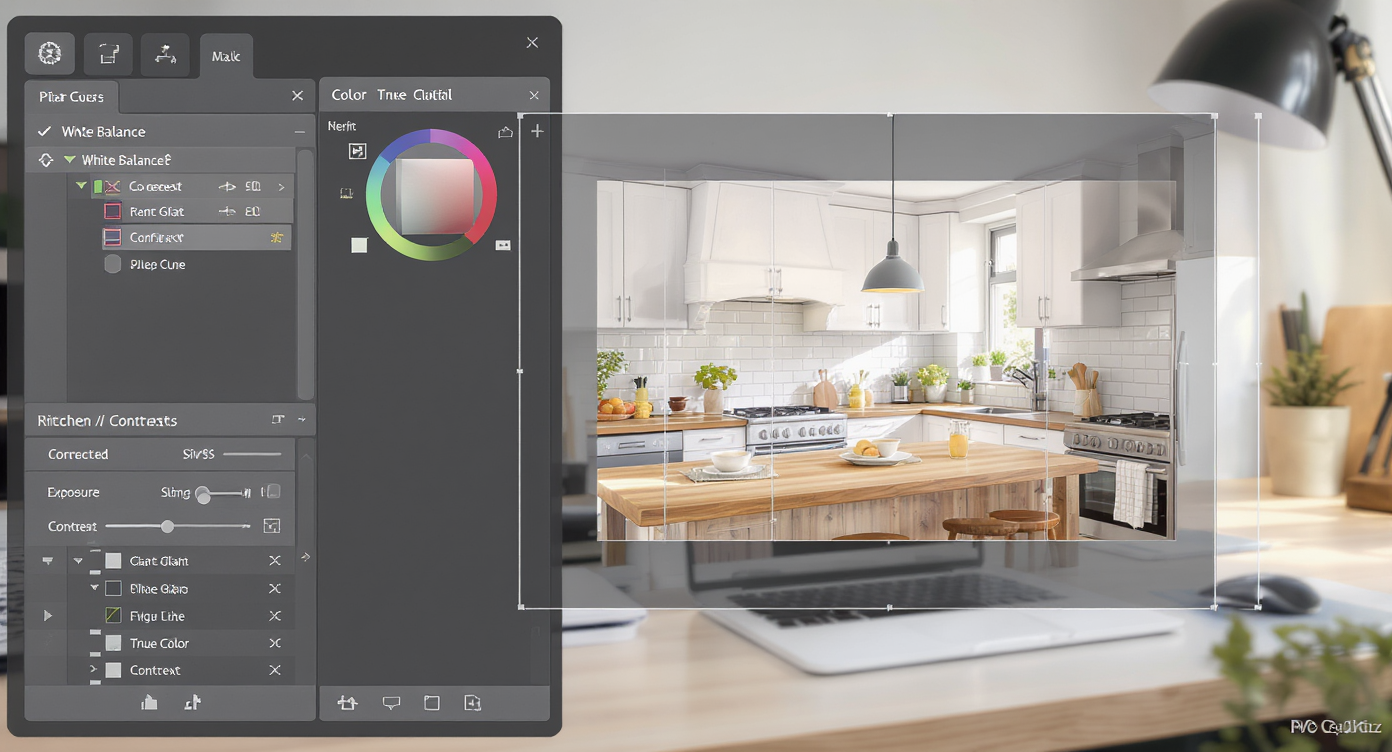
Image enhancement combines precise edits like white balance and contrast to restore photo realism.
Image enhancement is a set of precise, ethical photo edits—white balance, exposure, contrast, color cast removal, clarity, and noise control—that make interiors look like they do in person. You feed it a real photo; it returns a cleaner, truer version ready for MLS, portfolios, or before-and-after posts. No furniture swaps, no fantasy changes—just faithful correction of what the camera got wrong.
With ReimagineHome.ai’s Enhance Image tool, you upload any kitchen or interior photo, let the system analyze lighting and color, and apply balanced adjustments that keep wood tones, paint colors, and metal finishes honest. You get downloadable results in standard formats sized for web or print.
How Image Enhancement Works Step by Step

Stepwise enhancements ensure every detail and color reads true to life in kitchen photos.
Start with the best file you have—good angles and sufficient resolution make every adjustment look better.
- Choose the right photo(s): Aim for straight-on or slight three-quarter angles that show layout. Avoid heavy backlight when possible.
- Upload to ReimagineHome.ai: Drag-and-drop your JPEG/PNG; larger images (ideally ~3000 px on the long edge) give the cleanest results.
- Select Enhance Image: This routes your photo through white balance, exposure, color cast, contrast, and clarity passes tailored to interiors.
- Preview and refine: If the room mixes daylight with warm LEDs, nudge warmth gently to unify temperatures. Keep metals neutral and counters clean.
- Check texture: Confirm tile grout, wood grain, and fabric weave remain natural—enhance clarity without crunch.
- Export: Save web-ready for social/MLS and a high-res version for print or proposals.
Constraint to remember: enhancement can’t fix severe motion blur or ultra-low-resolution sources; start with a steady, decently sized file for best results.
Tips and Tricks for More Realistic Results

Respect materials and balance lighting to achieve realistic, natural kitchen photos without artificial shine.
Realistic post-processing respects the materials you actually installed.
- Match color temperatures: If toe-kick LEDs are warm and pendants are neutral, bias toward the dominant ambient so accents look cozy, not neon.
- Use neutrals as a reference: White uppers, trim, or tile are your sanity check—bring them to neutral and the rest will fall in line.
- Protect metals and stone: Reduce highlights on stainless and polished quartz to avoid blown areas; keep micro-contrast subtle.
- Lift shadows, don’t erase them: Kitchens need dimensionality. Open the toe-kick and under-cabinet areas just enough to reveal lines.
- Control saturation: Blues and greens can overshoot fast. Keep the island rich but believable; avoid “poster” colors.
- Straighten then enhance: Skewed verticals can make corrections feel off. If needed, run ReimagineHome.ai’s Straighten Angles first, then enhance.
- Size smart for MLS: If your source is soft, export a crisp, higher-resolution version via Upscale Resolution so details render cleanly on large screens.
Bonus: If color accuracy reveals a paint choice you’d still like to test, you can audition alternatives with ReimagineHome.ai’s digital Repaint Wall without lifting a brush.
Visualization Scenario
Upload a quick smartphone shot of your remodeled kitchen. Run Enhance Image, then compare before/after to confirm your island color, tile pattern, and wood tones look true across a full-screen listing carousel.
FAQ
How do I fix LED color cast in kitchen photos?
Use image enhancement to unify color temperature. Start by neutralizing whites (tile, trim), then warm or cool subtly until the LED accent matches the room’s ambient light. Enhance Image makes this a one-minute correction.
Is it okay to change color temperature for real estate photos?
Yes—ethical enhancement corrects what the camera got wrong without misrepresenting materials. Adjusting white balance, exposure, and glare is standard practice.
What resolution do I need for good results?
Aim for images around 3000 px on the long edge when possible. If your source is smaller, upscale cleanly with Upscale Resolution before posting to MLS or portfolio sites.
Can AI sharpen and denoise without looking fake?
Yes—use moderate clarity and noise reduction so tile grout, wood grain, and fabrics retain natural texture. Over-sharpening creates halos; subtlety sells realism.
How is enhancement different from AI interior design or virtual staging?
Enhancement perfects the real photo you took—no furniture or layout changes. If you need style trials or staging, explore other tools on ReimagineHome.ai; when accuracy is the goal, use Enhance Image.
Visualize Your Next Listing (or Project) Before You Commit
Small, accurate edits can reframe the story of a kitchen instantly.
- Before: A beautifully remodeled space where the LED toe-kick photographed purple, the stainless hood glared, and the tile wall lost its texture. Comments piled up about lighting instead of layout.
- After: Enhancement warmed the overall white balance to match the room’s ambience, dialed down specular highlights, and brought back the tile’s pattern. The conversation moved to the island color, the full-height backsplash, and that elegant stair reveal—the things that actually sell the vision.
- Another win: A daylight-heavy shot washed out warm wood cabinetry. Enhancement added gentle contrast and true neutral white, so the cabinetry read luxurious, not orange.
- And one more: A phone photo with mixed kitchen/daylight made a navy island look cobalt. A targeted temperature and saturation pass restored the deep, in-person navy that buyers and design clients expect.
Most disappointment with interior photos comes from source capture and careless edits, not from the space itself. Work with what you have, respect the materials, and let the enhancements be invisible.
Ready to make your kitchen look the way it feels in person? Run your photo through ReimagineHome.ai’s Enhance Image or start from the home page at ReimagineHome.ai and build a quick, confidence-boosting workflow.