Choosing the Right Paver Base for Greenhouse Floors: Understanding Gravel, Sand, and Drainage
TL;DR
A stable greenhouse floor starts with thoughtful layering: a thick base of 5/8 inch minus gravel ensures structure, while a screed layer of sand or 1/4 inch minus gravel fine-tunes levelness and slope for drainage. Both sand and fine gravel have advantages, but matching the material to your climate, use, and water control needs creates a lasting, low-maintenance greenhouse foundation.
Why Paver Bases Dictate Greenhouse Comfort and Durability
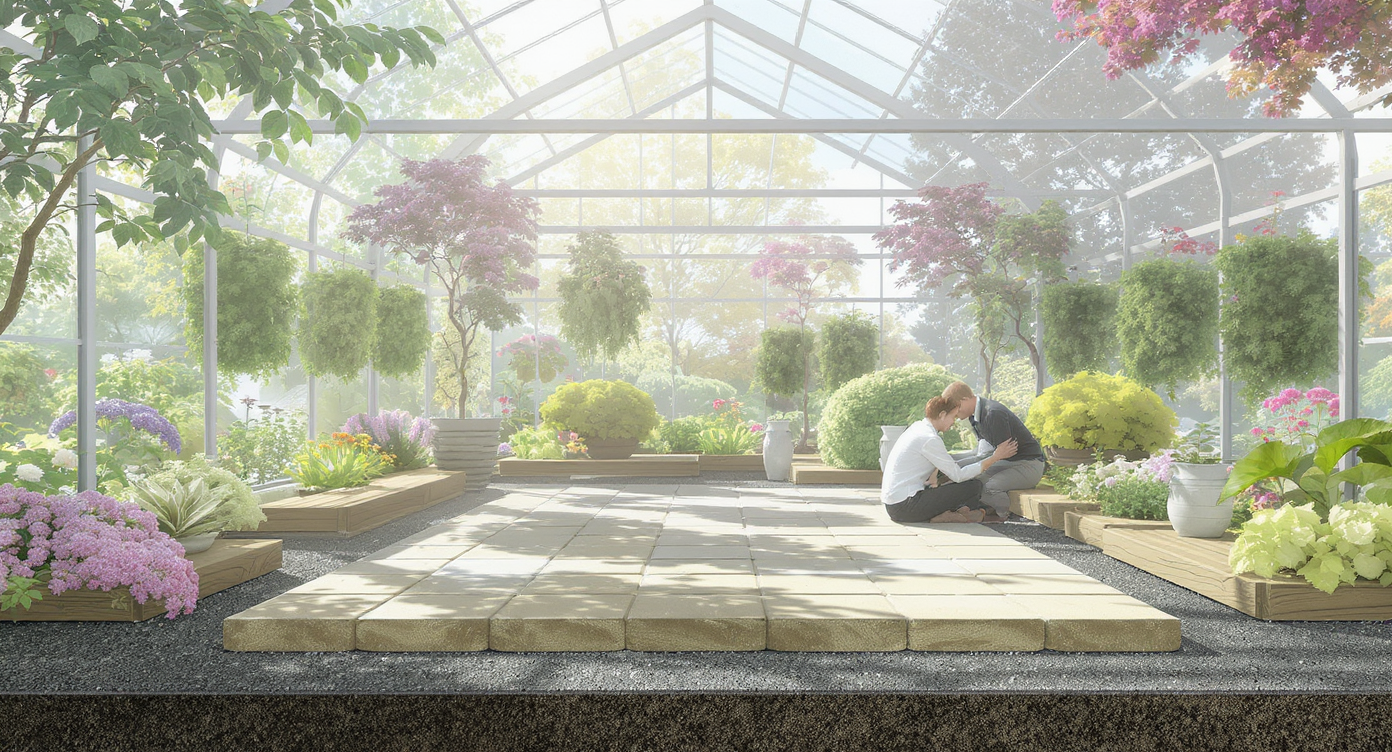
A thoughtfully layered greenhouse floor using gravel and sand ensures draining, solidity, and year-round gardening comfort.
Every greenhouse is anchored by its floor, but few homeowners realize how much that base determines both comfort and longevity. The sublayer choices beneath slate or concrete pavers seem invisible, yet they decide if rainwater drains well, if pavers stay flat, and if weeds or mud creep inside. While several materials can work, the difference between compactable gravel and construction sand is more than texture—it shapes the greenhouse’s daily feel. As more homeowners add compact greenhouses to their yards, understanding paver base options helps prevent costly and time-consuming mistakes, yielding a space that’s both functional and inviting. Whether you are retrofitting an existing structure or building a new greenhouse from the ground up, the right layering technique—especially for drainage and easy cleaning—will reward you for years. With recent advances in base materials, even DIYers can create a professional-grade paver installation that shrugs off puddles and shifting, sets up tools and potting benches solidly, and brightens routines from early seed starts to leafy summer harvests.
-
Decoding Paver Base Layers: Gravel, Sand, and Their Function

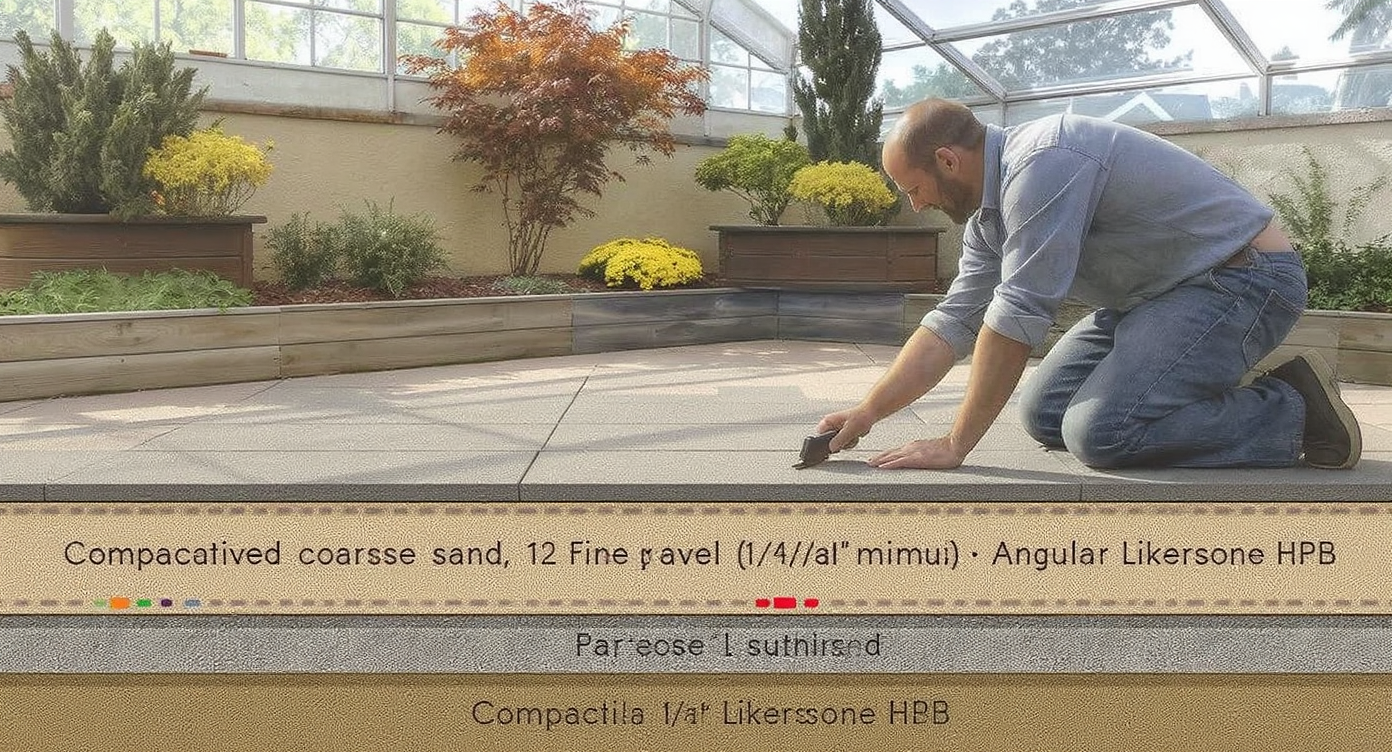
A sectional view of greenhouse floor layers highlights gravel, sand, and proper edge restraint—key for stable, well-drained bases.
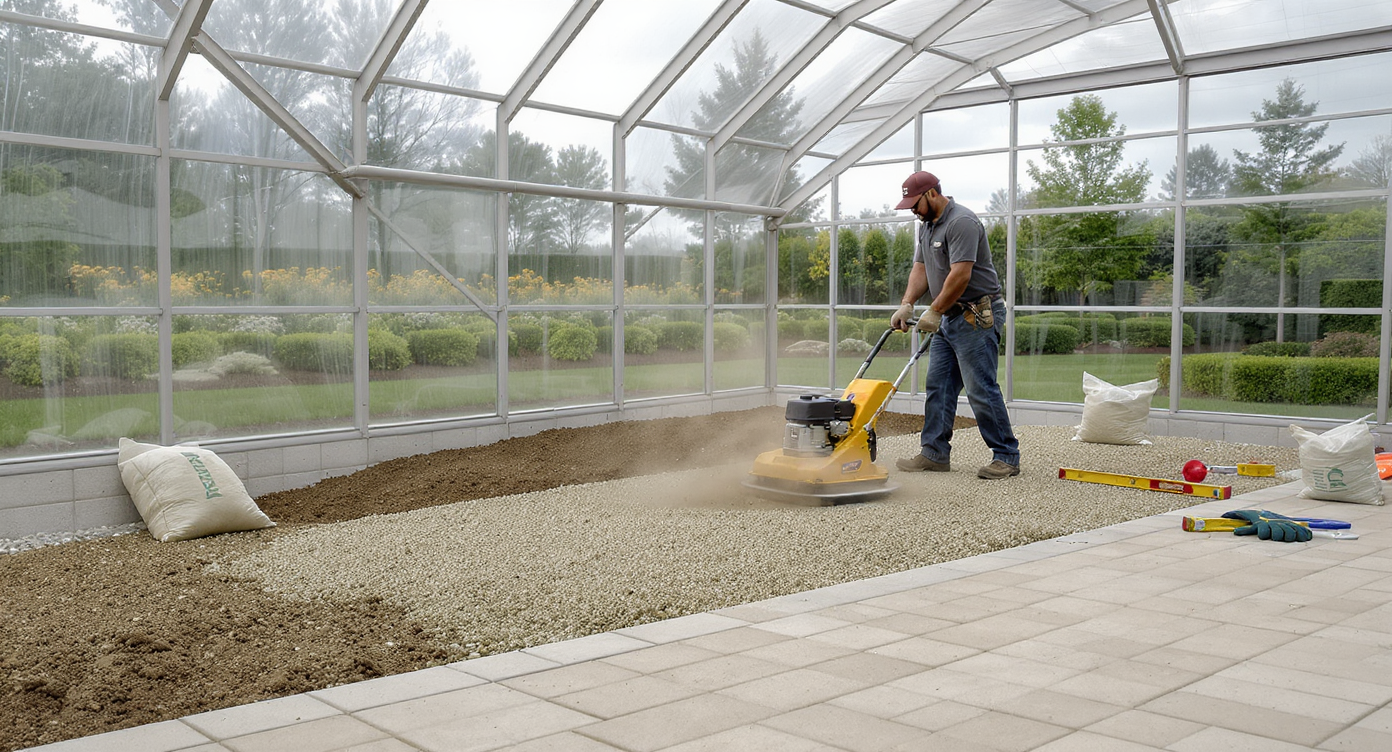
Successful greenhouse floors tend to balance three priorities: stability underfoot, reliable drainage, and minimal maintenance. Achieving all three comes down to the layers beneath the visible pavers. The base typically starts with several inches of 5/8 inch minus gravel, a mixture of crushed rock graded to include fines—those tiny, fill-in particles that compact to form a level, immovable platform. Over this, many DIYers add a screed layer—either sharp construction sand or a fine, compactable gravel like 1/4 inch minus—before topping with slate or concrete pavers. Sand has long been favored as a bedding course because it’s easy to shape and slope, helping homeowners create the necessary tilt (about 1 to 2 percent) so water migrates toward the greenhouse edges. However, sand can shift or wash out if water flow is heavy or if the floor experiences significant traffic. In climates prone to freezing and thawing, the instability of sand becomes more noticeable, often causing uneven paver surfaces. By contrast, 1/4 inch minus gravel contains stone fines, offering a denser and more locked-in bedding layer that resists movement and compaction even when damp. The tradeoff is that sculpting a consistent slope with fine gravel takes patience and attentive screeding. Designers often suggest pairing these base layers thoughtfully with proper edge restraints, which keep the gravel and bedding material from spilling into surrounding beds and ensure lasting alignment—a point echoed in our deep dive on hardscaping tips for sturdy patio builds.
Expert Insight
Several years ago, a neighbor built a modest 10 by 15 foot greenhouse, eager to expand their tomato and cut-flower seedling operation. The floor was hastily prepped with a thin layer of leftover sand over bare soil—a common shortcut on small garden projects. After one winter of heavy rain, low spots developed and weeds began to poke up between the pavers. Each spring, resetting pavers became a tedious, muddy ritual. Only after relaying the floor with compacted gravel, followed by a fresh layer of 1/4 inch minus, did the greenhouse stay reliably dry and easy to sweep—even on the wettest days. This scenario is echoed in countless suburban gardens each year, driving home the value of sound base prep. The initial effort spent on layering and compacting gravel, and in some cases adding drainage infrastructure, significantly reduces the amount of repair and maintenance needed down the line.
-
Drainage in Greenhouse Settings: Planning for Water Movement
Water easily finds its way into a greenhouse, whether as humidity, accidental spills, or the welcome rain that enters through perimeter cracks. Investing time in drainage planning at the build stage spares you later headaches. For many home greenhouse floors, a base of compacted gravel—especially 5/8 inch minus or high performance bedding (HPB), as cited by field-tested landscapers—lets water filter quickly toward the perimeter without pooling on the surface. If the greenhouse sits in an area with dense clay or slow-draining soil, designers sometimes advise supplementing with a French drain or a 4 inch perforated pipe around the greenhouse perimeter, set below the lowest base layer. This “belt and suspenders” approach draws water away even after heavy storms. Where sand or 1/4 inch minus sits atop a thick gravel base, water trickles down until it finds a way out—so leaving a paver-free border or a thin channel at the floor’s edge helps water exit before roots, moss, or mildew take hold. Details like these—often learned the hard way in DIY backyard builds—turn a good greenhouse into a pleasure to use all year round.
-
Selecting Materials for Comfort, Durability, and DIY Ease
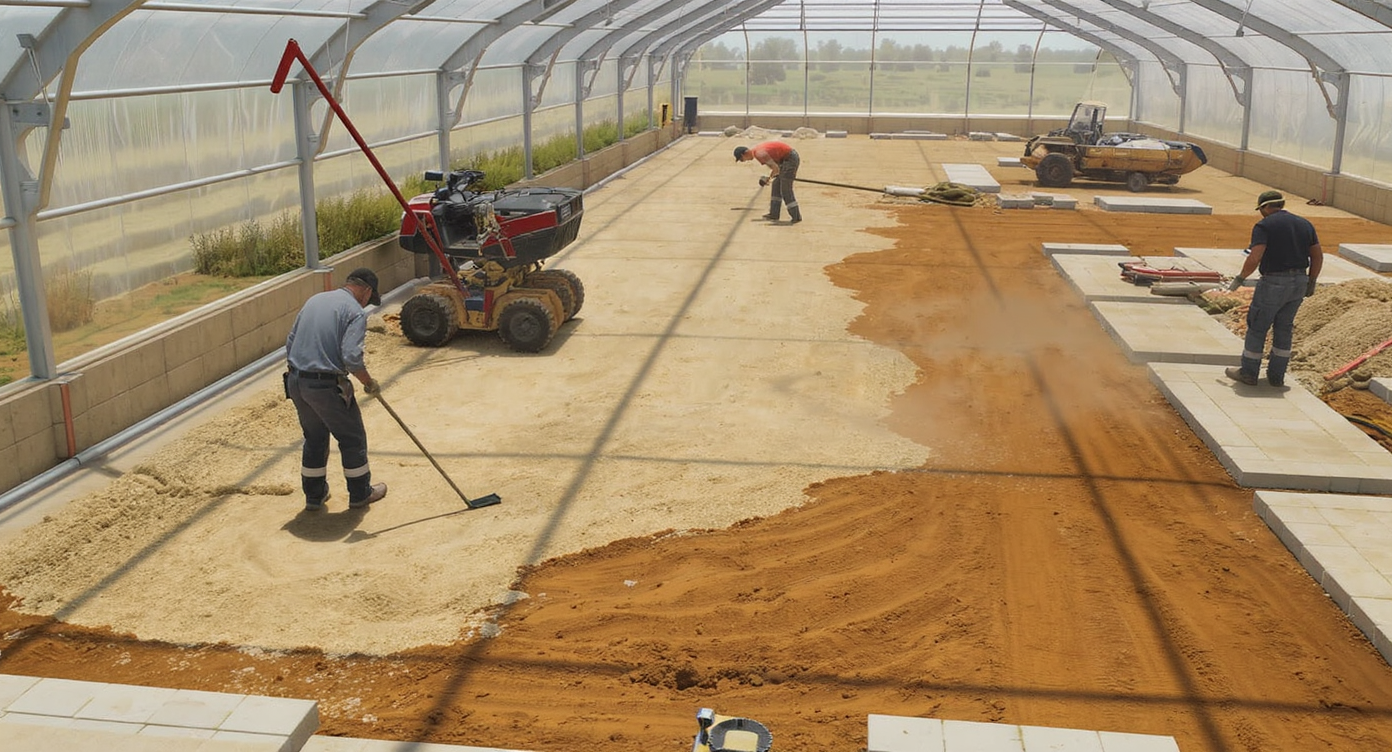
Comparing sand, gravel, and HPB bases, this greenhouse floor demo highlights comfort, stability, and DIY-friendly installation options.
For many homeowners, the choice between sand and fine gravel as a bedding layer is as much about day-to-day use as it is about installation. Sand, especially masonry or coarse construction sand, can be easier to level and adjust, making it less intimidating for first-time DIYers. Its flexibility allows for precise adjustments, especially if you notice minor dips or high spots while setting each paver. On the other hand, fine gravel (like 1/4 inch minus) compacts into a firm, interlocking bed, resisting settlement during watering and tool movement. Clay or loamy sites benefit from the superior drainage and stability fine gravel provides. In recent years, some landscape professionals have shifted toward all-in-one solutions such as HPB, particularly in greenhouse and garden shed applications. A base of 4 to 5 inches of HPB (angular limestone with minimal fines) provides superb drainage, resists frost heave, and allows for direct installation of pavers. Choosing the right material depends not just on local availability or cost but also on the unique performance demands of greenhouses—regular watering, plant debris, and shifting seasonal use all add up. Building a paver patio by hand offers analogous lessons for the greenhouse floor: each layer should work with the next to ensure lasting stability and easy clean-up.
-
Anecdote: When a Greenhouse Floor Makes All the Difference
Several years ago, a neighbor built a modest 10 by 15 foot greenhouse, eager to expand their tomato and cut-flower seedling operation. The floor was hastily prepped with a thin layer of leftover sand over bare soil—a common shortcut on small garden projects. After one winter of heavy rain, low spots developed and weeds began to poke up between the pavers. Each spring, resetting pavers became a tedious, muddy ritual. Only after relaying the floor with compacted gravel, followed by a fresh layer of 1/4 inch minus, did the greenhouse stay reliably dry and easy to sweep—even on the wettest days. This scenario is echoed in countless suburban gardens each year, driving home the value of sound base prep. The initial effort spent on layering and compacting gravel, and in some cases adding drainage infrastructure, significantly reduces the amount of repair and maintenance needed down the line.
-
Common Mistakes to Avoid
Common paver base mistakes: uneven compaction, ignored geo-fabric, and missing edge restraints can undermine a stable greenhouse floor.
Many DIY greenhouse builds falter by underestimating the depth and compaction needed for each base layer. Rushing through site prep often results in frost heave, uneven paver surfaces, or muddy patches when storms roll in. Some skip geo-fabric underlays, later regretting the incursion of weeds or settling. Others apply sand too thickly or forget to use edge restraint, letting bedding materials escape over time. Another frequent oversight involves drainage: assuming that the base alone moves water fast enough, without creating a defined slope or leaving a pathway for runoff. Good practices include compacting in layers (as detailed for patio builds in first-time DIY paver tips), adding edge restraints, and double-checking slope before setting in pavers.
-
Tips and Insights from Landscape Designers
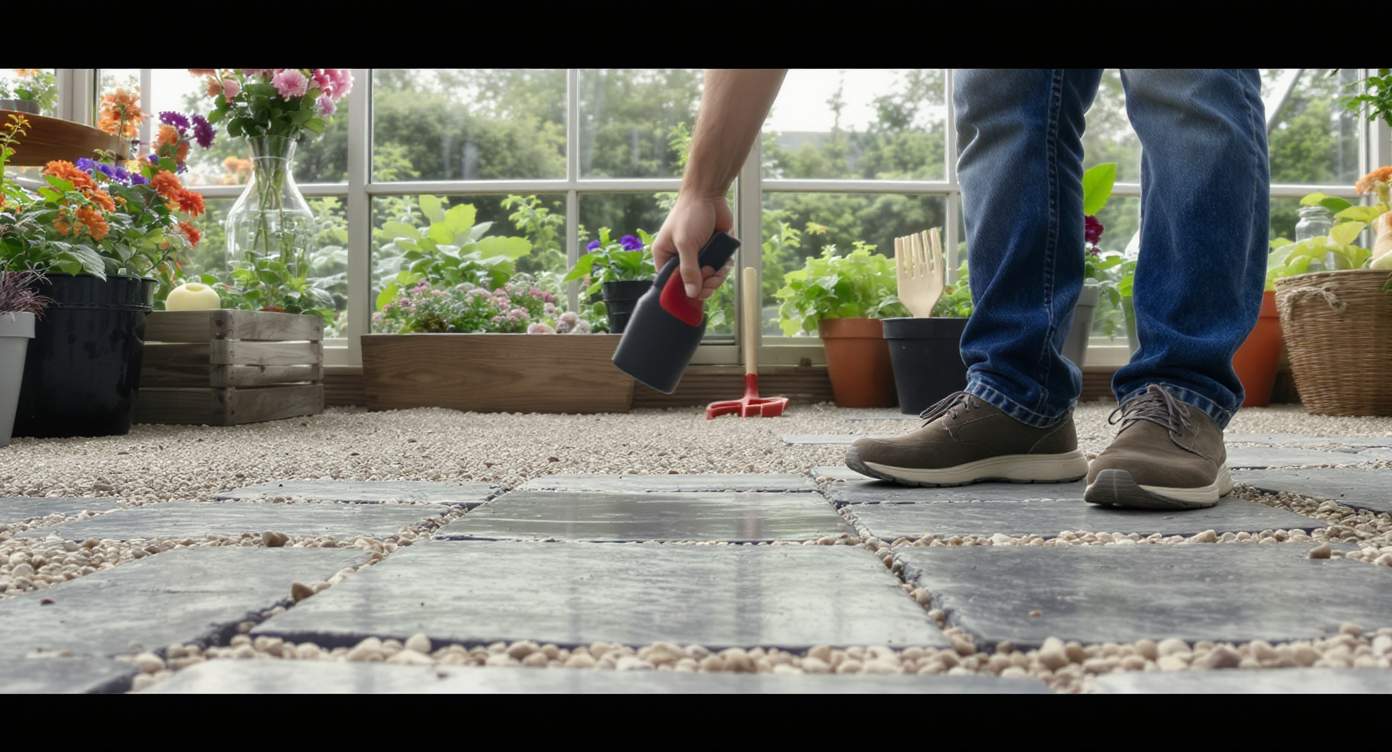
A landscape designer compacts gravel in lifts and inspects drainage, demonstrating best practices for durable, easy-maintenance greenhouse floors.
Landscape designers often point out that what feels like extra diligence during installation becomes pure payoff later. Compacting gravel in 2 inch lifts and verifying drainage before locking pavers make maintenance nearly effortless. For greenhouse builds in damp regions, sealing the paver joints with polymeric sand not only improves weed resistance but also tightens the finished surface. Designers also recommend regular spring checks—looking for surface shifts, pooled water, or early moss growth—to intervene before issues escalate. Drawing parallels to broader yard care, keeping patio joints clear and sealed, as described in moss and weed-free maintenance strategies, extends the life and look of greenhouse floors as well.
-
How to Use This in Your Next Greenhouse or Outdoor Room
When planning your own greenhouse, start by charting site drainage and soil type. Sketch the floor layers to include a minimum of 5 to 6 inches of compacted 5/8 inch minus gravel, topped with either construction sand for easier leveling or 1/4 inch minus gravel for increased durability. Always include a slight slope—about 1/4 inch per foot—toward the perimeter. For more ambitious builds or those in soggy microclimates, add a perimeter drain at grade or consider HPB for even quicker water movement. Lastly, install paver edge restraints and refill joints as needed to stave off weeds and moss. These steps make it possible to transform almost any backyard greenhouse into a low-maintenance, year-round retreat.
-
Visualization: Stepping Into a Greenhouse With a Thoughtful Paver Base
A well-planned greenhouse floor with a solid paver base and drainage channels keeps the space dry, tidy, and low-maintenance year-round.
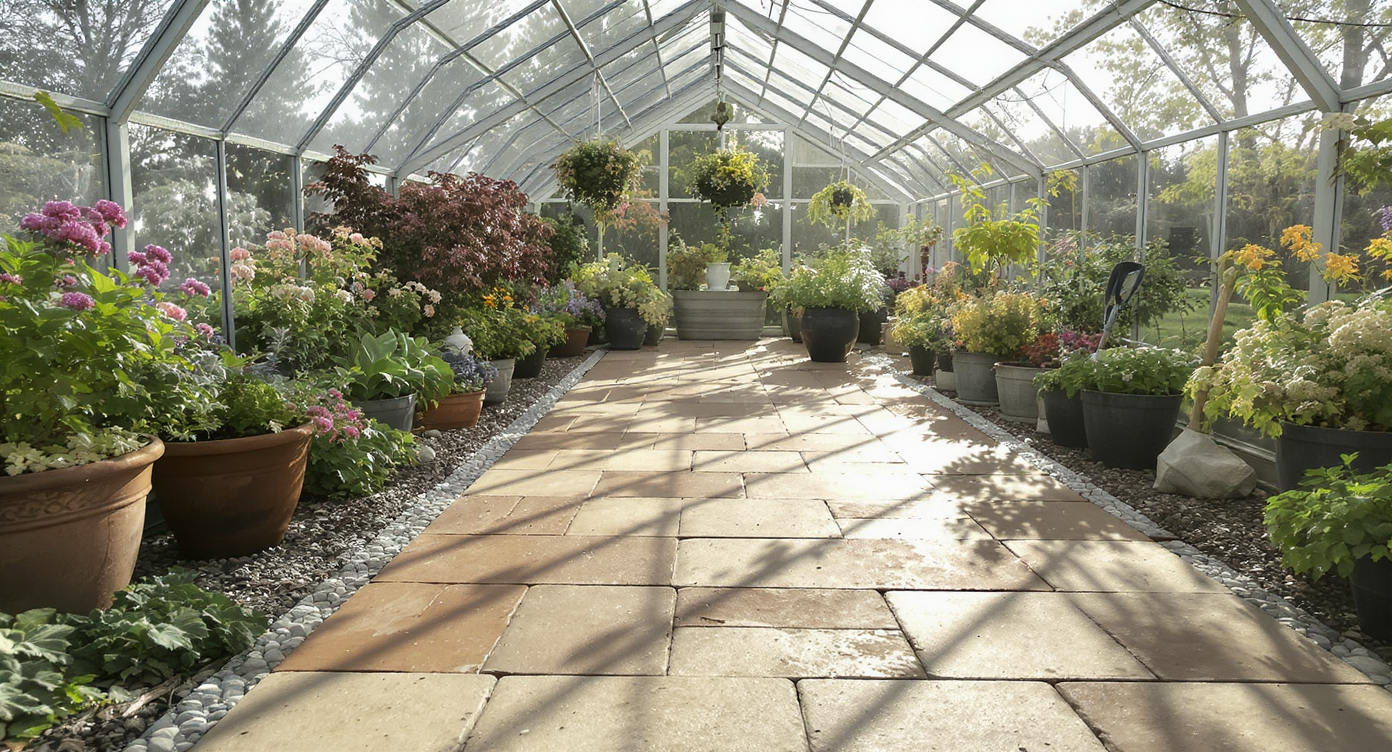
Picture a spring morning, dew sparkling on leaves inside your backyard greenhouse. Pavers underfoot feel solid, never uneven or damp. Rain patters against the glass, but water channels gently toward the edges, disappearing beneath a row of hardy perennials. Plants flourish off the ground, tools stand where you left them, and the clean lines of the floor invite you to linger. This is the quiet reward of meticulous paver base planning—a space where comfort, tidiness, and easy care converge season after season.
Visualization Scenario
Picture a spring morning, dew sparkling on leaves inside your backyard greenhouse. Pavers underfoot feel solid, never uneven or damp. Rain patters against the glass, but water channels gently toward the edges, disappearing beneath a row of hardy perennials. Plants flourish off the ground, tools stand where you left them, and the clean lines of the floor invite you to linger. This is the quiet reward of meticulous paver base planning—a space where comfort, tidiness, and easy care converge season after season.
Greenhouse Floor Paver Base FAQs
Most designers recommend at least 4 to 6 inches of compacted 5/8 inch minus gravel, adjusted for soil type and climate.
Should I use sand or fine gravel for the paver bedding?
Construction sand is easier to shape but can shift in areas with high water exposure. 1/4 inch minus gravel offers a more stable, compactable bed, especially helpful in damp settings.
How do I ensure proper drainage in a greenhouse?
Build the floor with a gentle slope toward the edges, leave a paver-free border for runoff, and consider adding perforated drain pipes if the site retains water.
Can I use high performance bedding (HPB) instead of traditional layers?
Yes, HPB provides excellent drainage and stability—common for modern greenhouses and patios when deep frost or standing water is a concern.
Where can I experiment with greenhouse floor designs before building?
Try online tools like ReimagineHome.ai to visualize layouts and materials.
Solid Greenhouse Floors Begin Beneath the Surface
Choosing the right base for a greenhouse paver floor is the difference between a space that invites gardening year-round and one that demands constant repair. By understanding how each layer—gravel, sand, or fine gravel—contributes to drainage, durability, and overall feel, homeowners equip themselves for success. Every step, from initial slope to the final joint fill, can be tailored for your climate and style, ensuring the greenhouse becomes a lasting centerpiece in your garden. For those seeking a head start, modern design platforms like ReimagineHome.ai can help you visualize and refine your plan before the first load of gravel arrives.