9 Lessons Buyers Learn the Hard Way from Seller’s Shoddy Repairs
TL;DR
When sellers choose contractors for repairs before closing, buyers may face lingering issues and limited recourse. Understanding the limits of warranties, the importance of personal inspections, and strategic negotiation tactics is essential for avoiding common interior design mistakes and costly post-sale repairs. These lessons arm homebuyers with knowledge to prevent avoid errors others have already fallen into.
Why Buyer-Beware Should Guide Negotiations
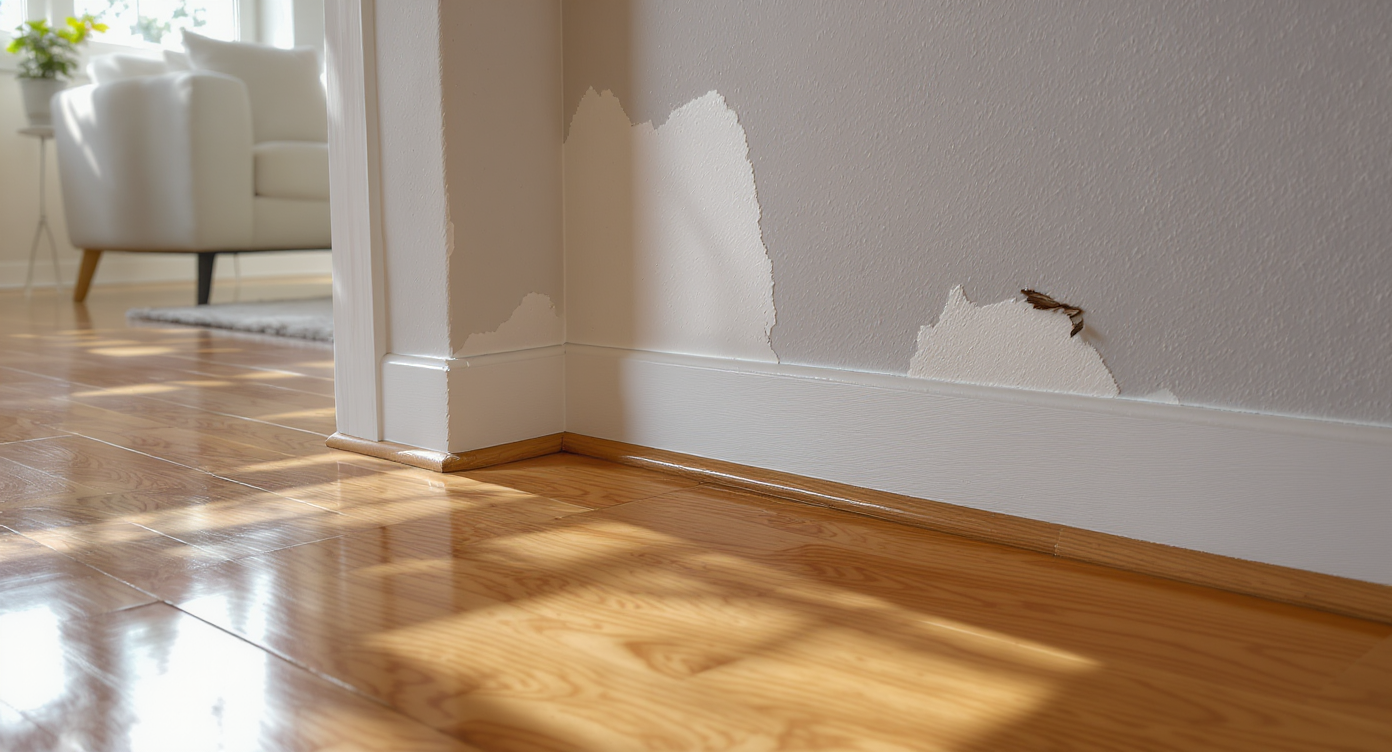
A revealing look at a poorly repaired wall above a doorway, with visible cracks and patchwork, highlights the pitfalls of seller-handled fixes.
The scenario is familiar to many recent buyers: a home inspection reveals a repair need, the seller handles it with a chosen contractor, and a few months later, the problem returns—sometimes worse. This list breaks down smart steps and industry-tested lessons for handling post-purchase repairs, especially when you inherit a questionable fix. It’s crucial for buyers who want to avoid falling into the trap of hurried transactions, poorly executed repairs, and regret-laden renovations. Even seasoned professionals can be caught off guard by the intersection of real estate urgency and underwhelming contractor work. For those seeking to sidestep the most common interior design mistakes and major post-sale headaches, the following nine lessons are essential, whether you are a first-time homebuyer or a frequent mover navigating a fast-paced market.
-
1. Insist on Repair Credits, Not Seller-Managed Work
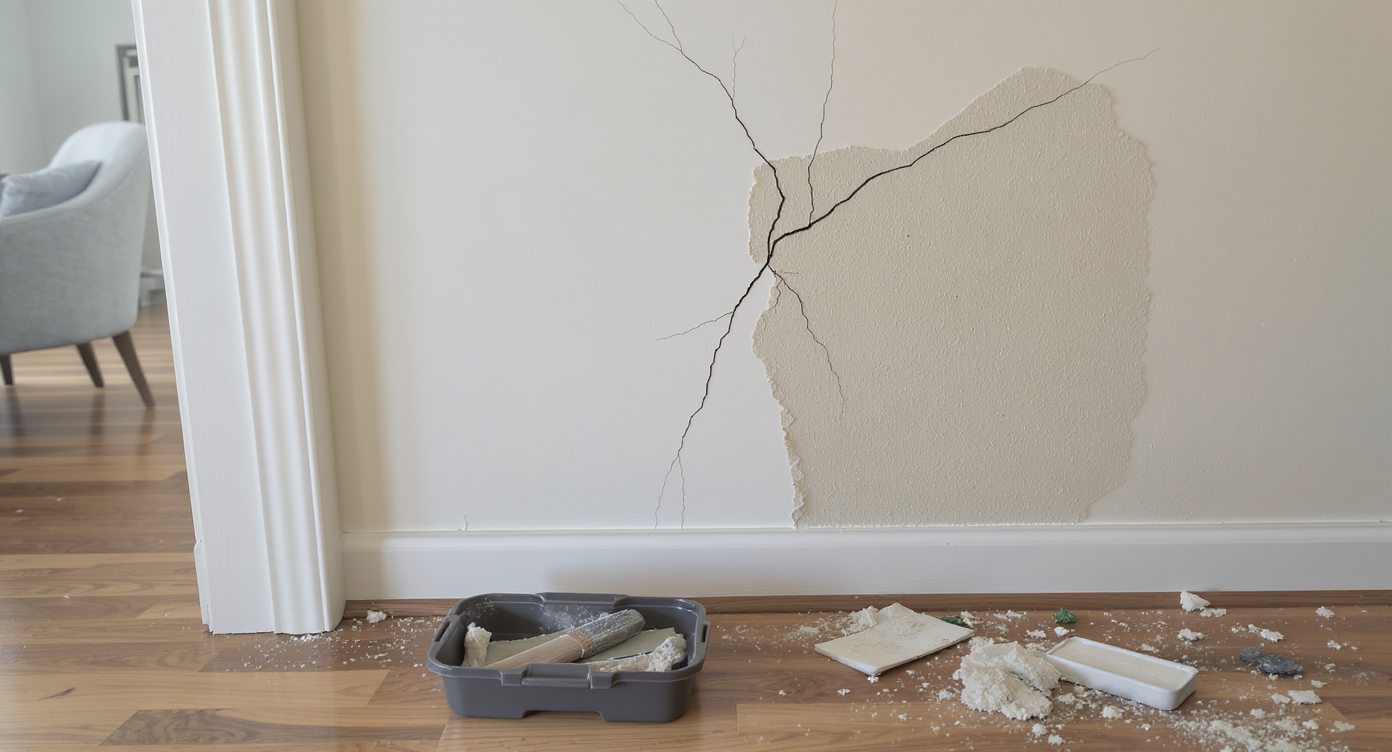
A home’s living area staged after sale, highlighting repair paperwork and revealing evidence of seller’s rushed, low-quality fixes.
One of the most repeatable renovation regrets is letting the seller handle repairs instead of taking a closing credit. Sellers under time and financial pressure often hire the cheapest and fastest contractor available, resulting in superficial fixes that rarely address underlying issues. Experienced buyers and real estate agents often advise negotiating for a monetary credit and managing the work personally after closing, so you control contractor selection and quality. As highlighted in our guide to evaluating DIY renovations for resale, managing repairs on your own terms is almost always advantageous.
-
2. Confirm Warranty Terms and Transferability
It’s a common interior design mistake to assume that a newly completed repair carries a clear, transferrable warranty. In reality, many warranties are granted to the original client—often the seller—and may not extend to the new homeowner. Always ask for written documentation with explicit terms, including whether the warranty transfers with ownership. If paperwork is missing, reach out to the contractor and push for clarity before closing. If terms are uncertain, discuss options for additional protections in the purchase agreement.
-
3. Never Skip Final Inspection After Seller Repairs
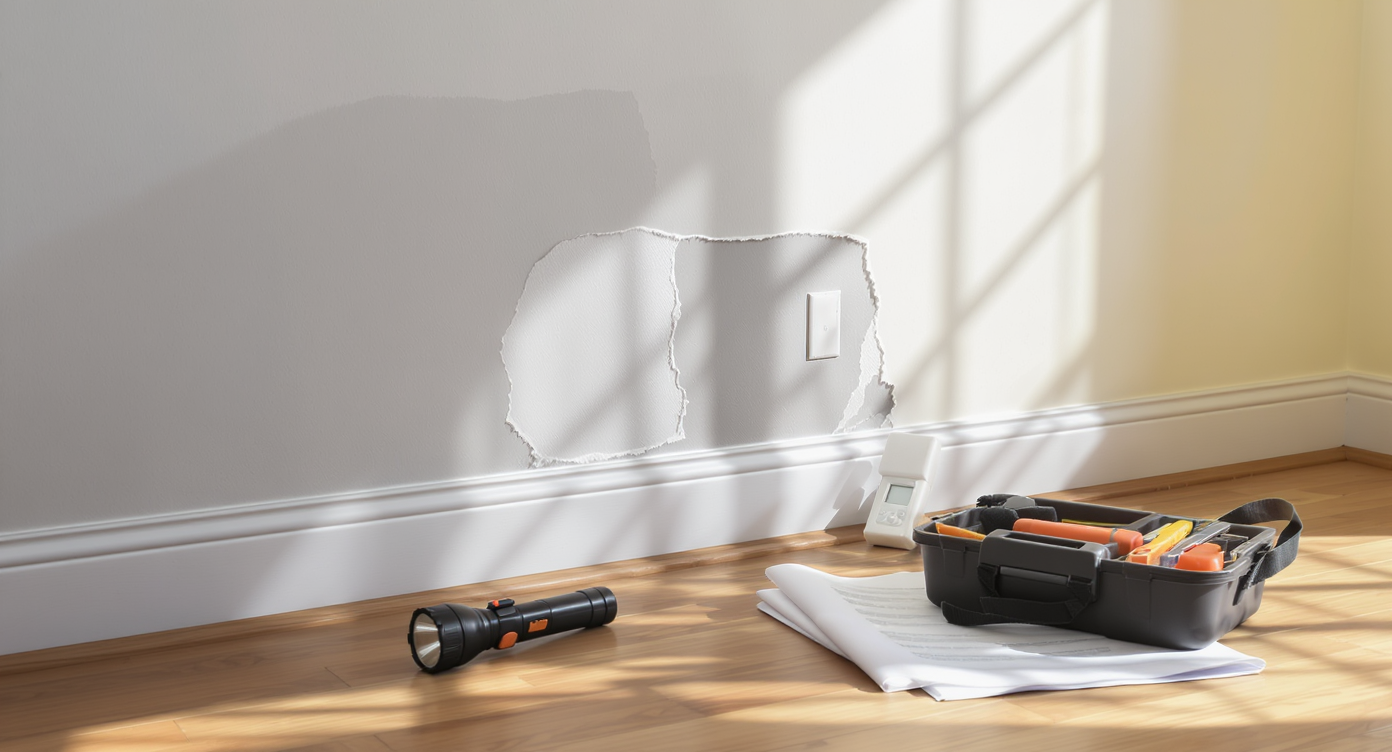
After seller repairs, a home’s patch-fixed wall and inspection tools highlight the importance of a final professional review before closing.
Visual assurance isn’t enough when it comes to repairs hidden beneath paint or patching. Professionals always recommend a return inspection by your own trusted home inspector or trade specialist before closing. This ensures repairs are truly complete and not just cosmetic touchups. Overlooking this step can lead directly to leaks, faulty systems, or costly corrective work that could have been prevented. As we explored in our breakdown of homebuyer pitfalls to avoid, proper inspections save money and stress in the long run.
-
4. Documentation Is Power—Get Everything in Writing
In any repair negotiation, detailed written records are crucial. Retain receipts, warranties, contracts, emails, and any visual evidence of repairs, before and after. Not only do they clarify who is accountable, but they also support any legal or insurance claims if problems arise post-sale. In disputes, this paperwork serves as proof of promises made and services delivered or omitted. Buyers without a documented trail often find themselves with little recourse.
-
5. Consider Professional Recourse Before Legal Action

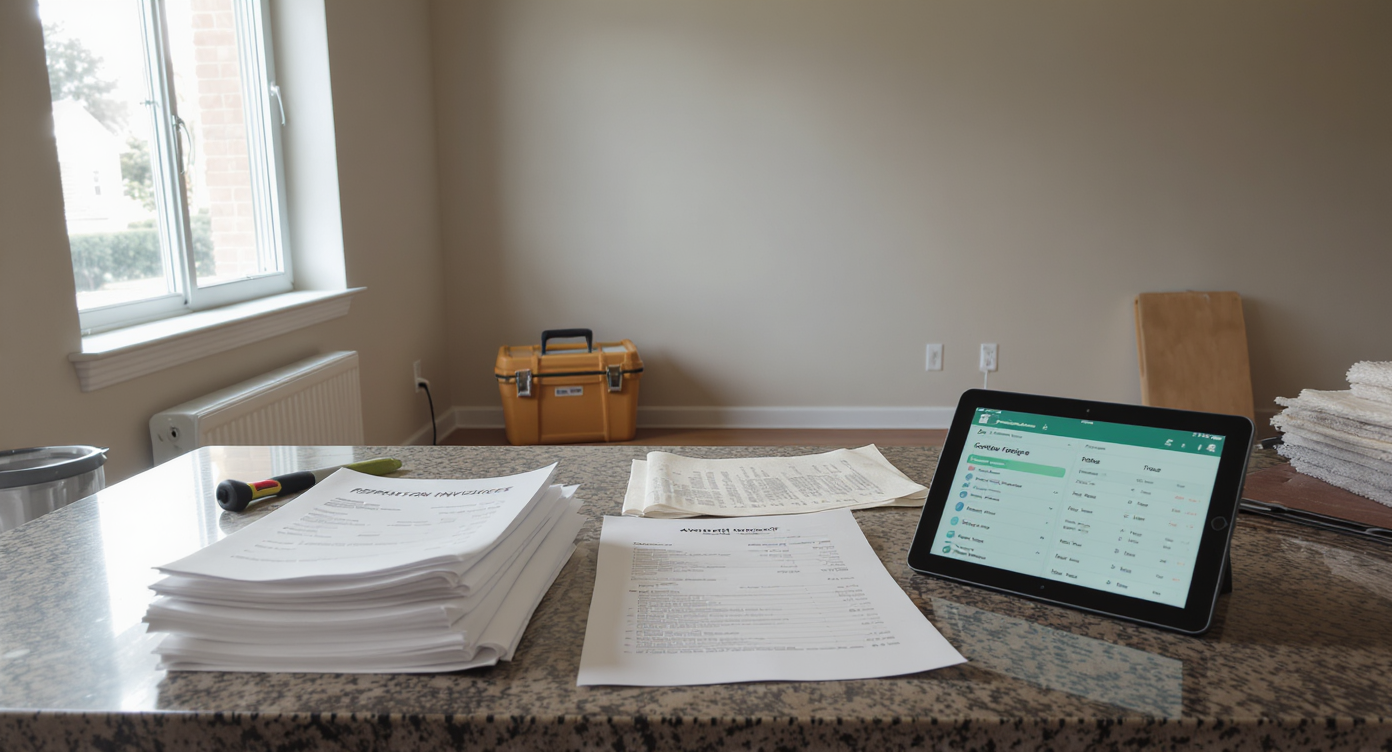
Organizing warranty paperwork and contractor contact details lays the groundwork for resolving repair issues professionally before legal action.
Buyers frustrated by shoddy work sometimes rush to threaten lawsuits, but the practical path usually starts with reaching out to the original contractor to request a repair under warranty, if one exists. Most warranties require you first give the contractor an opportunity to fix the issue. Only if that fails, and substantial damage or costs are involved, should you research legal action. In some scenarios, escalating to state regulators or filing a complaint with consumer protection agencies can yield results without immediate legal cost.
-
6. Understand When DIY Repairs Are Worthwhile
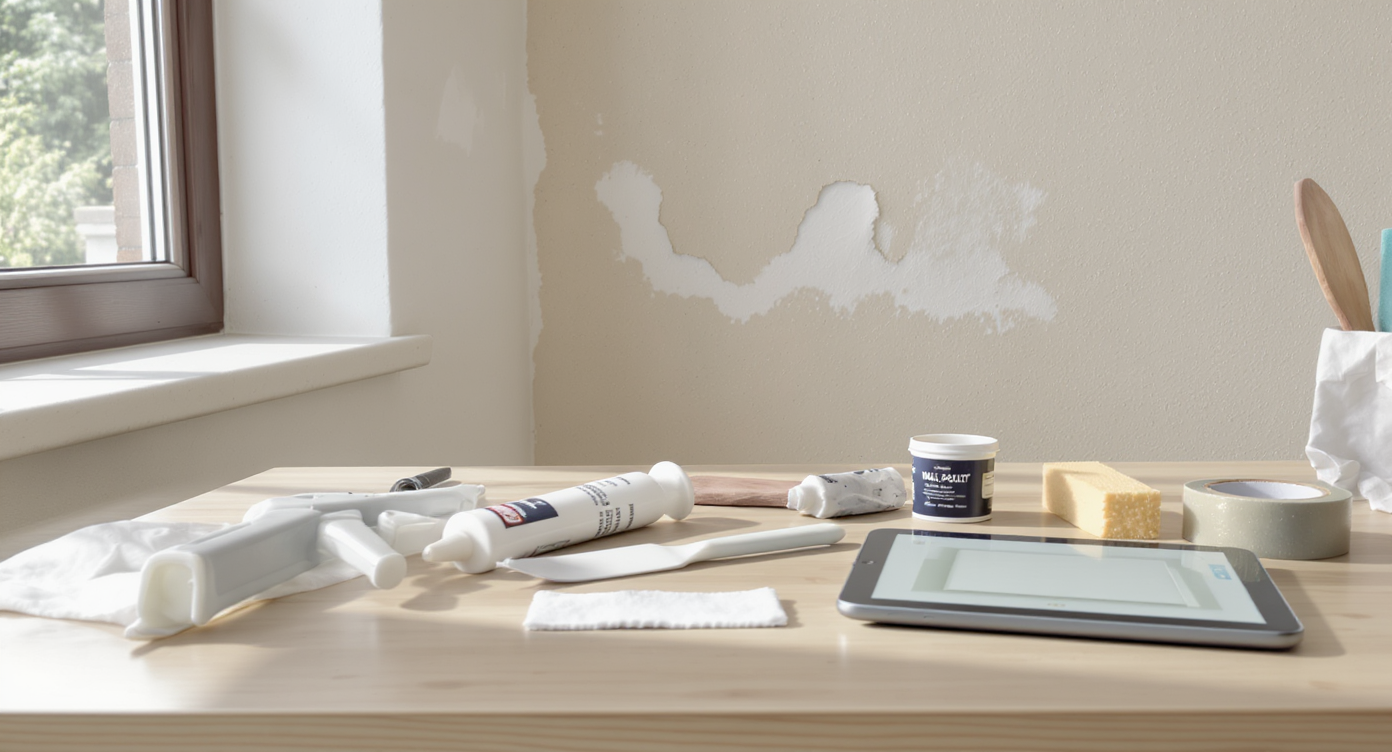
Carefully arranged DIY repair tools, caulking supplies, and a visualization tablet set for cosmetic home fixes like patching and sealing.
Occasionally, taking repair matters into your own hands can yield better results—provided the fix is within your skillset and compliance requirements. Straightforward repairs like caulking, patching small drywall holes, or cosmetic updates are often well-suited for skilled DIYers aiming to avoid errors and decrease costs. Tools like REimagineHome.ai can help you visualize updates before making permanent changes. For major systems such as roofing or electrical, however, professional remediation is almost always advised, according to tips listed in our roundup of the best DIY home repairs.
-
7. Review the Purchase Agreement for Your Rights
Post-closing options depend largely on the terms negotiated in your purchase agreement. Many contracts stipulate requirements that repairs must be completed in a 'workmanlike manner'—a term with real legal teeth in some states. Review your closing documents carefully for such clauses and any explicit remedies for unresolved repair disputes. Consulting a real estate attorney with experience in post-sale issues may reveal overlooked protections.
-
8. Budget for Future Issues Regardless of Recent Repairs

A realistic desk scene with invoices and a calculator illustrates the importance of budgeting annually for future home repairs, even after recent fixes.
Even recent, documented repairs are no guarantee of future trouble-free ownership. Buyers should anticipate that some fixes may fail or new issues may arise, especially if repairs were rushed before closing. Experts recommend establishing a contingency maintenance budget of one to three percent of your home's value annually, a best practice we detail in how to plan affordable renovations. This discipline reduces the sting of unexpected expenses and helps maintain both your home and your peace of mind.
-
9. Learn and Adjust for Your Next Negotiation
While navigating shoddy repairs is frustrating, it’s also instructive. Buyers frequently report that a problematic experience with seller-driven fixes changes their strategy for future transactions. The most common adjustment is to demand closing credits, double down on documentation, and proactively engage qualified professionals. By taking these steps, you transform a renovation regret into an informed, resilient homeownership approach.
Frequently Asked Questions About Post-Purchase Repairs
Contact the original contractor to request warranty service if any exists. Review all repair documentation and confirm if the warranty is transferrable.
Can I require the seller to fix the problem again after closing?
Usually, your recourse is only against the contractor if the work was accepted at closing, unless your purchase agreement includes specific clauses holding the seller accountable for repair quality.
Are DIY repairs a good idea after buying?
DIY is a smart move for low-risk, cosmetic jobs especially when you can test color, layout, or minor upgrades using platforms like REimagineHome.ai. Always call professionals for complex or potentially hazardous tasks.
How should I budget for unexpected home repairs?
Aim to set aside at least one to three percent of your home's value annually for future repairs and emergencies, as recommended by industry guidance.
Does the warranty on recent repairs always transfer to the new owner?
Not always. Request all warranty documents before closing and verify transferability by reading the terms or contacting the contractor directly.
Turning Frustration into Forward Momentum
Encountering poor-quality repairs after a home purchase is a challenge, but it also presents a powerful learning opportunity. By adopting a documentation-first mindset, demanding transparent warranties, and using visualization tools such as REimagineHome.ai for planning future changes, buyers can confidently navigate, correct, and ultimately avoid similar mistakes in the future. Strategic negotiation and vigilance can turn what starts as a common interior design mistake into a smarter, more empowered path forward.