7 Essential Tips for Transplanting Tumbler Tomatoes Successfully
TL;DR
Transplanting tumbler tomato seedlings requires careful timing, gentle handling, and strategic pot selection to boost growth in containers or hanging baskets. New gardeners can minimize stress on the seedlings and maximize yields by following proven tips for separation, potting, and outdoor transition.
Why Tumbler Tomato Transplants Deserve Special Attention
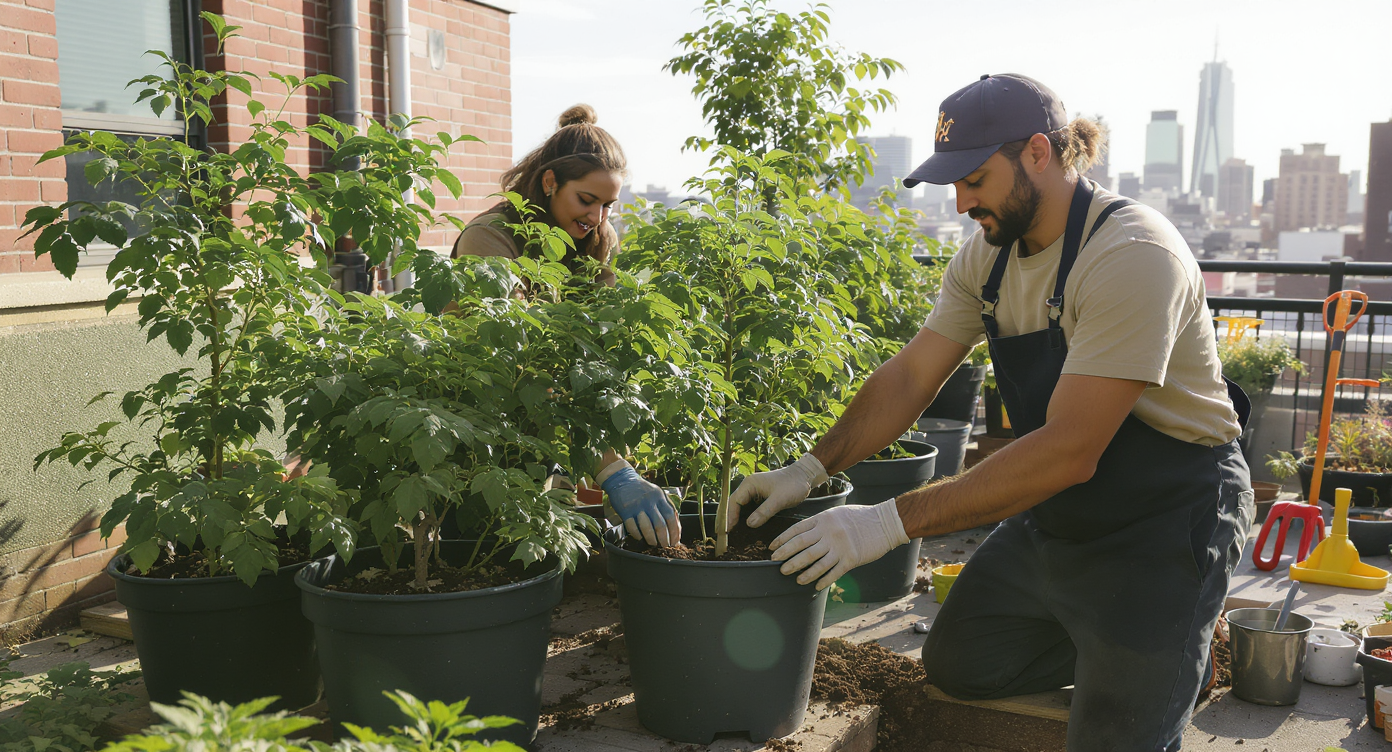
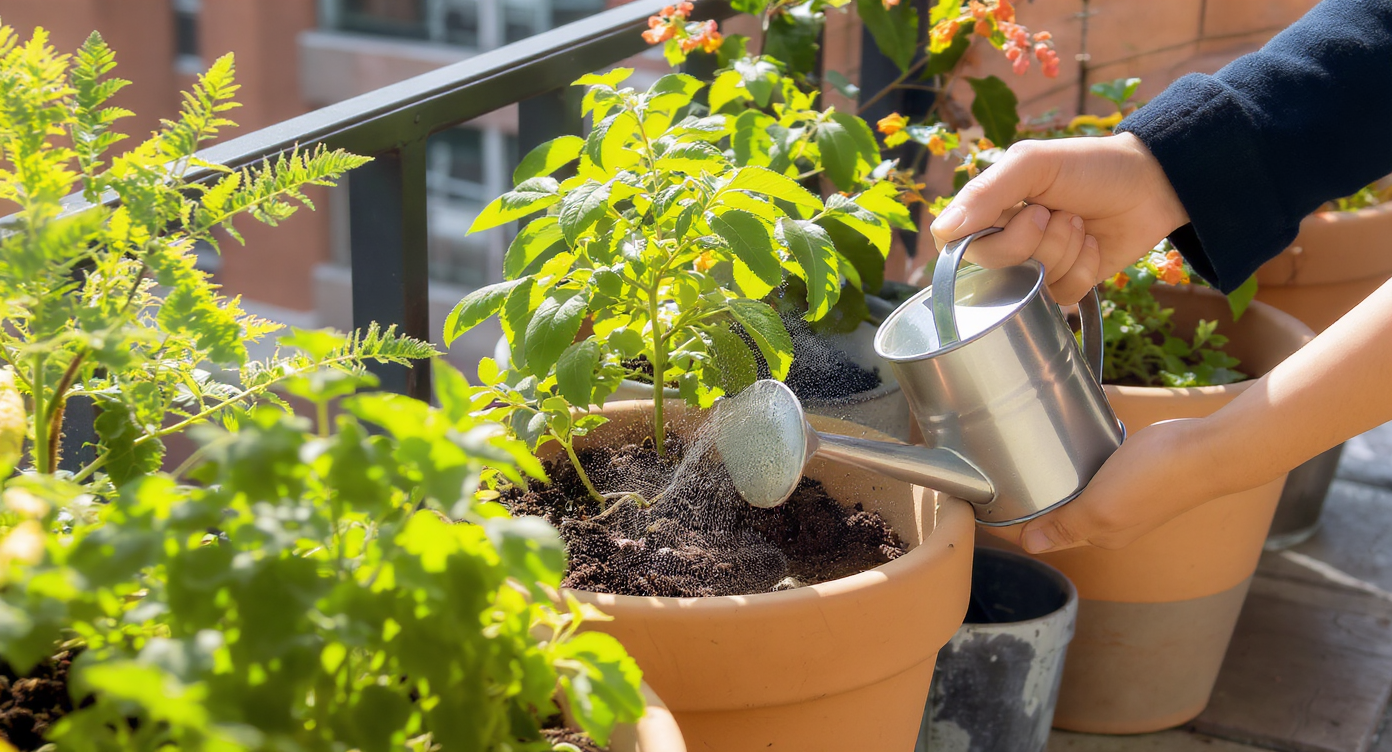
Transplanting tumbler tomatoes on a sunny city balcony—pairing technique and timing creates a healthy, thriving container garden.
Tumbler tomatoes are a favorite among container gardeners and anyone with limited outdoor space. Their compact growth and reliable yields make them an excellent choice for rooftops, decks, and small patios. However, transplanting them from crowded seedling cups to their final home can be a critical step. Mistakes during this stage can set back growth or even reduce your future harvest. For those starting tomatoes alongside peppers and basil, timing and technique make all the difference. This list offers essential strategies for separating and moving tumbler seedlings, with practical context to help navigate each decision. Whether you are brand new to gardening or have tried a few spring crops before, these insights will help you make the most of your early season container garden.
-
1. Time Your Transplant When Seedlings Have Two True Leaves

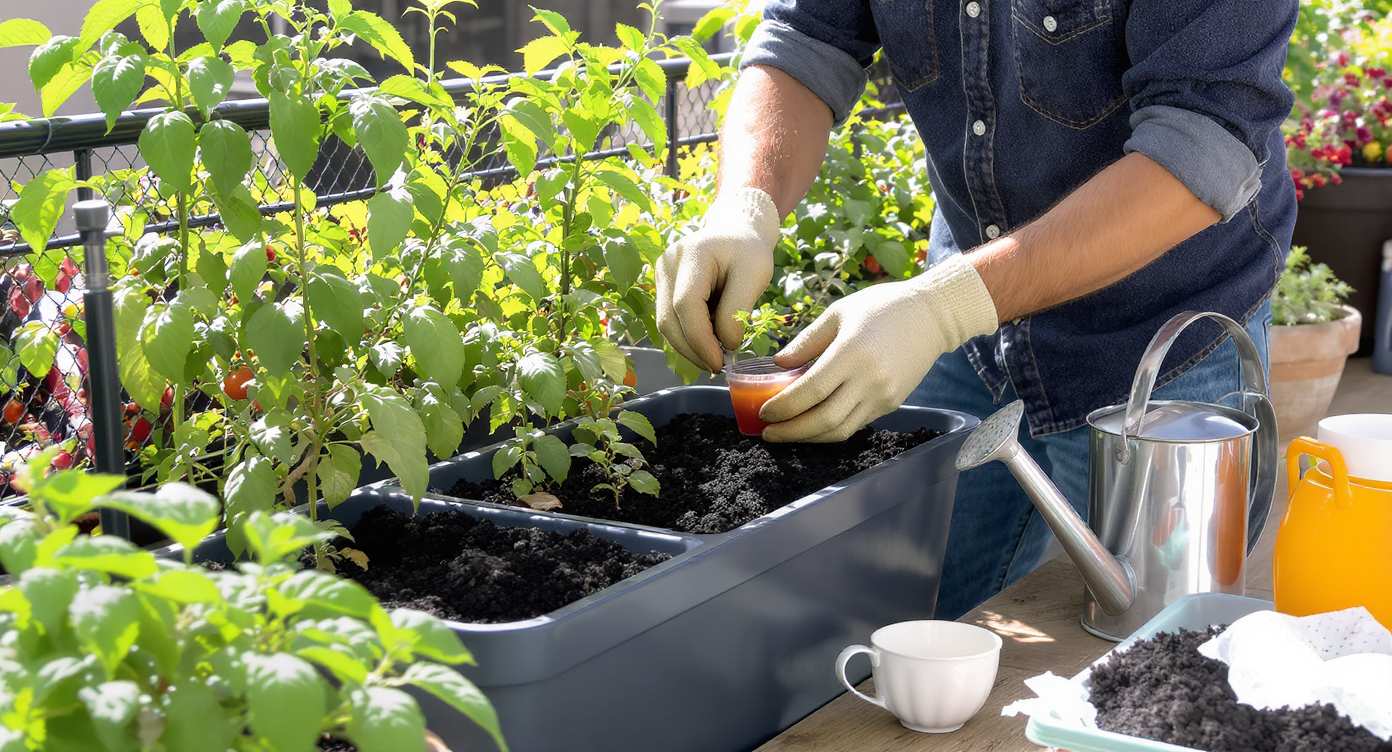
Transplant tomato seedlings when two sets of true leaves are visible, ensuring strong growth and healthy root development indoors.
Seedlings are ready to be moved when they develop their second set of true leaves. Rushing to transplant while they're too small can damage their delicate roots, while waiting too long increases risk of crowding and stunted growth. Most tumbler tomato seedlings reach this stage within two to three weeks of germination. Check for sturdy stems and a second pair of leaves that look like miniature adult tomato foliage. Separating at this stage supports healthy root development for container or hanging basket planting. For more foundational guidance on plant timing, see our insights in the article on vegetable gardening tips shaping future harvests.
-
2. Water Well Before Separating Seedlings
Moist soil clings to roots and cushions them during the separation process. A day before you plan to transplant, water the cup thoroughly so the soil is damp but not soggy. This approach reduces root breakage when untangling the clump, a valuable step especially for those new to handling delicate seedlings. Proper hydration also helps the seedlings recover faster from any minor damage during the move.
-
3. Gently Loosen and Separate Roots by Hand
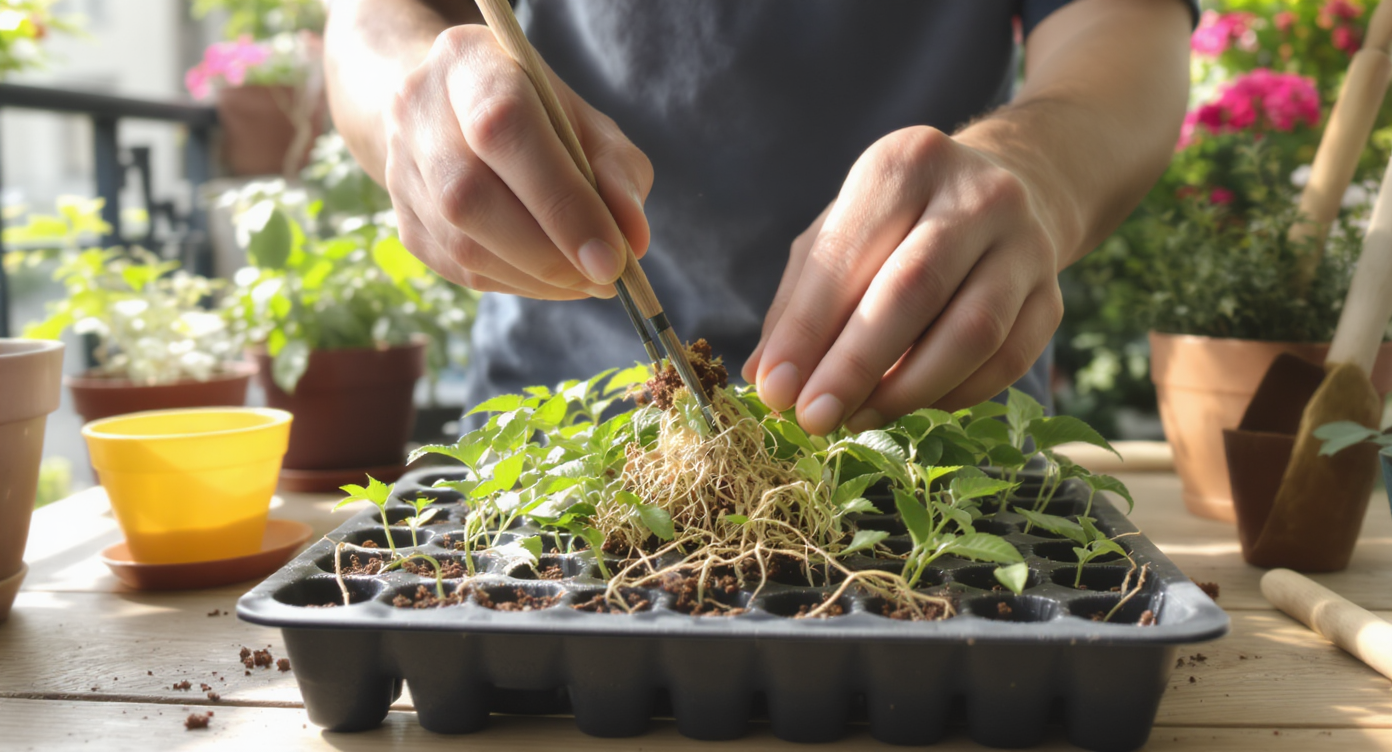
Gently tease apart tomato seedlings by their leaves, using tools like a chopstick to avoid damaging delicate stems and roots.
After removing the soil plug from the cup, gently tease out individual seedlings. Hold each seedling by its leaves rather than the stem, since stems are more vulnerable to crushing. If roots are heavily entwined, use a toothpick or chopstick to ease them apart. Avoid pulling, which can shock the plants. Taking this extra care supports survival and more consistent tomato growth in containers or hanging pockets.
-
4. Select Appropriate Containers for Each Stage

A graduated container approach ensures healthy tumbler tomato transplants. Move plants to larger pots as they grow for best results.
Tomato transplants benefit from a graduated approach to container sizing. Move each seedling into its own small pot—two to four inches in diameter—for initial recovery and growth. Once roots fill this new space, transplant into larger, permanent containers. A three-gallon (ten-inch diameter) fabric pot is suitable for one tumbler tomato. Overcrowding increases competition for nutrients and reduces airflow, resulting in fewer tomatoes. If you plan to use hanging baskets, transplant once the plant reaches six to eight inches tall and shows healthy top growth.
-
5. Use High-Quality Potting Mix and Avoid Garden Soil
Container tomatoes need loose, well-draining media rich in organic matter. A blend designed for vegetables or container gardening ensures good aeration and steady nutrition for rapid seedlings. Avoid using garden soil as it can compact easily and risk disease introduction. If you are experimenting with various crops indoors, ensure that your potting mix supports consistent root health for all, including tomatoes, basil, and peppers. Layer an inch of moistened mix in the bottom of each pot, position the seedling, then fill around it without compacting the medium.
-
6. Gradually Acclimate Seedlings Outdoors
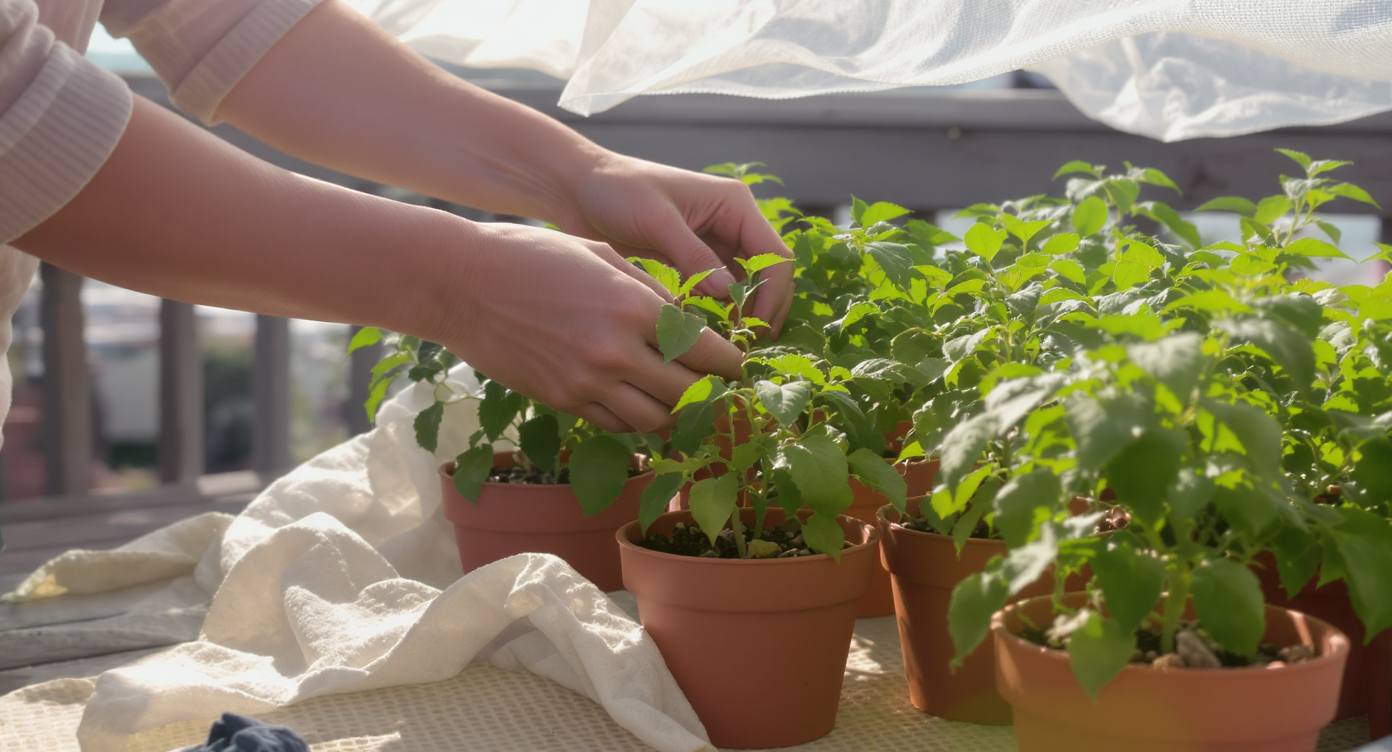
Gradually acclimating tomato seedlings outdoors helps prevent transplant shock—begin in a shaded spot to reduce sunburn risk.
Known as hardening off, this step is critical for any indoor-started tomato. Place seedlings outside in a sheltered spot for an hour or two per day, gradually increasing their time outdoors over a week to ten days. This transition helps them adjust to changes in wind, light, and temperature. For second-floor sun decks, consider using a shaded corner at first to prevent sunburn and wind stress. Skipping this phase often leads to leaf scorch or transplant shock.
-
7. Monitor Water and Fertilizer for Young Transplants
Careful watering and timely fertilizer help young Tumbler tomato transplants thrive, even in compact balcony and container gardens.
Freshly moved seedlings may need slightly more water to compensate for root disturbance, but overwatering poses its own risk. Allow the top inch of soil to dry before watering again. Once the plant shows active new growth, start a diluted fertilizer routine suitable for tomatoes. Products designed for fruiting vegetables work well and can be integrated into your regular gardening rhythm with herbs and peppers. For insight into maximizing edible yields even in small spaces, review our practical advice for beginner survival gardens.
Frequently Asked Questions About Transplanting Tumbler Tomatoes
For best growth and fruiting, limit to one tumbler tomato seedling per three-gallon (ten-inch) fabric pot. Overcrowding in small containers can reduce airflow and yields.
When should I move tumbler tomatoes to hanging baskets?
Transplant once each plant stands six to eight inches tall, has a robust root system, and the risk of frost is past. Healthy top growth prevents transplant shock in the new location.
What is the best mix for potted tumbler tomatoes?
Use a high-quality, well-draining potting mix with organic material. Avoid heavy garden soil, which compacts roots and increases disease risk.
Do I need to harden off tumbler tomatoes even if only moving them onto a deck?
Yes, gradual exposure to outdoor elements is critical, regardless of your deck's elevation, to minimize transplant stress. Take at least a week to adjust seedlings before full sun or wind.
Can REimagineHome.ai help optimize my sun deck layout for container vegetables?
Yes. This tool offers visual planning and spatial layout suggestions to help gardeners maximize container placement and sunlight efficiency for tomatoes and companion crops.
Key Takeaways for Rookie Container Gardeners
Successful tumbler tomato transplants come down to watching leaf development, gently managing roots, choosing the right container, and easing plants into outdoor life. Efficient watering and feeding routines in the first weeks establish a foundation for prolific container harvests. Urban gardeners and beginners can benefit from digital tools such as REimagineHome.ai to test layouts or predict how container crops will perform on decks and patios. Consistency and patience during transplanting lead to the kind of results that sustain confidence and inspire future experiments.