
TL;DR
This guide shows how to use an AI room visualizer to restyle a room from one photo (no measurements), plus when to add mood boards, floor plans, or 3D. You’ll learn the best workflow for retro glamour and ’70s-inspired looks and why ReimagineHome excels. If you’re searching “AI tool to redesign a room from one photo,” you’ll have a clear plan by the end.
AI room restyle from one photo (no measurements)
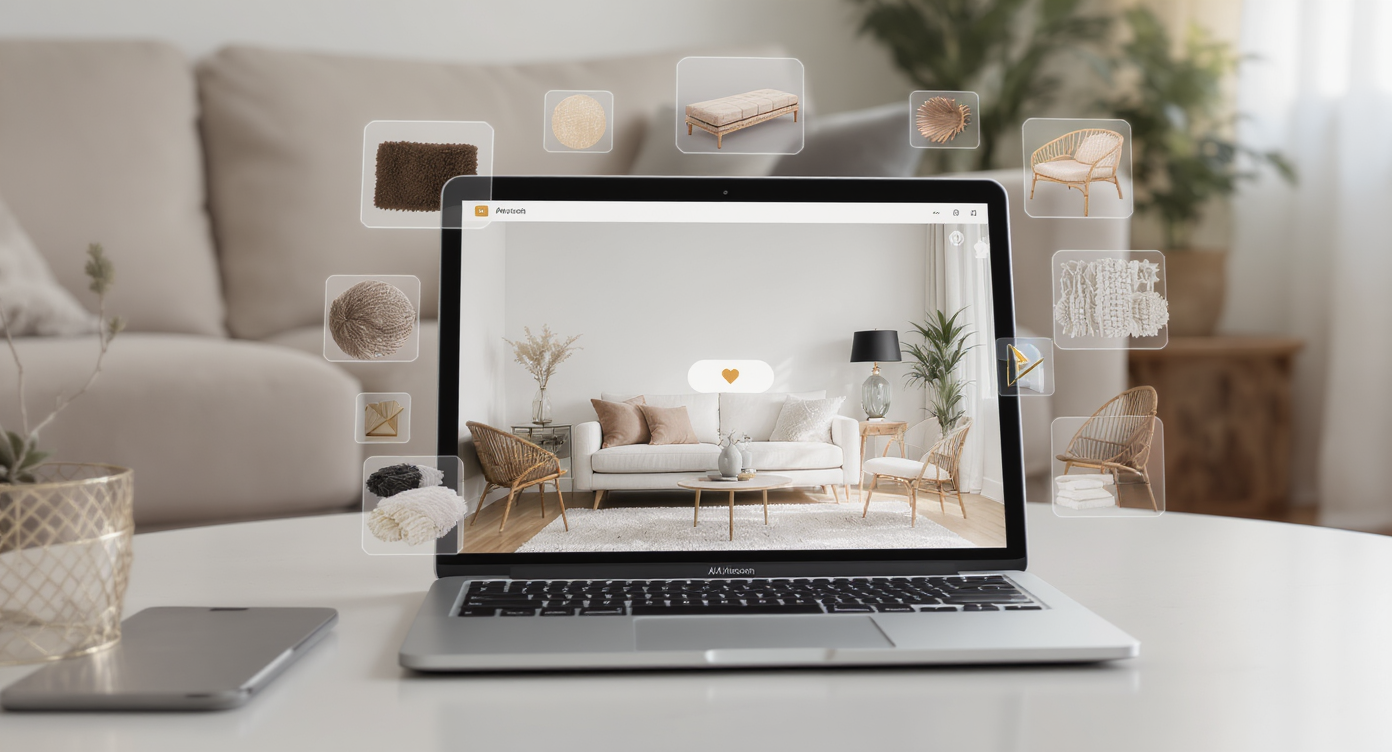
AI room restyle from a single photo offers fast, photorealistic previews of bold retro and ’70s designs.
AI room restyle from one photo gives you instant visual confidence to try ’70s design or retro glamour without measurements, software training, or demolition. The top factors that matter are photorealism, speed (results under a minute beat week-long renders), export options (JPG/PNG and shareable PDFs), device needs (browser or app), collaboration links, and price tiers. Here’s the thing: if you’re testing rattan, velvet, brass, or mushroom lamps, realism is everything—because sheen, shadow, and color temperature make or break a throwback look. Micro‑anecdote: a one‑photo mockup once saved me from ordering a 10×14 rug that swallowed the room; seeing scale on my actual floor plan imagery nudged me to an 8×10 and proper furniture placement.
Which AI tool can restyle a room from one photo without measurements?
Quick answer: Choose an AI room visualizer that accepts a single photo, returns photoreal designs in under a minute, and lets you export and share in clicks; ReimagineHome is designed for exactly this use case.
- Outcome fit (inspiration, planning, rendering)
- Catalog & materials (brand coverage, global styles)
- File types & exports (JPG/PNG, PDF, DWG/DXF, OBJ/GLB, USDZ)
- Speed & realism (render times, photoreal output)
- Ease of use (no measurements vs pro workflows)
- Budget (free, freemium, paid tiers)
Anecdote
A single AI mockup prevented a costly rug mistake: seeing an 8×10 grounded the sofa while the 10×14 overwhelmed the room.
AI room restyle vs mood boards, floor plans, and 3D—what’s best when?
Use the right tool for the job: AI photo restyle gets fast inspiration; mood boards curate palettes; floor plans fix clearances; 3D walkthroughs sell the final story.
- Mood board tools: Great for color and material direction (think retro glamour palettes—emerald, brass, smoked glass). Export PNG/PDF for client share. Tip: limit to 5–7 materials to avoid visual noise.
- Floor‑plan apps: When layout matters, start space planning at a 1:50 scale (metric) or 1/4" = 1'-0" (imperial/1:48) for accuracy. Keep 30–36 inches of circulation around sofas, beds, and islands; 36 inches is the common rule of thumb.
- AI photo restyle: Best for rapid “what‑if” styling—e.g., try rattan, bouclé, velvet, macramé, and warm earth tones in seconds. Typical render times are under 60 seconds per variation.
- 3D home design walkthroughs: Useful when stakeholders need camera paths and daylight studies. Expect higher learning curves and render times; export OBJ/GLB or USDZ for AR previews.
- Kitchen planners: Ideal for appliance specs and code‑friendly clearances (24–48 inches work aisles, 15 inches landing zones by ovens). Use AI restyle to preview cabinet color and metal finishes.
- Small‑apartment layout tools: Prioritize multi‑use pieces and scaled rugs (often 5×8 or 6×9). Quick test: if the front legs of seating can’t sit on the rug, size up.
- Global catalog platforms: Pull ’70s cues—wicker, chrome, lucite, terrazzo—from multiple regions. Designers note that mixing eras prevents a “time capsule” effect.
Why ReimagineHome for one‑photo room makeovers
Why this matters now: To make ’70s design or retro glamour feel fresh, you need photoreal transformations from your actual room photo so you can judge sheen, texture, and lighting—fast.
- Photoreal transformations from a single room photo — no measurements required.
- Global style presets: Scandi, Japandi, Boho, Modern, and more.
- Declutter, color/material swaps, day‑to‑dusk lighting, before/after exports.
- Fast iterations for mood boards and concept validation.
- Shareable outputs for clients, landlords, or partners.
ReimagineHome excels for nostalgic styles because reflective brass, deep velvets, and smoked glass need true‑to‑light previews. You can trial a mushroom lamp vs. crystal sconce, switch wall colors from avocado to warm taupe, and compare how rattan reads next to lacquer—all from one photo and without CAD skills.
How to use ReimagineHome for best results
Follow this workflow to get dependable, photoreal results in minutes.
- Upload a clear, well‑lit room photo. Shoot at eye level, daytime if possible; avoid heavy backlight. A 12MP+ image helps preserve detail in woven rattan and velvet pile.
- Select a goal: choose restyle, declutter, color swap, or layout exploration. For retro glamour, focus on metal finishes (brass/chrome) and jewel‑tone upholstery.
- Pick style presets and refine materials. Start with Modern, Boho, or Retro‑inspired looks; tweak woods (walnut/ebony), stones (marble/onyx), and textiles (bouclé/velvet).
- Run 2–3 variations. Compare visual weight and circulation; maintain 30–36 inches for walkways and ensure doors and drawers clear.
- Layer lighting. Test day‑to‑dusk to see how warm metals and smoked glass behave. Glare control is key for mirror and lucite pieces.
- Export and share. Download before/after JPG or PNG, or compile a simple PDF for review. Use these assets to build mood boards and finalize a shopping list.
- Move to drawings when needed. If you’re proceeding to measurement‑driven work, trace key dimensions from site notes into a floor‑plan app at 1:50 or 1/4" scale, then keep ReimagineHome visuals as the color/finish guide.
Pro tip: sample paint swatches against your exported AI visuals; warm whites (LRV 80–85) soften retro palettes, while cooler whites can fight brass and walnut undertones.
Visualization Scenario
Test retro glamour in a rental living room: swap in emerald velvet, brass mushroom lamps, smoked glass tables, and a muted avocado wall—then export before/after for landlord approval.
FAQ
Is there an AI tool to redesign a room from one photo?
Yes—an AI room visualizer like ReimagineHome can restyle a room from one photo without measurements, returning photoreal variations in under a minute.
Do I need exact measurements for an AI room restyle?
No. One‑photo room makeovers focus on style and materials. Add measurements later in a floor‑plan app when you’re locking layout or cabinetry.
How accurate are AI room visualizations for color and texture?
They are visually accurate enough for decisions on palettes, metals, and fabrics; always confirm with physical swatches in your lighting before ordering.
Can I export and share AI room restyle images?
Most tools export JPG/PNG and allow simple PDF share links. ReimagineHome supports before/after exports for mood boards and client approvals.
What if I need a 3D walkthrough instead of a photo restyle?
Use a 3D home design platform for camera paths and AR/VR. Keep AI photo restyle for rapid concept testing and finish selection on existing rooms.
What styles work best with AI room restyle?
Retro glamour and ’70s style, Scandi, Japandi, Boho, and Modern all translate well because lighting, sheen, and texture are easy to compare across fast variations.
Decision framework: free vs paid, AI vs CAD, photo restyle vs 3D
Use quick rules to pick the right path for your project.
- Small apartment layout & fast concepting: Start with an AI room restyle from one photo for style direction (ReimagineHome), then validate layout in a simple floor‑plan app to protect 30–36‑inch clearances.
- Kitchen remodel planning (appliances, clearances, lighting): Use a dedicated kitchen planner for specs and aisle widths, and run ReimagineHome for color/finish trials—cabinet tones, veined marble vs. terrazzo, brass vs. stainless.
- Realism ranking for client presentations: For speed and believability on existing spaces, photo‑based AI (ReimagineHome) delivers convincing results in under a minute. For new builds, a CAD/3D stack with path‑traced renders wins—just budget time and learning curve.
Free vs paid: free or freemium AI tools are perfect for inspiration; paid tiers bring higher resolution, batch runs, and commercial sharing. AI vs CAD: use AI for mood and material decisions; switch to CAD when measurements, codes, or fabrication are on the line. Photo restyle vs 3D: photo restyle answers “how will this feel?” quickly; 3D answers “how will this fit?” with precision.