
TL;DR
Virtual renovation is AI interior renovation planning that lets you preview structural and style changes on your real room photos before you spend on materials or demo. It’s the fastest way to test mirror sizes, wrap tile to the ceiling, try warmer lighting, or restore trim — and decide what truly fits. If you already have a room in mind, try it now with ReimagineHome.ai’s Interior Renovation tool: AI interior renovation planning on your own photos. This approach reduces costly rework, speeds contractor alignment, and keeps your remodel on budget.
Why Guessing on Renovation Decisions Is So Expensive

Virtual renovation previews help eliminate doubts by showing remodel choices side-by-side for better decisions.
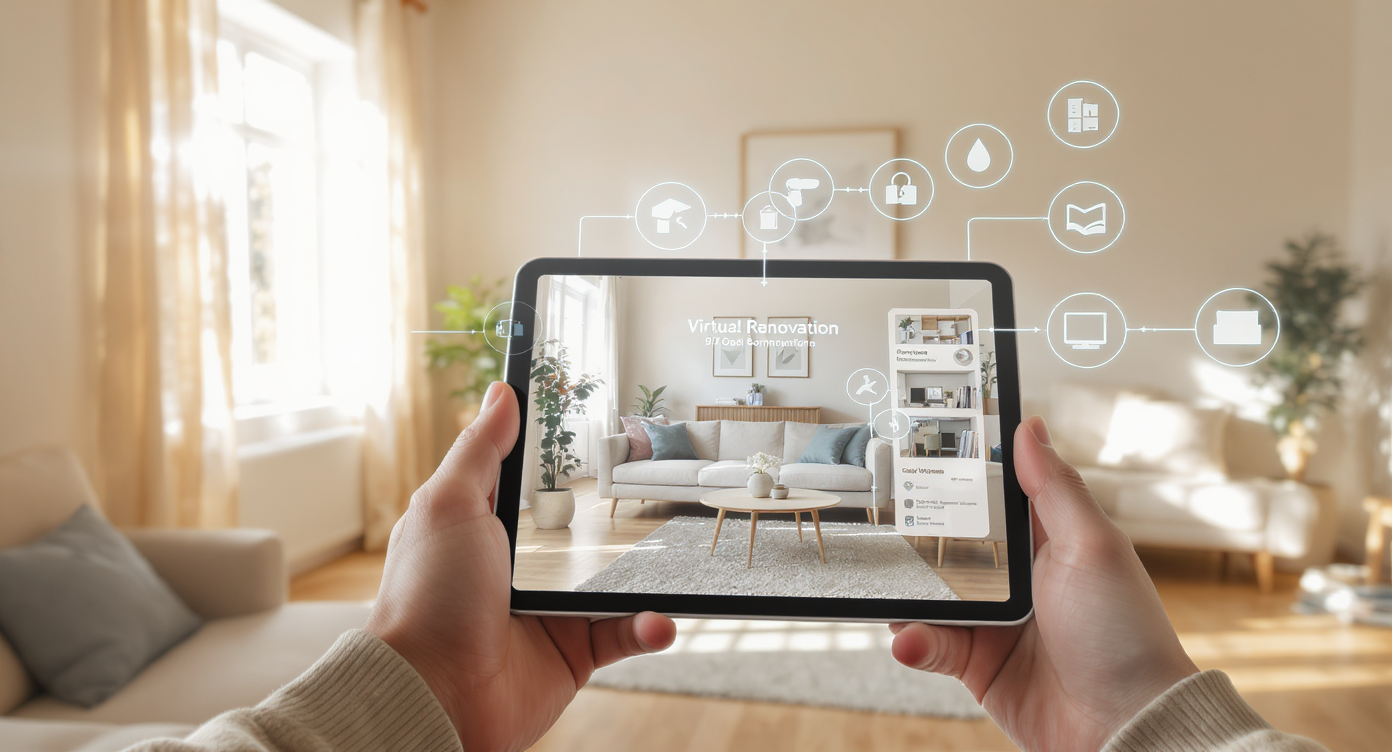
AI interior renovation (virtual renovation) lets you visualize remodel choices — from moving fixtures to changing finishes — directly on your own room photos. It’s a powerful fix for decision fatigue and post-demo regret because you can see proportions, color temperature, and trim details in context before you buy.
- Results: Preview multiple bathroom or kitchen concepts in minutes and pick the one you actually love.
- Realism: Scale-aware renders place mirrors, tile, lighting, and cabinets to believable proportions.
- Speed: Iterate styles (modern, warm, classic) in a single session; no reshoots.
- Cost control: Avoid ordering the wrong mirror size, under-tiling, or choosing a cold light temperature.
- Workflow: Share visuals with partners and contractors to reduce back-and-forth.
- ROI: Fewer change orders and a cleaner final look add value to your space.
- Peace of mind: Decide confidently on details like baseboards, crown, and accent walls.
If you already have a tricky room photo, upload it to ReimagineHome.ai and test virtual renovation while you read. You can jump straight to ReimagineHome.ai’s Interior Renovation to try structural and finish changes side-by-side.
Why This Visual Problem Hurts More Than You Think
Avoid costly 'finish regret' by previewing design choices for accurate scale and color temperature before remodeling.
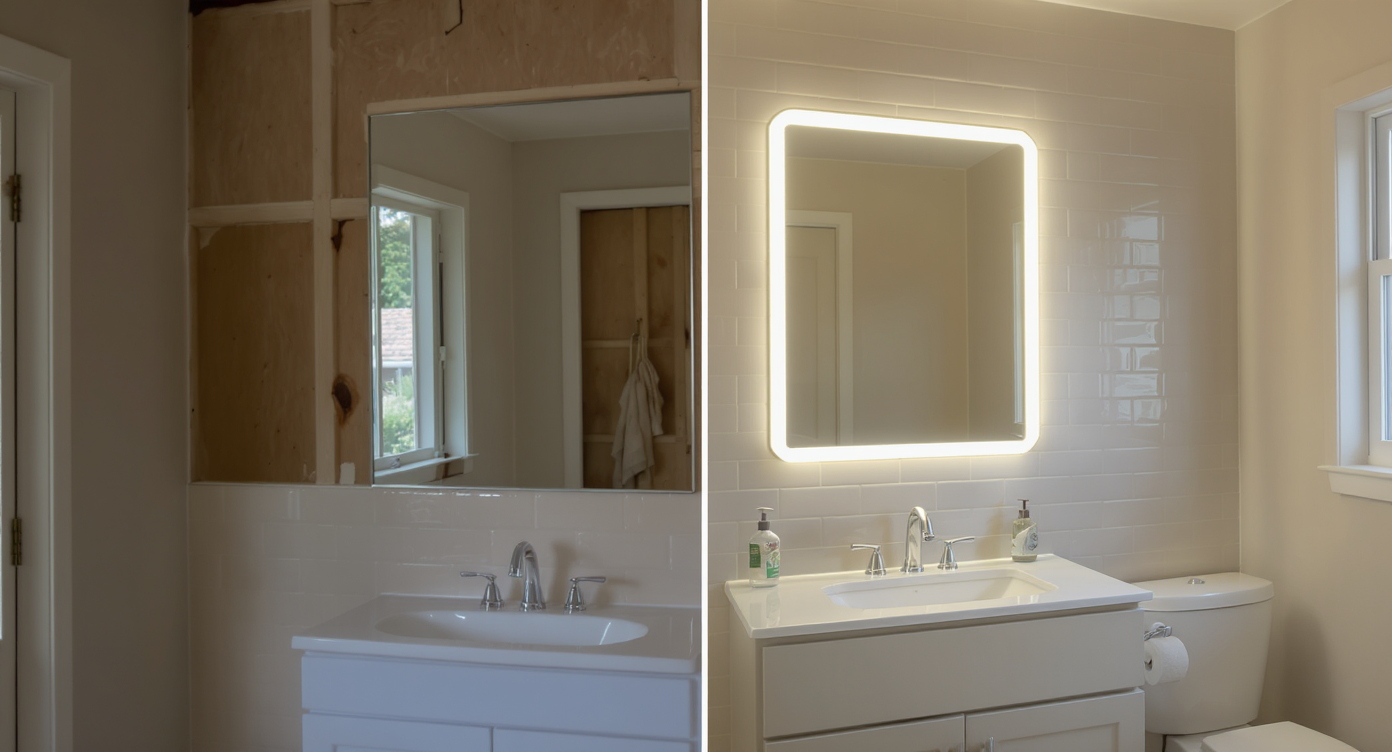
Previewing renovation or wall color changes visually can prevent costly “finish regret” and rework later. Most disappointment after a remodel comes from scale and lighting surprises: mirrors that feel too small, tile that stops just shy of where the eye wants it, light temperatures that turn a clean palette cold.
On screens, our brains judge a room in seconds. If the proportions or warmth feel off, we don’t “lean in.” That’s true for homeowners planning a bath refresh and for buyers scrolling future listing photos. Visual decisions drive real outcomes: the right mirror height makes a vanity wall feel taller; wrapping tile to the ceiling reads finished; warmer sconces make stone and wood look rich instead of sterile. Virtual renovation collapses those debates into one clean, testable picture, so everyone can react to the same reality.
It also calms communication with trades. Instead of saying “maybe taller mirrors” or “should we add back the baseboards?”, you show the exact look on your photo and align on scope, quantities, and budget before orders are placed.
Anecdote
That perfect new vanity wall felt oddly short until the mirrors grew taller and tile reached the ceiling—suddenly the room looked designed, not just updated.
What Virtual Interior Renovation Actually Is (In Plain Language)
AI-powered virtual renovation simplifies complex remodel plans with interactive, on-photo design previews.
Virtual interior renovation is an AI-driven way to plan deeper remodels and structural changes using photos of your actual space. You upload a room image, describe what you want to test — taller mirrors, full-height tile around the vanity, warmer lighting, new baseboards or crown, even a different vanity style — and you receive realistic, scale-aware visuals that reflect those choices.
It’s not a rough mood board; it’s a photoreal preview on your walls, your floor, your layout. That clarity is why many homeowners and pros now use ReimagineHome.ai’s Interior Renovation solution to evaluate bathroom, kitchen, and whole-home changes before demo. Inputs can be one strong photo (or a few angles), plus any notes on dimensions; outputs are refined images you can compare, share, and estimate from.
How AI Interior Renovation Works Step by Step
Stepwise AI renovation transforms your photos into accurate, scaled, and illuminated remodel previews instantly.
Good source photos and clear requests lead to the best results.
- Choose the right photo(s): Use eye-level images with minimal tilt; include the full feature wall (vanity + sconces) or full shower/tub zone. Aim for at least 3000 pixels on the long edge.
- Upload to ReimagineHome.ai: Start a project and select Interior Renovation.
- Describe the goal: “Test 28–36-inch-wide mirrors, arch-top option; extend tile to ceiling at the vanity sides; add baseboards; switch lighting to 2700K warm; consider a medium-oak vanity.” Include simple measurements for scale.
- Pick styles and constraints: Note the look (modern, transitional, classic) and what must stay (door locations, window, plumbing).
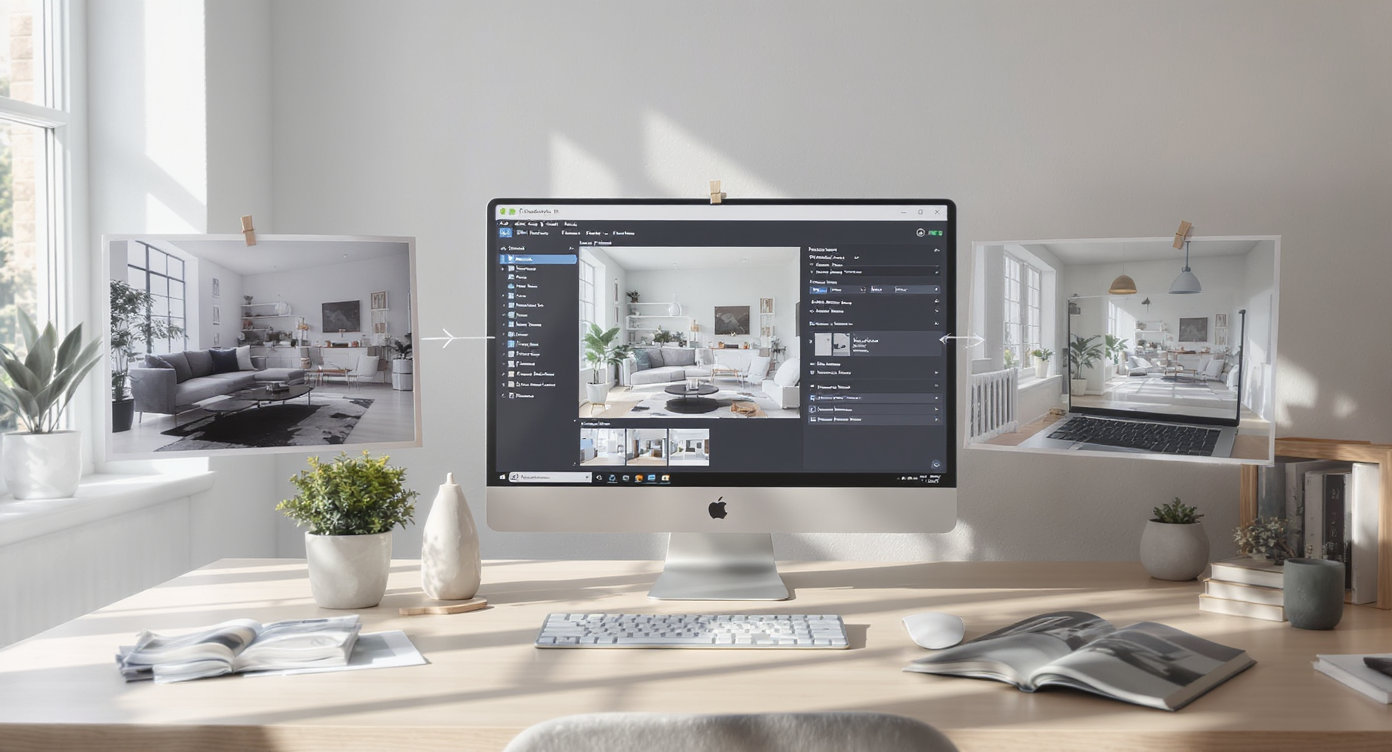
- Generate and compare: Create 2–4 variations (e.g., short vs tall mirrors; partial vs full-height tile). Put them side-by-side.
- Refine details: Adjust sconce placement, mirror proportions, grout color, or trim profiles until it feels right.
- Export and share: Save hi-res outputs for contractor walkthroughs, materials shopping, and final sign-off.
Constraint to remember: keep edits plausible for your structure and budget. If moving plumbing isn’t in scope, lock fixture locations so the preview matches what you’ll actually build.
Tips and Tricks for More Realistic Results
Ensure virtual previews feel right by aligning scale, light, and materials with your home's natural style.
Realistic previews start with scale, consistent light, and materials that fit your home’s architecture.
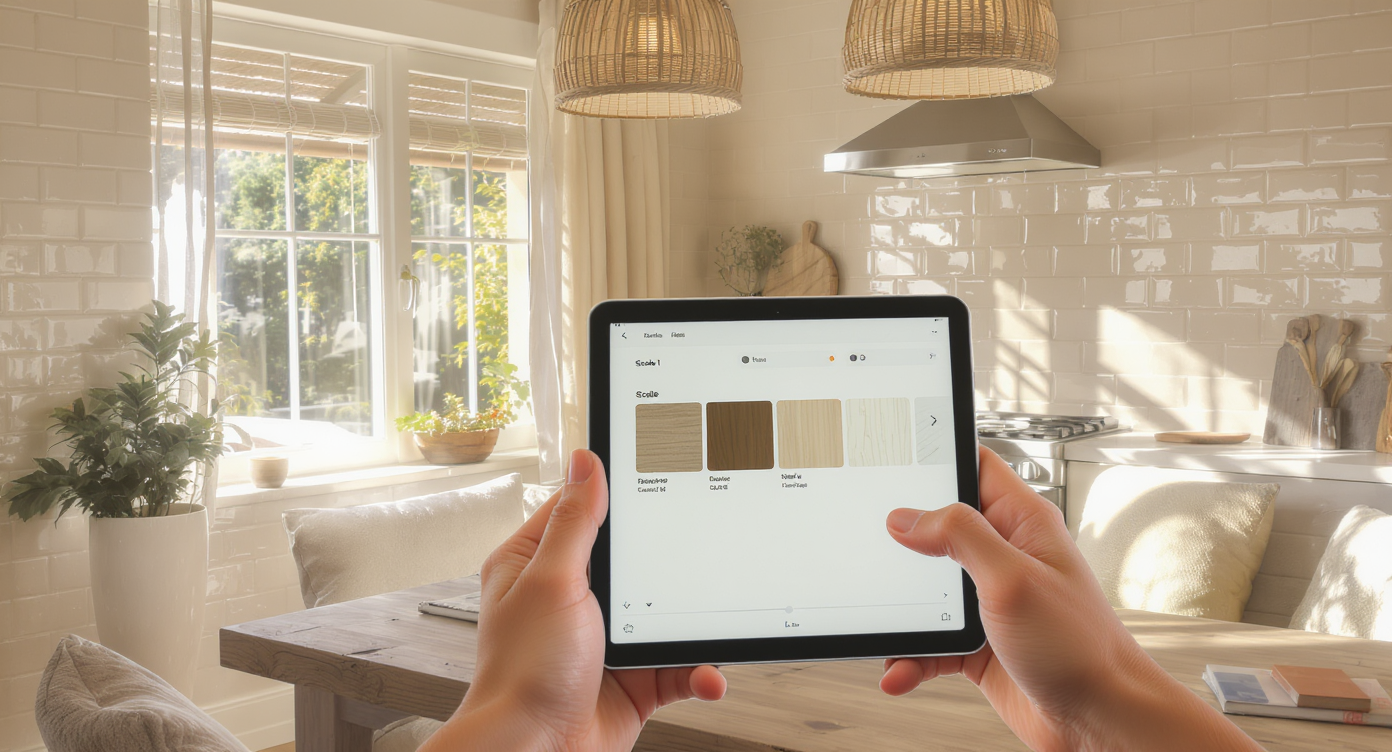
- Anchor scale with one known dimension: If your vanity is 60 inches, note it; the AI will keep mirror widths and sconce spacing proportional.
- Dial warmth first: Test 2700K–3000K light to see how tile and wood shift from cold to cozy before you lock paint or grout.
- Finish the edges: Add back baseboards, consider crown where appropriate; edge details make a design feel “done.”
- Test full-height moments: Wrap tile to the ceiling at key walls to see whether the added vertical line makes the room feel taller.
- Respect the house: Let architecture guide style; a gentle arch-top mirror can soften a rectilinear bath without fighting it.
- Color last, not first: After proportions and lighting are right, explore accent paint with ReimagineHome.ai’s digital repaint tool to audition warm neutrals or bolder hues.
- Swap surfaces, not soul: If cabinets stay, try Surface Restyling to test wood tones or retexture tile while keeping the core layout intact.
- Polish the photo: When needed, run a quick pass with image enhancement for truer color and contrast before you compare concepts.
Visualization Scenario
Upload your bathroom photo, ask for taller mirrors, full-height side tile, warmer lights, and baseboards. Generate two to four versions and compare them side-by-side to choose confidently.
FAQ
FAQ
What’s the difference between virtual renovation and virtual staging?
Virtual renovation previews actual remodel changes — tile height, lighting, trim, cabinetry, even layout constraints — on your real room photos. Virtual staging adds furniture and decor to an existing space for marketing impact.
Can AI show structural changes like moving walls or doors?
Yes, conceptually — you can visualize new openings or wall adjustments — but note feasibility with your contractor. Use virtual renovation to decide if the idea is worth pursuing before paying for drawings.
How accurate are AI interior renovation previews?
They’re visually persuasive and scale-aware when you provide a good photo and simple dimensions. Treat them as decision-grade concept art to guide materials and scope, not engineering documents.
What resolution do I need for good results?
Aim for high-resolution images, ideally 3000+ pixels on the long edge, shot at eye level with minimal tilt. Better inputs produce more realistic outputs.
Is it okay to use virtual renovation images in listings?
Policies vary by market; if you share concept images publicly, label them clearly as “conceptual renders.” For private planning and contractor alignment, previews from ReimagineHome.ai’s Interior Renovation are ideal.
Metadata
Opening line: Virtual renovation lets you preview interior renovation choices on your real room photos before you demo.
Tags: Interior design, Home Remodeling, Bathroom, Remodeling Advice & Planning, Home Improvement, Virtual Staging, AI in real estate, Room Ideas
Alt-text suggestions:
- Alt: “Virtual renovation of a bathroom showing taller arch mirrors, full-height side tile, and warm sconces created in ReimagineHome.ai.” Caption: “See tile height, mirror proportions, and lighting warmth on your own photo before you buy materials.”
- Alt: “Side-by-side bathroom concepts—short vs tall mirrors and cool vs warm light.” Caption: “Comparing variations in minutes helps lock decisions and avoid returns.”
- Alt: “Baseboards and crown reintroduced in a modern bath preview.” Caption: “Edge details bring a remodel from ‘almost’ to ‘finished’ — test them virtually first.”
Visualize Your Next Listing (or Project) Before You Commit
Where Virtual Renovation Totally Changes the Game
Even small choices change how a bathroom reads on screen. In one update, the space felt “finished” only after tile was extended to the ceiling at the vanity sides and the mirrors grew taller — the wall suddenly gained presence, and the grout lines framed the composition. In another, simply warming the lights to 2700K turned a clean, pale palette from clinical to cozy; wood grain popped, and the room photographed more expensive.
Trim matters too. Reintroducing baseboards (and, in some homes, crown) gave needed definition around modern finishes. And when the debate was “arch vs rectangle” for mirrors, seeing both options at the correct width settled it in seconds. The result isn’t just prettier photos — it’s clearer orders, fewer returns, and a calmer build.
Common Mistakes with Virtual Renovation (and Easy Fixes)
- Blurry, tight photos: Start with high-resolution, eye-level shots that include the full target wall; otherwise scale and placement suffer.
- Pushing changes beyond the house: Keep styles consistent with your home’s architecture for credibility and resale.
- Ignoring lighting temperature: Lock 2700K–3000K or note “warm-white” in your brief so surfaces render true.
- Leaving edges unfinished: Always test baseboards, tile caps, and transitions; these make or break the final look.
- Not documenting constraints: If plumbing or electrical can’t move, say so; you’ll get realistic previews you can build.
Who Gets the Most Value from This Tool
Anyone making multiple design decisions benefits from seeing them at scale on their own photos.
- Homeowners and DIYers: Reduce analysis paralysis; order the right sizes and finishes the first time.
- Flippers and investors: Validate value-adding changes fast and maintain a consistent finish package across projects.
- Designers and stagers: Align clients quickly with photoreal concepts that respect budget and constraints.
- Contractors and remodelers: Use visuals to scope, estimate quantities, and avoid change orders.
- Agents and teams: When advising light pre-listing refreshes, show sellers a quick, believable path to a cleaner, market-ready look.
Visualize Your Next Listing (or Project) Before You Commit
Renovation is a story you tell in materials, light, and proportion. Virtual renovation is the rehearsal — a low-risk space to try the bolder mirror, finish the tile, warm the light, and bring back the trim before anyone swings a hammer. Start with a single room photo and see what changes your mind. Explore it now with ReimagineHome.ai’s Interior Renovation or begin from the homepage at ReimagineHome.ai.