
TL;DR
A DIY kitchen plinth vacuum usually isn’t worth the lost storage, daily sweeping, and maintenance; a hidden robot-vac dock or wall-mounted stick vac is more practical and renter-friendly. You can test cabinet modifications, toe-kick cutouts, and storage trade-offs from one photo using ReimagineHome.ai, an AI room planner. For small kitchens, the best long-term fix comes from optimizing layout, not installing a single-purpose gadget.
Why Utility Fixes Feel So High-Stakes in a Small Kitchen
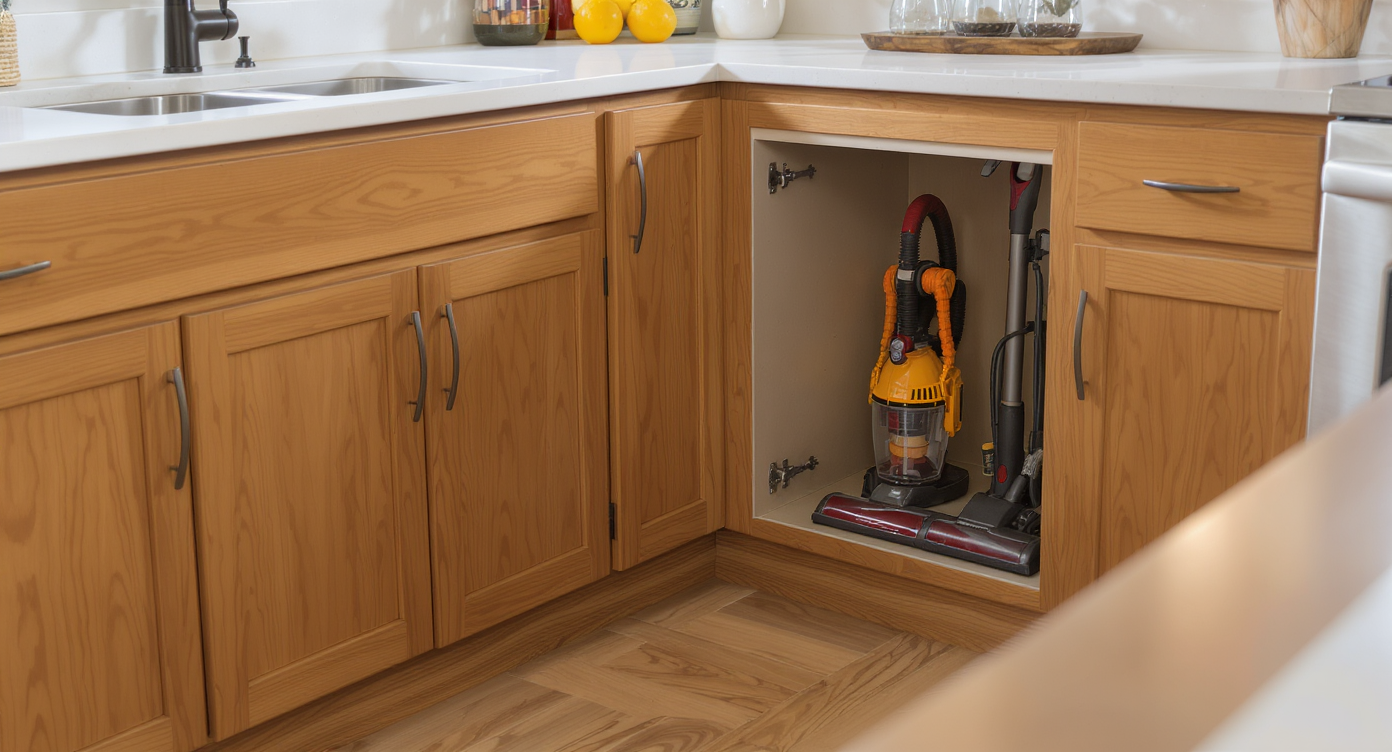
Compact vacuums and intelligent plinth storage keep small kitchens tidy and functional.
Short answer: building a DIY plinth vacuum in a kitchen often trades scarce storage and time for minimal gain; a robot vacuum bay or a compact stick vac typically wins for small-space living. Use AI interior design from a photo to preview a toe-kick dock, charging nook, or alternative storage before you cut anything.
- At a glance: When a plinth vacuum helps vs when it doesn’t
- Hidden robot vacuum docks in the kickboard (and how to size them)
- Walkway and appliance clearances that keep tiny kitchens usable
- How to try a photo-to-room redesign in minutes with room design AI
- Step-by-step: low-risk DIY options that beat complex retrofits
- Real-world outcomes: novelty vs daily utility
Before you move a single sofa or pick up a paint roller, upload a photo to ReimagineHome.ai and test a few ideas safely.
If you’re weighing bigger layout questions in a compact space, this overview pairs well with this breakdown of AI interior design tools, and if your kitchen layout is the real pain point, see our small-kitchen layout guide for aisle widths and storage swaps.
Why Interior Design Dilemmas Are Usually About Layout, Scale, and One Wrong Piece

Ideal aisle spacing prevents layout problems and highlights the impact of one wrong-sized piece in kitchens.
Most designers recommend at least 36 inches (about 90 cm) of clear walking space in a main kitchen path; when aisles shrink, every add-on must earn its place. In reality, the frustration you’re feeling isn’t about cleaning tech — it’s about space hierarchy: walkways, reach ranges, and storage volume.
Why the DIY plinth vacuum struggles in real homes:
- Storage trade-off: A 600 mm base cabinet is precious in a small kitchen; dedicating space to a static vacuum or long hose housing becomes a daily penalty.
- Toe-kick geometry: Typical kickboard height is 100–150 mm and set back 50–75 mm; that recess is fantastic for a robot vac door, but tight for bulky housings or complex ducting.
- Workflow mismatch: You still have to sweep debris over to the slot. Sweeping re-aerosolizes dust, which is the opposite of what you want near food prep.
- Maintenance realities: Clogs, wet crumbs, and filters still need attention, but now the system is hidden and harder to access.
Where it can work: integrated central vacuum systems planned during a remodel or new build (with a garage or utility hub) can be quiet and powerful. If you’re considering a bigger upgrade cycle, preview a few versions in ReimagineHome.ai to compare what you gain in flow versus what you sacrifice in storage.
For tiny kitchens, a more reliable path is optimizing aisle width, vertical storage, and one well-chosen cleaning tool — the misfit isn’t your whole room, it’s often just one extra gadget asking for space you don’t have.
Anecdote
That corner where crumbs gather by the bin? A reader once cut in a flashy plinth slot to “speed up” cleanup. Two months later, they sealed it and installed a hidden robot dock; not having to sweep to one spot was the real win.
Furniture (and Fixture) Rules That Quietly Solve Most Kitchen Problems
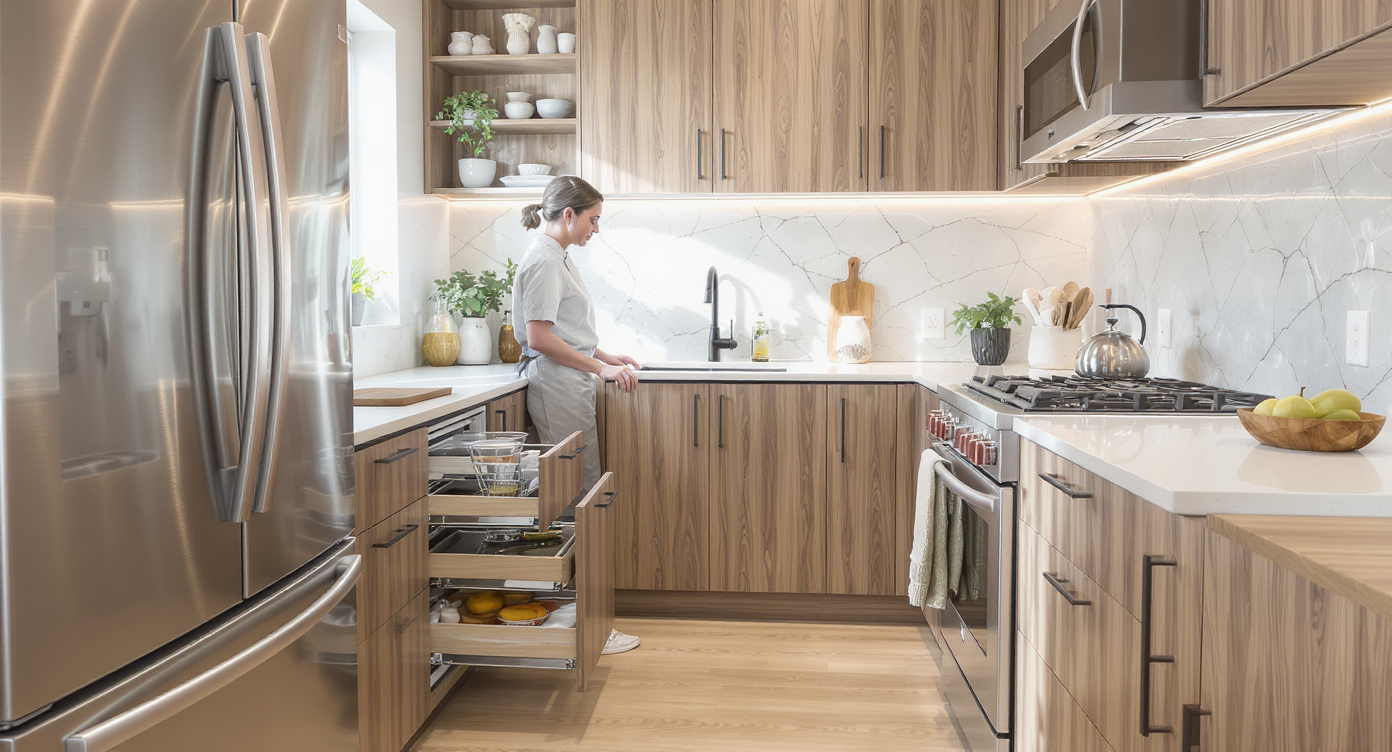
Following furniture and fixture guidelines ensures smooth kitchen workflow and solves space challenges quietly.
Cooks move best with 36–42 inches (90–107 cm) of aisle space; if you don’t have it, choose slimmer storage and low-profile tools, not bulky add-ons. A few dimension rules help the decision:
- Toe-kick size: Plan for 100–150 mm height and 50–75 mm depth. That’s typically enough for a robot vacuum opening but tight for a vacuum canister.
- Robot vac dock: Most units are 8–10 cm tall and 32–35 cm wide; leave 3–5 cm side clearance and a 10–12 cm clear opening height in the kickboard.
- Charging access: Keep a standard outlet within 1.5–2 m; run cabling behind the base units and avoid drilling external walls unless you’re remodelling.
- Door swing: Keep 30–36 inches (76–91 cm) clear in front of ovens/dishwashers for safe loading.
- Cleanup triangle: Bins, sink, and broom/hand vac within 1–2 steps of each other reduces scatter and keeps crumbs contained.
Use these as “fit tests” inside a visual mockup. With a single upload, ReimagineHome.ai can show a kickboard cutout, a concealed charging nook, and alternate finishes so you can see how it looks with your cabinet style. If you’re exploring overall space planning, this complements our beginner’s guide to virtual room design for quick what-if scenarios.
How ReimagineHome.ai Helps You Test Layouts, Styles, and DIY Ideas
ReimagineHome.ai lets you explore and choose smart kitchen layouts and styles instantly before committing.
AI tools can show multiple layout and style options in minutes, reducing risk before you buy, cut, or drill. Here’s how to use ReimagineHome.ai as your low-stakes test lab:
- AI room restyle from one photo: Upload a straight-on shot of your kitchen; ask for a hidden robot dock in the toe-kick under the sink or pantry run. Compare versions with and without a visible grille.
- AI furniture/layout for small spaces: Try slimmer base units, a narrower bin pull-out, or a compact broom cupboard to reclaim aisle width without losing function.
- Paint and finish tests: Swap a black or stainless toe-kick against your floor tone; darker plinths recede visually and hide a discreet access panel.
- Global style checks: See how Scandi, Japandi, or Modern Minimalist finishes handle kickboard seams and ventilation slots without looking “gadgety.”
Whether you’re ranking virtual room design tools or just want the simplest path to a yes/no decision, ReimagineHome.ai keeps the focus on what matters: flow, fit, and daily ease.
Step-by-Step: Fixing This Kitchen with AI and Simple DIY Changes

Step-by-step DIY fixes and AI insight improve kitchen flow and integrate smart vacuum solutions seamlessly.
Aim for 30–36 inches (76–91 cm) of clear path in your main working run; if you can’t hit that, prioritize slim storage and a compact cleaning tool over a plinth vacuum.
- Step 1 — Photograph and define: Take an honest, well-lit photo straight at the base cabinets. In ReimagineHome.ai, request “hidden robot vacuum dock in toe-kick under the pantry run, matching finish, cable concealed.” Generate 4–8 options.
- Step 2 — Measure the toe-kick: Confirm height (100–150 mm) and recess (50–75 mm). If your robot vac is 9 cm tall, design a 10–12 cm opening, centered and wide enough for easy docking.
- Step 3 — Power plan: Identify a nearby outlet. If none, route a cable discreetly through the cabinet service void to an existing plug — no surface trunking if possible.
- Step 4 — Choose your path: A) No-build: wall-mount a slim stick vac near the bin/sink zone; B) Light-build: add a toe-kick flap with magnetic catch for a robot dock; C) Major-build: only consider a central vacuum “vac pan” during a remodel, not as a standalone retrofit.
- Step 5 — Test finishes: In AI, render plinth and door finishes that match; avoid high-contrast grilles that draw the eye to the floor. Save side-by-side comparisons.
- Step 6 — Execute minimally: For a robot bay, cut a clean opening, edge it with a U-channel trim, install a low-profile flap if desired, and secure the charger. Verify return clearance and signal strength.
- Step 7 — Iterate: Live with it two weeks. If the dock location causes traffic jams, shift to a quieter run and generate alternatives in AI before recutting.
For more kitchen-specific planning with AI, see this step-by-step on AI kitchen redesigns from a single photo.
Visualization Scenario
Upload a straight-on photo of your base cabinets. Prompt ReimagineHome.ai: “Concealed robot vacuum dock inside toe-kick under pantry run, matching plinth finish, cable routed behind cabinets, minimal visible grille.” Generate side-by-side options in Scandi oak, matte white, and modern black to compare which hides the opening best against your floor tone.
FAQ
How do I fix a messy kitchen floor without building a plinth vacuum?
Wall-mount a slim stick vac near the bin/sink zone or hide a robot vacuum dock in the toe-kick; both reduce clutter and keep walkways clear without losing a cupboard. You can preview either option from one photo with ReimagineHome.ai.
Which AI interior design tool is best for small kitchens?
Tools that restyle from a single photo are fastest for small spaces; ReimagineHome.ai lets you visualize toe-kick docks, storage swaps, and finish changes side-by-side. For a fuller overview, see our guide to AI interior design tools.
Can I hide a robot vacuum in my kitchen plinth?
Often yes: many robots are 8–10 cm tall and fit within a 100–150 mm toe-kick; leave 3–5 cm side clearance and a 10–12 cm opening height. Use AI previews to decide the cleanest grille or flap design.
Is a central vacuum worth it in a small home?
Only if you’re already remodeling and can route pipework to a utility hub; otherwise, the cost and maintenance rarely beat a good robot or stick vacuum. Test the storage trade-offs in a quick AI mockup first.
Can AI help me plan a DIY cabinet modification safely?
Yes. Generate multiple versions, check clearances, and compare finishes before cutting. For step-by-step kitchen planning from photos, try our AI kitchen redesign walkthrough.
Visualize Your Room’s Next Chapter
Most “dream gadgets” fade; daily flow endures. When you prioritize clear paths, right-sized storage, and a cleaning tool that serves your real routines, the kitchen suddenly feels bigger and calmer — without a complicated retrofit.
When you can see the possibilities, it’s easier to move with confidence. Start by uploading one honest photo to ReimagineHome.ai and let your next version of the room come into focus.