
TL;DR
Sky replacement is the fast, MLS-safe way to swap a dull or blown-out sky with a realistic one that matches the scene’s light and angle. It’s ideal when an otherwise solid exterior photo feels flat, moody, or has halo artifacts around roofs and trees. Try it on a real image now in ReimagineHome.ai’s sky tool: https://www.reimaginehome.ai/sky-replacement?utm_source=blog. If you’re choosing between sky replacement and day to dusk photos, use sky replacement for midday clarity and Day to Dusk for intentional twilight drama.
Why These Photos Aren’t Doing Your Listing Any Favors
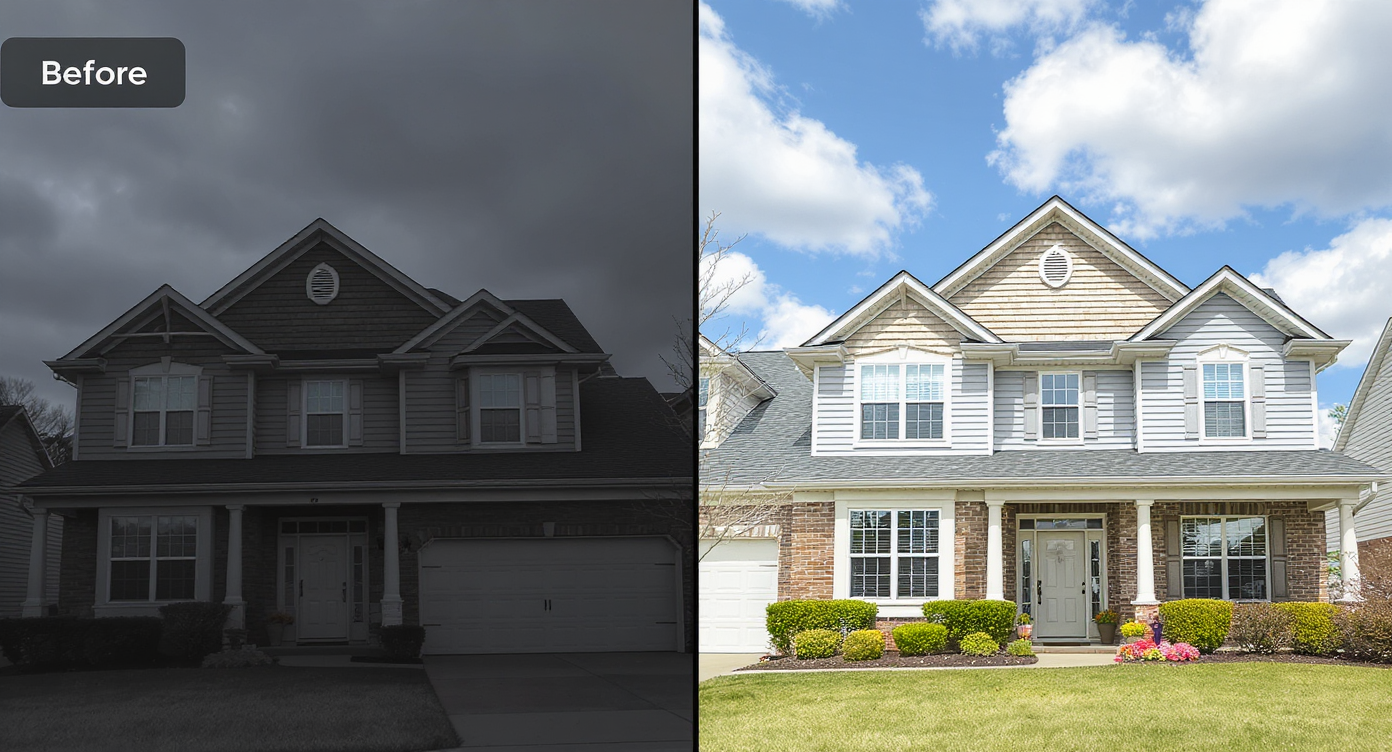
Sky replacement instantly brightens exteriors, improving appeal and buyer confidence.
Sky replacement replaces a dull, overcast, or blown-out sky with a clean, realistic sky that matches your photo’s light. It’s powerful because exteriors drive clicks, and buyers scan for natural light cues in seconds — a believable sky can lift attention and confidence immediately.
- Results first: Brighter, balanced exteriors with natural-looking clouds and accurate light direction.
- Realism: Edge-aware blending prevents halos around rooflines, trees, and wires when done right.
- Speed: One upload, a few options, and a final image in minutes.
- Cost: Far cheaper than reshoots or waiting for perfect weather.
- Workflow: Fix a single hero image or batch-process a set before export.
- ROI: Cleaner hero images can lift carousel clicks and save listings from “skip” behavior.
- Peace of mind: MLS-friendly edits when the sky simply reflects the weather buyers expect.
If you already have a tricky exterior in mind, upload it to ReimagineHome.ai and test sky replacement on a real photo while you read.
Why This Visual Problem Hurts More Than You Think
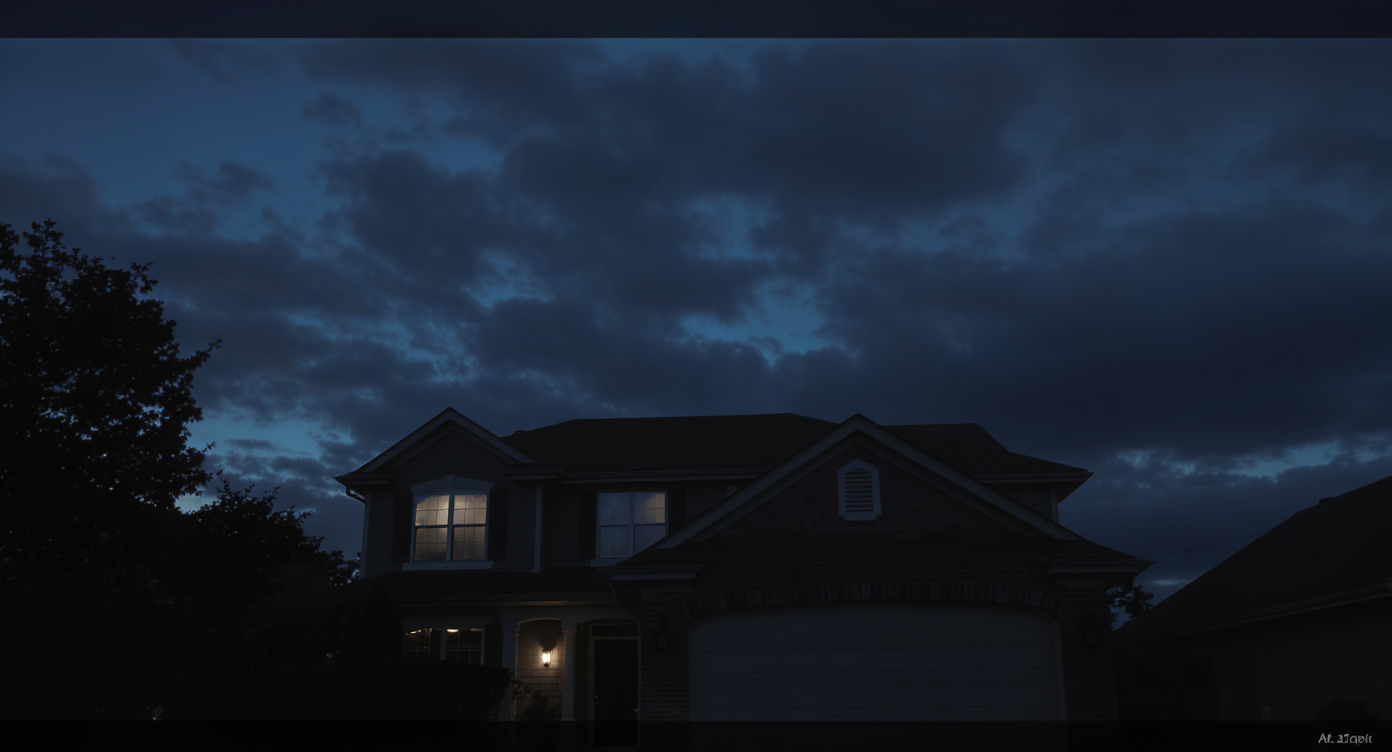
Moody, underlit exteriors with harsh skies reduce visual appeal and buyer engagement.
Twilight-style exterior photos frequently rank among the most clicked images in a listing carousel — and a believable daytime sky works the same magic for midday shots. When the sky is muddy, overly moody, or ringed by a bright outline, buyers sense something’s off and scroll past. That first impression bleeds into everything: agents field fewer showing requests, sellers get nervous, and you spend time explaining the weather instead of the home.
Common telltales from field critiques: a bright fringe along the roof where a rough sky cutout sits, neighbors that look like they’re leaning due to uncorrected tilt, and heavy vignetting that darkens corners. Each issue quietly downgrades perceived quality. Clean sky replacement — paired with level lines and balanced exposure — returns the exterior to what buyers expect to see on a clear day in that market, no more, no less.
Anecdote
That first exterior where the sky felt dark and the roofline glowed? Swapped to a soft blue with edge-aware blending, leveled the siding, eased the vignette — and suddenly it looked like the day it was shot: bright, simple, trustworthy.
What Sky Replacement Actually Is (In Plain Language)

Sky replacement swaps dull skies with natural ones, enhancing photo realism with matched lighting.
Sky replacement is a targeted image enhancement that swaps the sky region of a photo with a realistic alternative while preserving roofs, trees, and fine edges. It needs a reasonably sharp exterior photo with a visible horizon or roofline; the output is a natural-looking image with a sky that matches the scene’s brightness and direction of light.
To get this right quickly, use ReimagineHome.ai’s Sky Replacement tool. It analyzes edges automatically, offers sky options from soft blue to light cloud cover, and blends tones so the overall exposure, contrast, and color stay believable for MLS and portals.
How Sky Replacement Works Step by Step

Stepwise sky replacement with edge blending ensures natural, halo-free exterior photos.
Good source photos produce the most realistic results, and a few setup choices make a big difference.
- Choose the right photo: Pick the exterior angle you intend as the hero. Avoid severe obstructions (large foreground trees) and aim for a clean, two-wall or three-quarter view.
- Prep your file: For best results, export at 3000–4500 px on the long edge with minimal compression. Straighten converging verticals first if the neighbors look like they’re leaning.
- Upload to ReimagineHome.ai: Start a project and select Sky Replacement.
- Select a sky style: Choose a sky that matches the scene’s sun direction and contrast. For midday brightness, pick soft blue with light texture rather than dramatic storm clouds.
- Adjust the blend: Fine-tune edge sensitivity to avoid halos on shingles, branches, and wires. If corners feel heavy, reduce vignette in your base edit before or after.
- Review for consistency: Ensure reflections in windows and overall warmth match the new sky’s mood.
- Export: Save a high-resolution JPEG for MLS and a slightly lighter web version for the listing site and social.
Constraint to respect: keep edits plausible for the property and market. If shadows in the yard read midday, don’t drop in a low sun or purple twilight — use a true twilight conversion separately when that’s the look you want.
Tips and Tricks for More Realistic Results

Matching sky and light ensures realistic, believable home exterior photos that engage buyers.
As a rule of thumb, match the sky to the light that’s already in the scene — not the other way around.
- Match sun direction: If eaves and columns show light from camera-left, choose a sky with a subtle left-side brightness, not a centered sunset.
- Keep it MLS-real: Skip extreme drama. Clean texture, gentle clouds, and natural blue tones lift clarity without calling attention to the edit.
- Fight halos at the source: Increase edge sensitivity around roofs and trees, then zoom to 100% to check shingles, branches, and power lines.
- Level before you blend: Correct tilt first using a dedicated tool; if your verticals lean, the sky will emphasize it. For quick fixes, try ReimagineHome.ai’s Straighten Angles.
- Balance exposure: If ceilings or corners feel hot or heavy, lightly normalize the base image. A quick pass with ReimagineHome.ai’s Enhance Image can even out contrast and color before or after the sky swap.
- Use true twilight when needed: For intentional drama and carousel-stopper shots, run the photo through its Day to Dusk converter instead of faking a sunset in a midday scene.
- Check window reflections: If the new sky is brighter, ensure window reflections look coherent; a small exposure tweak can unify the read.
Visualization Scenario
Picture a cloudy-day front elevation with leaning neighbors and heavy corners. In minutes: verticals corrected, a clean sky that matches left-side sun, and balanced exposure. The yard reads brighter, the roofline is crisp, and the photo finally leads your carousel confidently.
FAQ
Is sky replacement allowed in real estate listings?
Generally yes, when used to reflect typical weather and not to misrepresent the property. Keep the sky plausible and the home unchanged for MLS-friendly results.
How do I avoid a bright halo around rooflines and trees?
Use edge-aware blending, zoom to 100%, and adjust sensitivity around complex edges. Start with a well-exposed, leveled base photo to minimize fringing.
When should I choose Day to Dusk instead of sky replacement?
Use sky replacement for clear daytime realism; choose Day to Dusk when you want twilight photos intentionally — with warm window glows and sunset tones that match shadows.
What resolution do I need for good results?
Export between 3000–4500 px on the long edge with minimal compression. Higher-resolution inputs preserve fine edges like shingles and branches.
Can sky replacement fix vignetting and tilt, too?
Sky replacement handles the sky region; pair it with Straighten Angles for leaning verticals and Enhance Image to balance exposure and reduce heavy corners.
Visualize Your Next Listing (or Project) Before You Commit
Small photographic mismatches — a moody sky, a bright roofline fringe, a tilted neighbor — can make a great home feel “off” online. Sky replacement is a fast, repeatable way to restore believable curb appeal without reshoots or waiting for perfect weather. It’s not about drama; it’s about clarity and trust.
Ready to rehearse your next hero shot before you publish? Try ReimagineHome.ai’s Sky Replacement on a real exterior, or start fresh from the homepage at ReimagineHome.ai. A clean, consistent sky is often the smallest change with the biggest impact.