
TL;DR
Straightening angles in real estate photography ensures listings look professional, accurate, and inviting, boosting clicks and showings. Using ReimagineHome.ai's image straightening tool can correct tilted photos quickly, restoring verticals and horizons for better buyer engagement. This solution is essential for agents facing issues like skewed perspectives and unsettled buyer impressions.
Why Straight Angle Photos Are Essential for Successful Listings

Straight, level photos create trustworthy and inviting real estate listings that appeal to buyers.
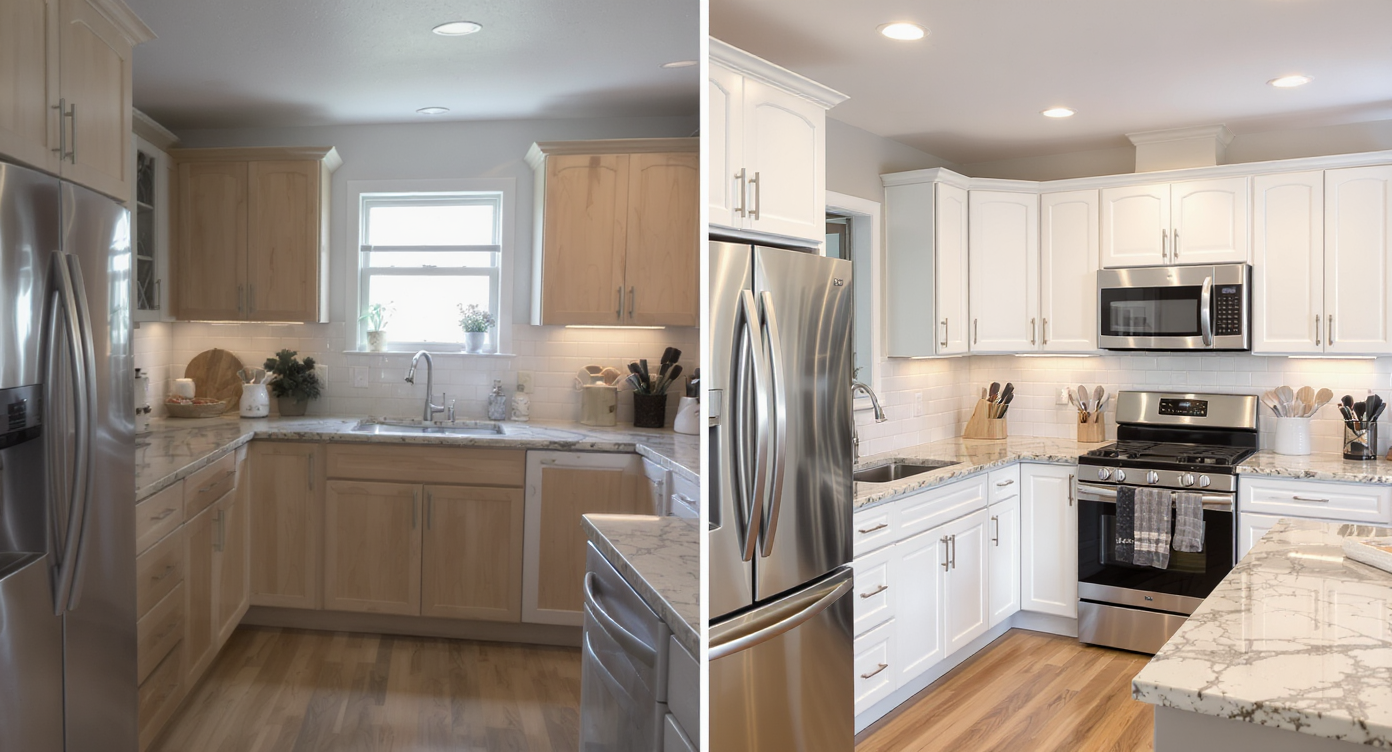
Level and straight photos are fundamental for real estate listings because crooked or tilted images distort spatial perception and signal unprofessionalism. Buyers instinctively reject images that feel “off,” which leads to fewer clicks and showings. ReimagineHome.ai’s image straightening tool fixes these subtle flaws quickly, helping you present homes that feel honest, spacious, and inviting online.
The Hidden Cost of Crooked Real Estate Photos
Crooked photos harm buyer interest; straightening improves viewer engagement and professionalism.
Crooked or slanted photos cause an immediate drop in buyer engagement. Research and expert feedback show that we unconsciously judge listings with tilted images as rushed, cluttered, or untrustworthy. This distraction can lead buyers to scroll past before absorbing key details about the home’s layout or features. Agents report that such photos erode their confidence and increase the back-and-forth with sellers needing visual fixes. Using images with skewed vertical lines misrepresents room sizes and contributes to cognitive dissonance, reducing the likelihood buyers will schedule viewings.
Anecdote
That one listing photo where the floor seems to slope, and even subtle unintended tilt unsettles the buyer scrolling through dozens of homes.
Typical Errors in Real Estate Photo Alignment
Straightening angles corrects spatial distortions, enhancing authenticity in real estate photos.
1. Ignoring Tilted Vertical Lines Leaning walls, slanted doorframes, and crooked window edges instantly make photos look unprofessional and distort room shape. 2. Relying Only on the Horizon Agents often straighten using the floor or horizon alone, but interiors require aligning verticals for true accuracy. 3. Overcorrecting the Angle Too much rotation makes the room look unnaturally stretched or compressed, causing MLS concerns. 4. Forgetting Perspective Distortion Wide-angle lenses bend lines outward; straightening alone won’t fix barrel distortion unless perspective is corrected too. 5. Uploading Photos Without Checking Alignment Rushed uploads lead to MLS flags and reduced buyer trust. A quick auto-level pass prevents this. 6. Not Using AI Tools for Accuracy Manual straightening takes time and often misses subtle tilt. Tools like ReimagineHome.ai correct angles, perspective, and alignment instantly.
How to Use ReimagineHome.ai to Straighten Angles Step by Step

Step-by-step use of ReimagineHome.ai streamlines photo corrections for real estate professionals.
1. Select the real estate photo that shows noticeable tilt, commonly caused by handheld shots or uneven ground. 2. Upload the image to ReimagineHome.ai. 3. Choose the "Straighten Angles" Solution 4. Enter a Prompt "Straighten the verticals", “Fix the tilt”. 5. Review the corrected photo to ensure no cropping cuts out essential scene parts. 6. If needed, refine by slight angle adjustments or combining with related enhancements like color and lighting boosts. 7. Export the polished, level photo optimized for MLS or online listing use. Best practice: use photos with resolution above 3000 pixels on the long edge for best results and avoid extreme tilts that compromise composition.
Tips for Creating Perfectly Aligned Real Estate Photos
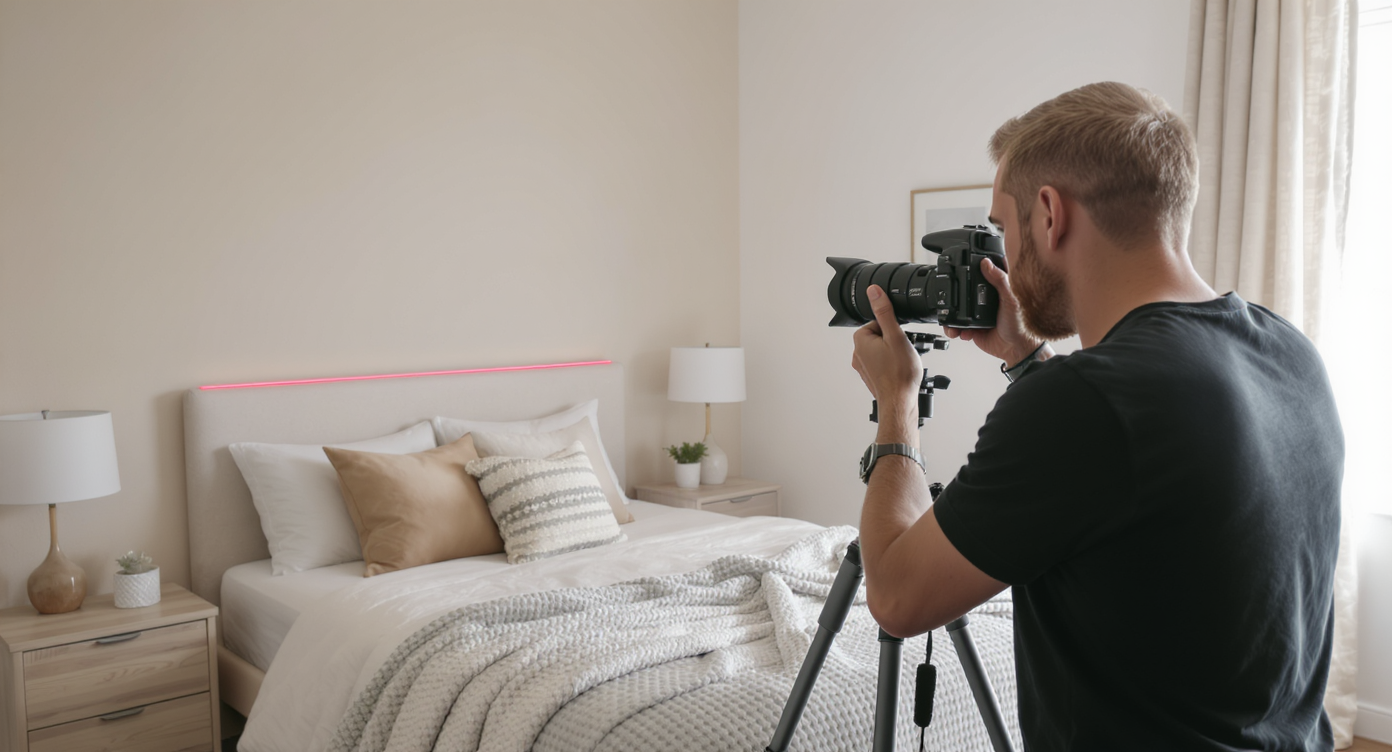
Proper shooting techniques minimize crooked photos and reduce editing needs for flawless listings.
- Always shoot with a bubble level or a tripod to minimize the need for post-editing. - Frame your shot to capture at least two lines at right angles (e.g., a corner where two walls meet). - Avoid overly wide angles on handheld shots that increase distortion. - Combine angle straightening with minor cropping to maintain composition. - Test your photos on different screens to verify the visual balance. - Use ReimagineHome.ai’s image straightening early in your workflow to save time and maintain visual accuracy. - Pair straighten angles with ReimagineHome.ai’s image upscaling to ensure crisp, detailed results even after cropping.
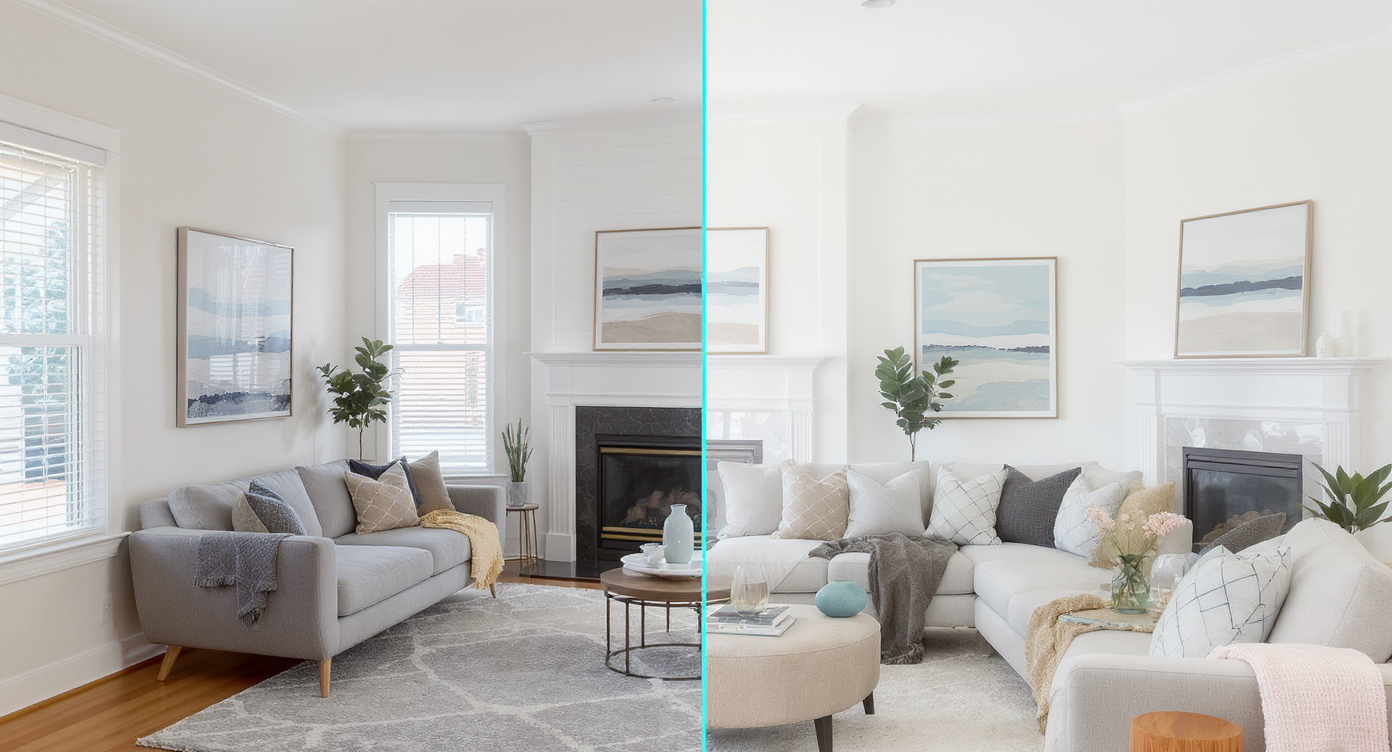
Visualization Scenario
A crooked living room photo with slanted windows and door frames, then corrected to realign lines perfectly and reveal the room’s true spaciousness.
FAQ About Straightening Real Estate Photos
Q: Why is straightening angles important in real estate photos? A: Straightening angles corrects distortions caused by tilted or crooked photos, improving buyer trust and accurately representing spaces. This leads to more engagement and showings. Q: How does ReimagineHome.ai straighten listing photos? A: It uses AI to detect horizontal and vertical lines and automatically adjusts the photo's rotation and perspective, delivering a clean, level image. Q: Can straightening angles fix all tilt issues? A: It efficiently fixes minor to moderate tilts. Very extreme angles may require retaking photos or additional editing. Q: Do I need high-resolution photos for straighten angle tools? A: Yes, images ideally should be at least 3000 pixels on the long edge to retain clarity after straightening and cropping. Q: Can I combine straighten angles with other AI photo enhancements? A: Absolutely, combining straighten angles with color and lighting enhancements or resolution upscaling offers polished, professional-ready photos.
Visual Confidence: Level Photos for Better Selling Results
Perfectly straight and level photos are no longer just a technical nicety—they’re a key to storytelling success in real estate marketing. Tools like ReimagineHome.ai give agents, photographers, and sellers an effortless way to present homes accurately and beautifully, sharpening buyer focus and boosting confidence across the board. By committing to visual precision, every listing can shine with professional polish and buyer appeal that drives faster sales.