The Window Test: How to Check if Your Living Room Furniture Layout Blocks Light, Views, or Access
TL;DR
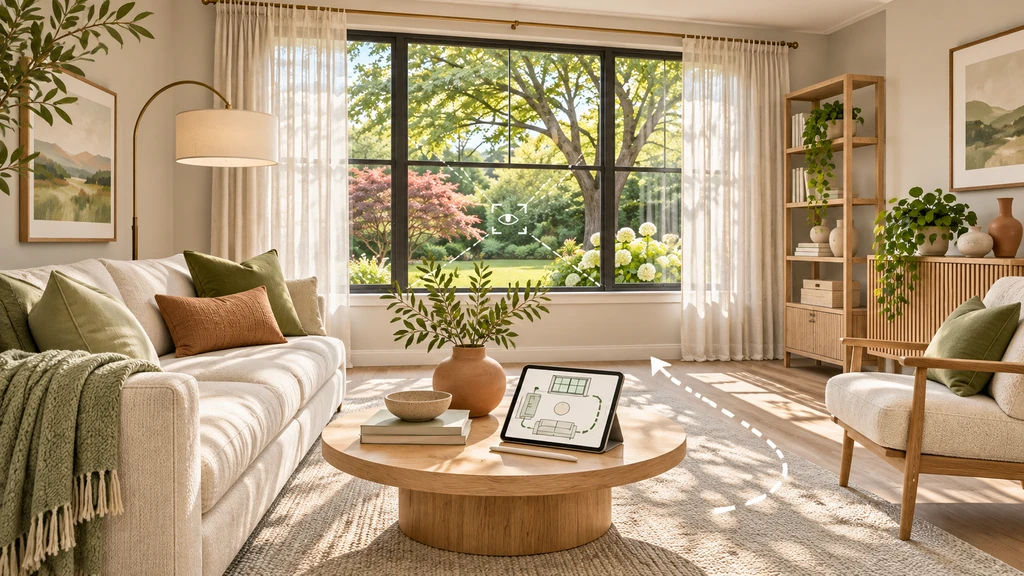
Check furniture near a living room window in three ways: observe daylight where you use the room, assess the view while seated, and test window and curtain operation. Compare spatial arrangements in 3D, then verify measurements and usability in the room. A visible window is not necessarily an accessible one.
-
1. Why the Window Test Matters for Living Room Layouts
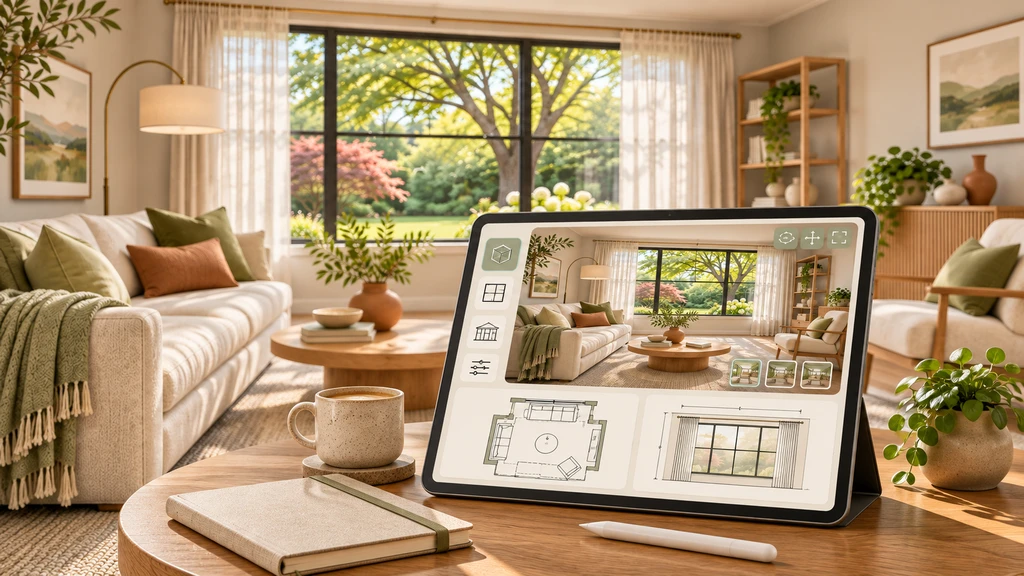
Use multiple 3D views to check whether furniture near a window preserves natural light, keeps important sightlines open, and leaves enough space for curtains and window access.
A sofa can sit below the sill yet trap the curtains. A bookcase can leave the handle reachable but interrupt the garden view from your favourite seat. Furniture fitting beside a window does not prove the arrangement works.
The Window Test is a practical checklist, not a building standard or an automated assessment. Check light, views, and access separately. For whole-room considerations, start with our practical furniture layout guide.
-
2. How to Break Down the Window Test: Light, View, and Access
Check What to Do in the Actual Room What to Record Light Check the reading chair or work surface at your usual use times. Compare under similar sky conditions, keeping lamps and window coverings consistent. Furniture overlapping the glass, shadows, glare, and the time and weather. Views Sit in your usual position rather than judging from the doorway. The specific view interrupted by a cabinet, chair back, lamp, or plant. Access Reach the handle and move curtains or blinds. Test window operation without removing safety devices. Repeat with nearby chairs pulled out or recliners extended. What catches, blocks movement, or requires climbing or awkward reaching. For computer work, position the screen perpendicular to windows to reduce glare. In homes with young children, keep furniture away from windows to discourage climbing, and remember that window screens do not prevent falls. Keep doors and windows unblocked. Safety takes priority over appearance.
-
3. Applying the Window Test in a 3D Visualization Workflow
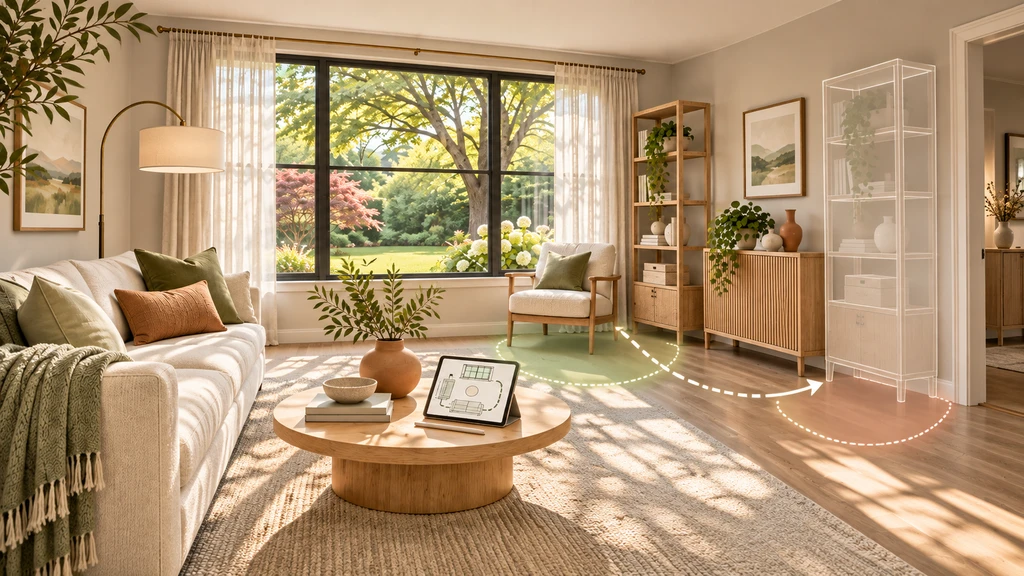
Test alternative furniture positions one change at a time. A layout that improves the window view may create a new access or circulation problem elsewhere in the room.
Chez by ReimagineHome converts room photographs into an explorable 3D space with a floor plan, wall elevations, and furniture from a preset catalogue. Upload at least two clear photos of the same room; four to eight overlapping views are recommended. Show the window wall and neighbouring furniture clearly.
Inspect the reconstructed window before comparing arrangements. Use the original photo alongside the model views to check the following:
View Window-Side Question Original room photo Does the model preserve the visible window position and surrounding architecture? Floor plan Does the furniture footprint leave an approach to the window? Wall elevation Does the furniture overlap the window opening? In-room view What might interrupt the view from the seating area? -
4. Testing Layout Alternatives: A Step-by-Step Scenario
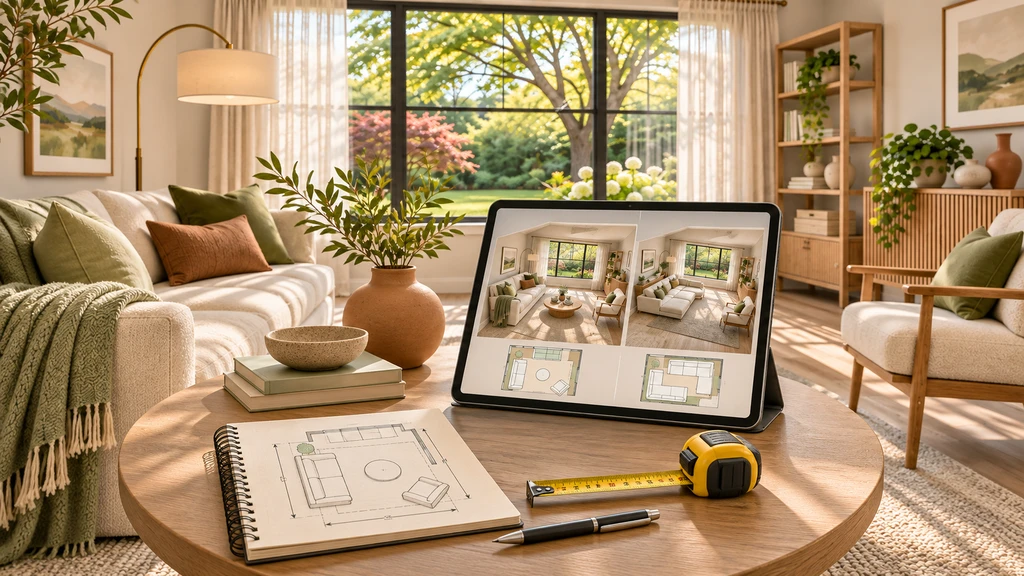
Compare layout options in 3D, then confirm furniture dimensions and clearances in the real room before deciding which arrangement best preserves light, views, and window access.
Hypothetical example: a tall bookcase beside the window interrupts your garden view. Moving it beside the doorway appears to restore that view, but narrows the entrance route. The alternative has shifted the problem rather than solved it.
Compare the existing arrangement with one alternative, keeping other furniture, finishes, and viewpoints unchanged. Test another location before buying lower storage. Physically verify the candidate layout, including furniture height, depth, curtain movement, and handle reach. For a window-versus-fireplace decision, see our winter living room layout comparison.
-
5. What 3D Room Exploration Can and Cannot Tell You
Use 3D views to identify possible furniture overlaps and routes, not to confirm handle reach or window-opening clearance. Chez by ReimagineHome estimates dimensions and infers areas missing from photographs, so verify relevant geometry and measurements in person. Check outdoor sightlines against the actual view, not generated scenery.
A brighter-looking render does not prove improved daylight. GSA describes daylight analysis as simulating light levels at different times of day and year. Treat this workflow as a spatial comparison, not a lighting study, and assess daylight in the actual room.
-
6. How to Decide Which Layout Is Best
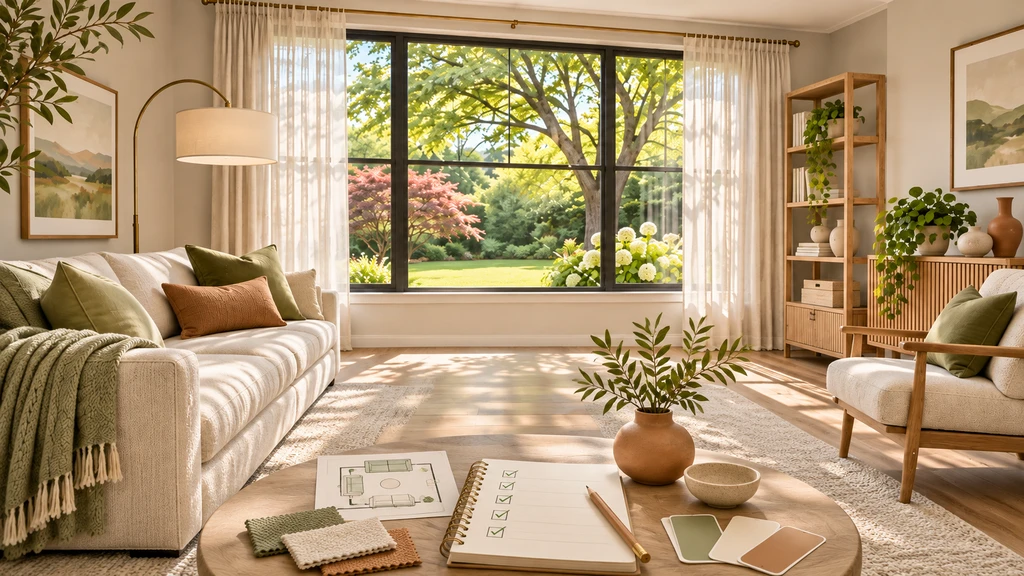
Before committing to a window-side layout, check that natural light, garden views, curtain movement, and window access all remain usable without creating new circulation or safety issues.
Mark each check as clear (physically checked and working), compromised (a conflict remains), or not yet verified (untested). Record a reason and next action. For example: “Access: the curtain catches behind the cabinet. Next action: reposition the cabinet and retest.”
Before Committing, Confirm:
- Useful daylight and your priority view have been checked in the room.
- Window controls and coverings remain usable with furniture in everyday positions.
- The change creates no new route obstruction or identified safety concern.
Keep arrangements that pass and adjust what partly works. Do not trade away access or safety for a better view.
Frequently Asked Questions
Can you put a sofa in front of a window?
Sometimes, but sofa height alone is not enough. Check daylight, seated views, curtain movement, and window operation. In homes with young children, keep furniture away from windows.
How much space should you leave between furniture and a window?
This checklist sets no universal gap. Allow for the window’s opening movement, curtain travel, and comfortable access to the handle. A gap that accommodates curtains does not necessarily provide enough space for a person.
Key Takeaways: Smarter Window-Side Living Room Layouts
Check light, views, and access separately. Compare one change at a time, then verify it in the room. Choose the smallest change that solves the problem without creating another.