When Should You DIY Home Cabling—and When to Go Pro?
TL;DR
Running video and data cables from one floor to another is rarely straightforward, forcing homeowners to weigh the DIY approach against professional help. Success depends on understanding your home's construction, local building codes, and your appetite for patching walls. The cleanest results require the right tools, careful measuring, and realistic expectations about effort, cost, and disruption.
The Unseen Challenge of Home Cable Runs
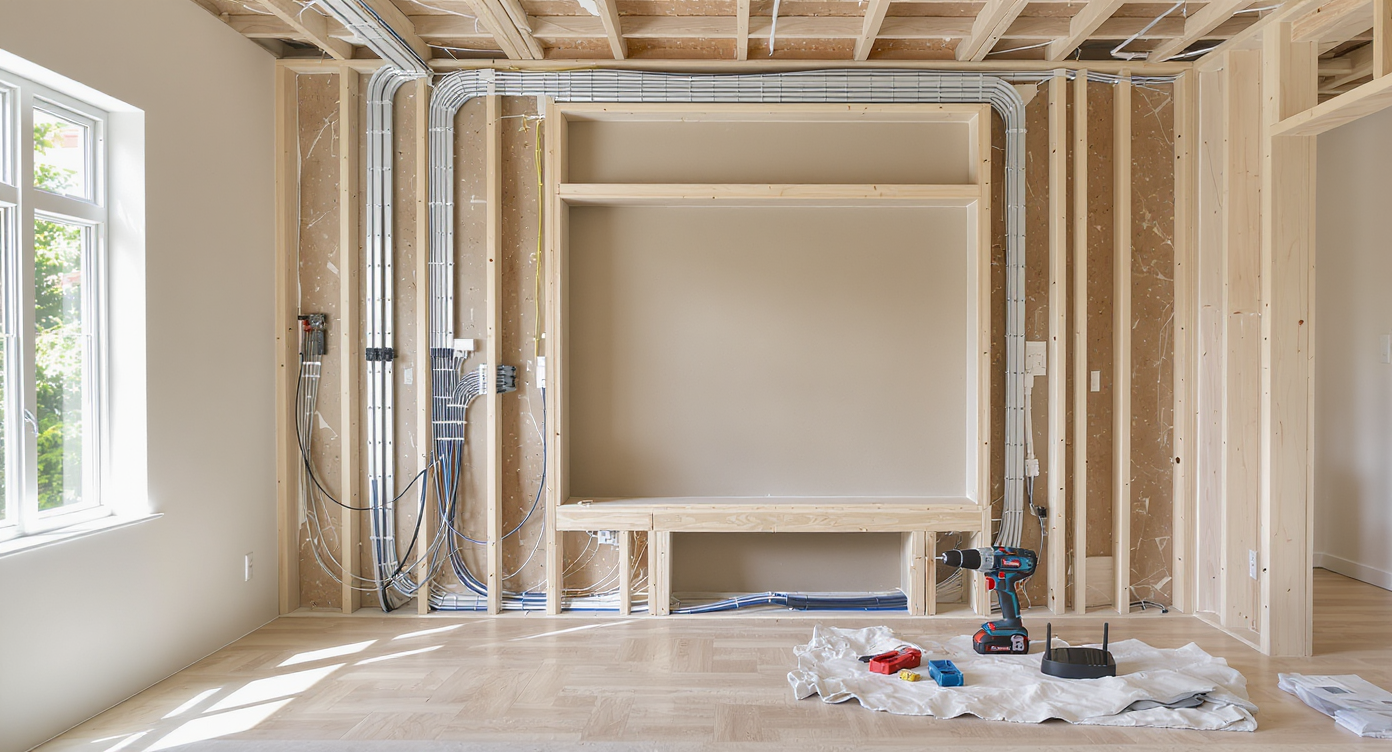
A realistic view of home cabling in progress between a living room TV and an upstairs office, highlighting the installation challenge.
For many homeowners, the urge to enhance a home theater or streamline an office-television setup comes with a deceptively simple goal: connect one device to another, even if they are separated by floors. Yet, what appears to be a quick cable run—such as pairing an upstairs desktop to a downstairs living room screen—reveals a world of unanticipated obstacles lying within the walls. As digital lifestyles demand more seamless, high-performance connections, the humble question of DIY versus professional installation keeps surfacing. Beyond the aesthetic goals and ambitions of gaming or movie marathons, choosing how to thread a cable through finished interiors is a revealing home design dilemma.
-
Evaluating the DIY vs. Pro Decision
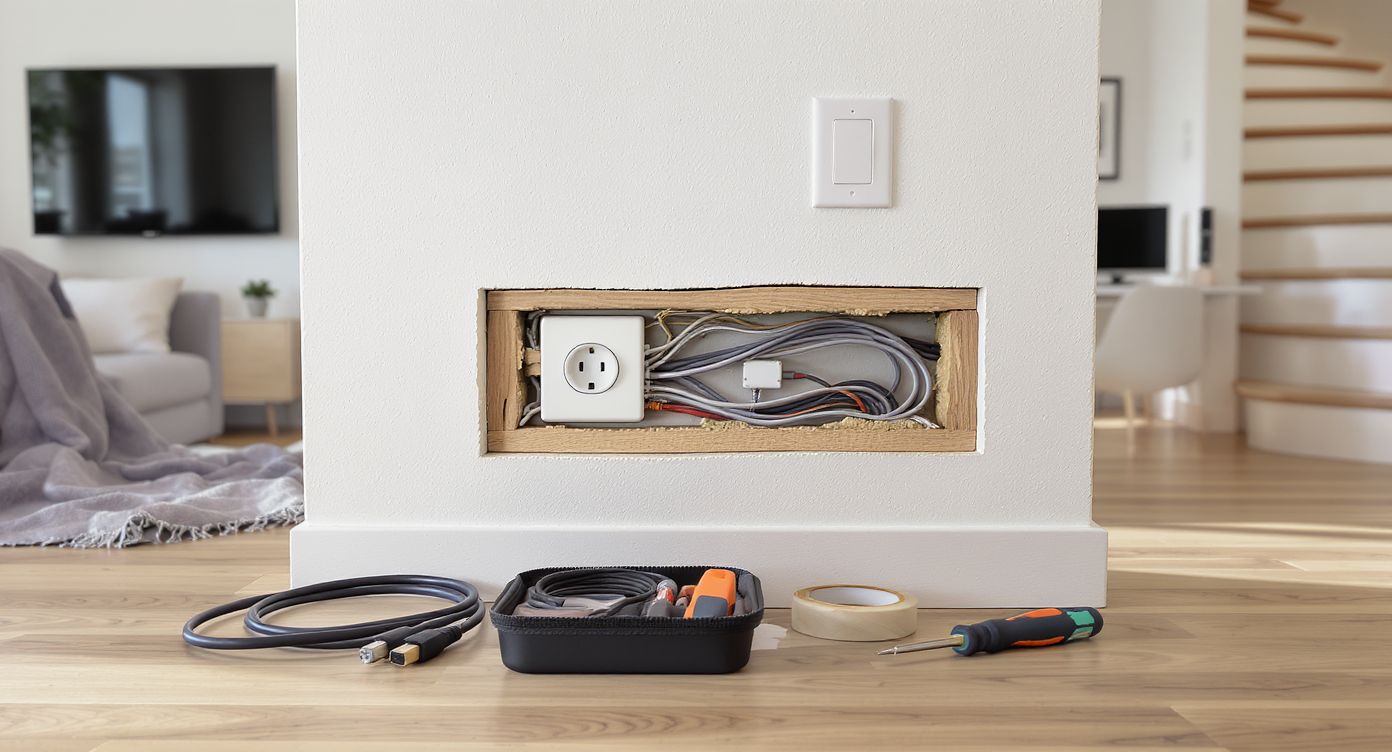
A living room displays cable installation tools, exposed wall layers, and organized work areas—comparing DIY and professional cabling methods.
Most homeowners weigh DIY solutions for cable routing based on budget, timeline, and confidence with tools. Drilling holes and fishing wires with a flexible bit may appeal to the hands-on DIYer, especially if you envision hiding unsightly cables behind molding or running them through wall cavities. However, the appeal can fade quickly when you realize what's involved: measuring precisely, identifying wall types, and being willing to patch drywall or touch up paint. Many try to avoid labor costs, but professional installers bring the advantage of specialized tools, code knowledge, and surgical efficiency—particularly in older homes with complicated layouts or retrofitted insulation. According to insights from real estate agents, DIY efforts yield the best returns when done neatly and with an eye toward future-proofing, not just immediate utility. Botched runs or visible mess can undercut property value and create headaches at resale, so the prudent route is sometimes hiring a pro—or at least consulting one for tricky situations (DIY projects and resale considerations).
Expert Insight
Recounting the experience of a homeowner who underestimated the time and skills required to route cables between floors, the project started as a simple weekend plan. The enthusiastic DIYer soon found the task more challenging as unforeseen multi-layer walls, unexpected obstructions, and the need for specialized drill bits complicated the run. Ultimately, the highlight was not just completing the work but realizing how early visualization and a willingness to repaint or re-trim transformed frustration into pride—and a seamless living room.
-
Understanding Your Home’s Hidden Structure
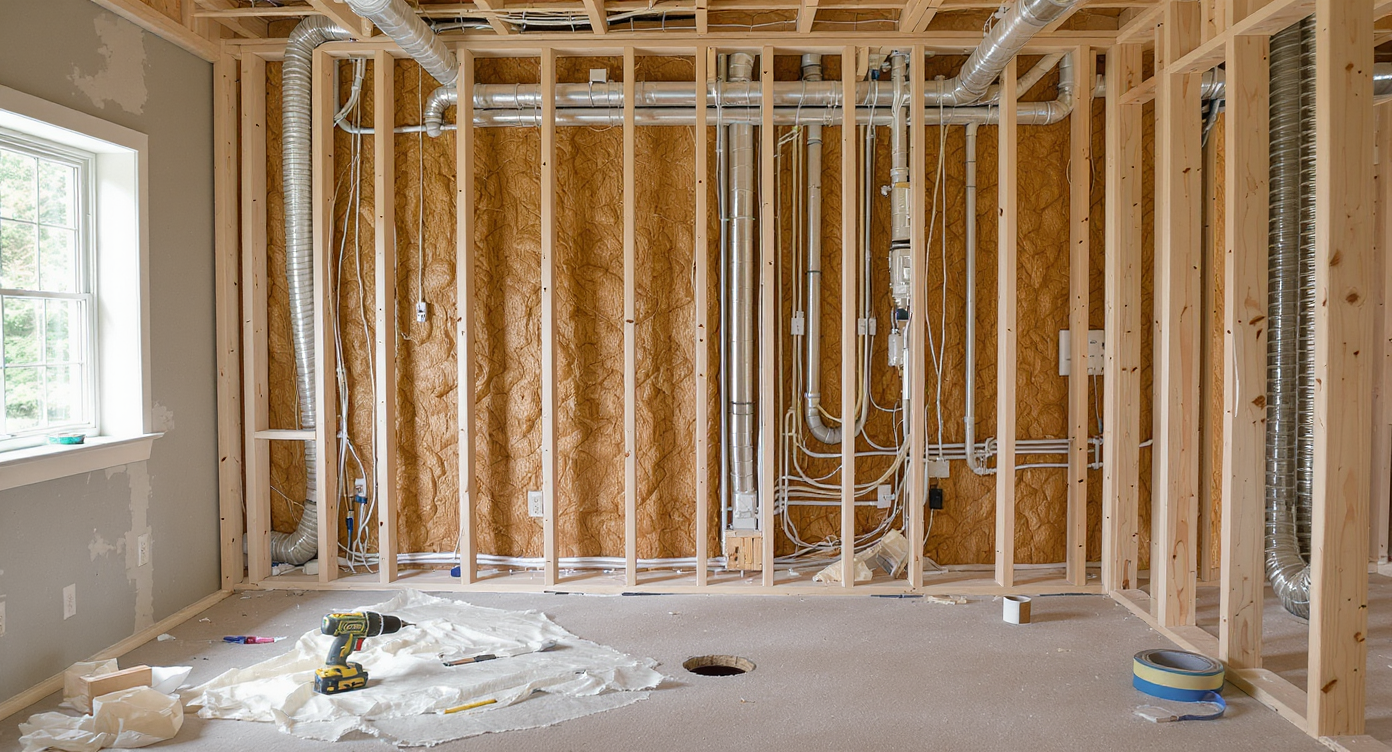
A realistic cross-section of a home interior shows the wall’s hidden structure, floor plate, wiring, pipes, insulation, and essential cabling tools.
Every attempt to route cables through a multi-story home quickly turns into a guided tour of architectural anatomy. Interior versus exterior walls have distinct roles in insulation and vapor barriers, which can complicate any attempts to pass wires. Most interior walls are capped by thick floor plates, often requiring you to drill through substantial lumber without knowing exactly what’s concealed below—be it electrical lines, pipes, or even air ducts. Cautious homeowners often investigate alternatives such as sending cables through supply or return HVAC ducts or leveraging central vac conduits, but these strategies present both code-related and practical complexities. Some contemporary houses, particularly those built or remodeled in the last 15 years, include designated conduits for technology upgrades, saving future headaches. Unfortunately, most do not, leaving you with the classic drill-and-fish-tape routine. Removing molding, pulling up carpet, or creating generous access holes can make routing more manageable—but it requires a flexible mindset and a willingness to patch up and touch up when the dust settles. Smart planning means getting familiar with your house’s layout, not just room-to-room but floor-to-ceiling, before picking up the drill.
-
Cable Selection, Safety, and the Art of Concealment
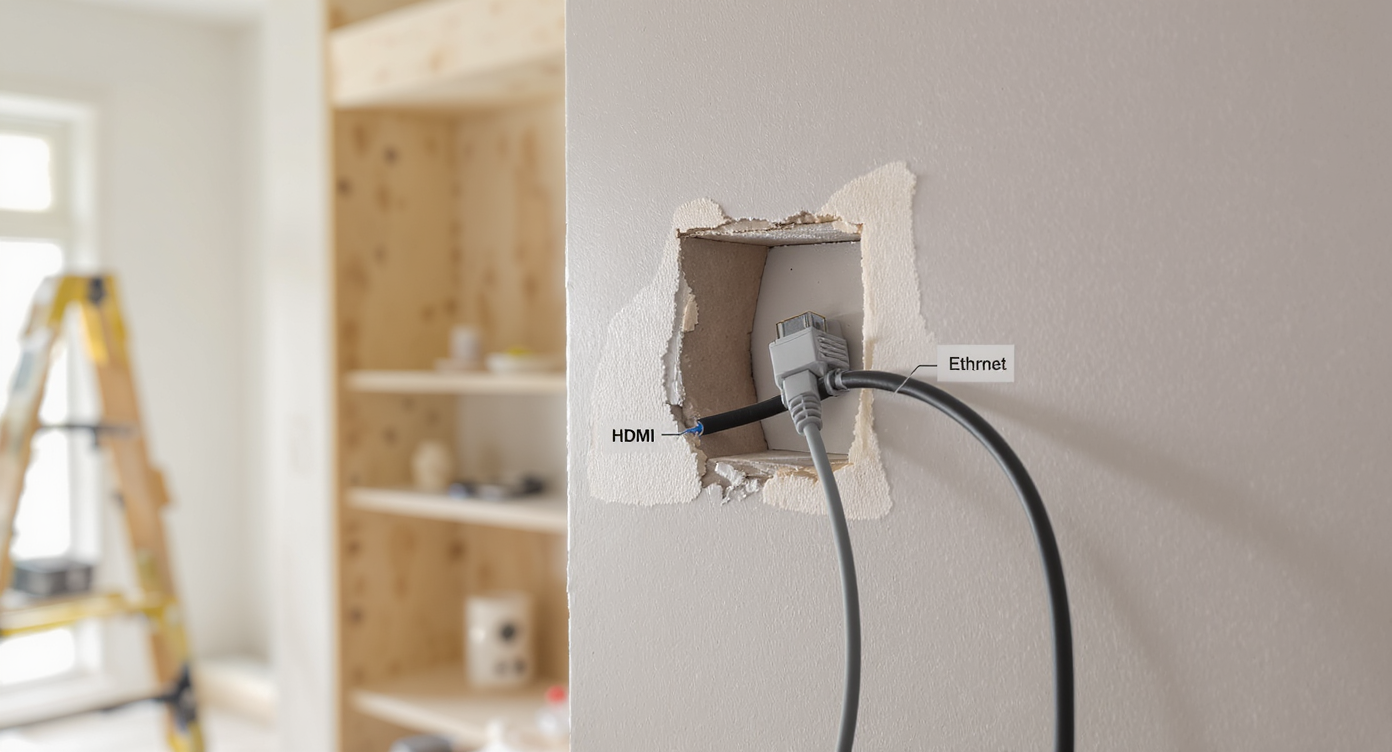
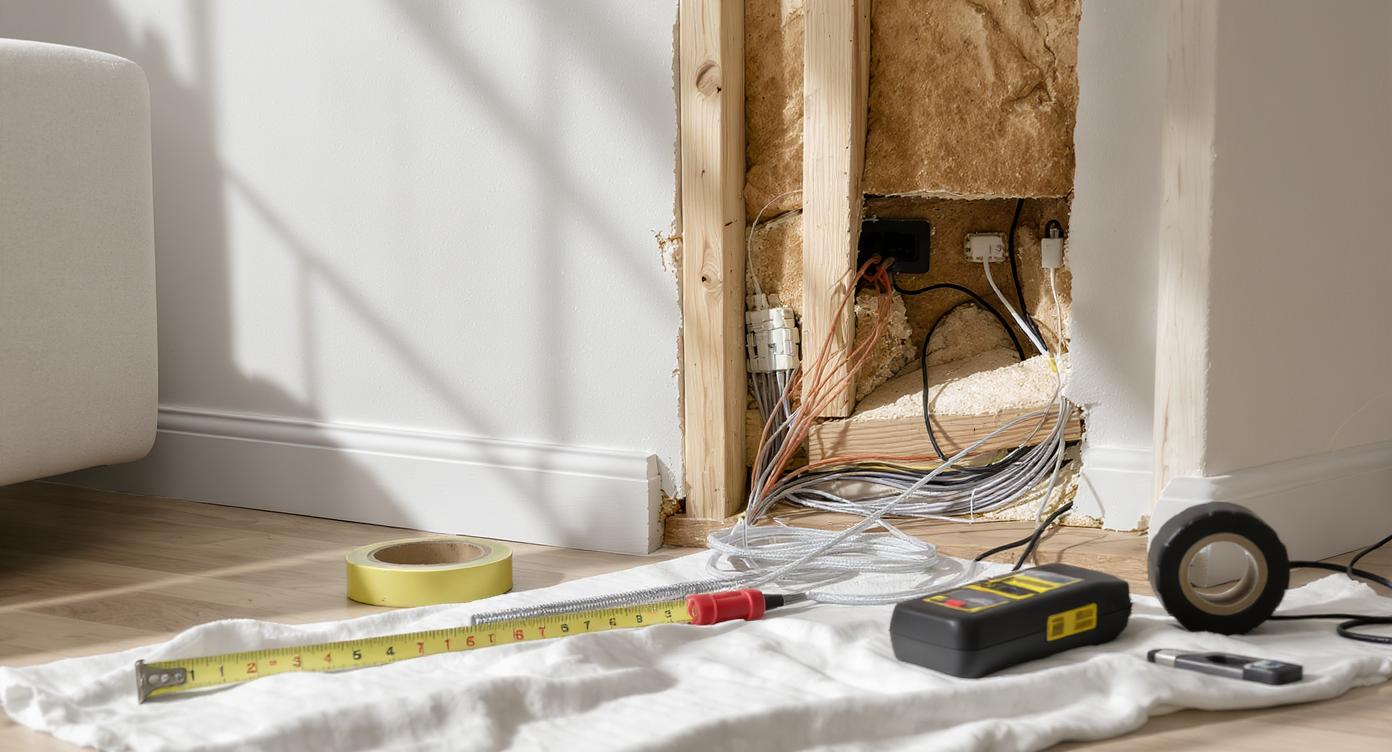
Proper in-wall-rated cables routed through wall studs with trim removed, showing safe, concealed installation and smart, seamless cabling options.
No matter how direct your intended cable path, quality and safety are non-negotiable. Homeowners who try to repurpose cheap retail cables often find themselves frustrated or risk violating local codes, particularly when running through walls. In-wall rated HDMI or Ethernet cables resist heat and interference and are designed for longevity. Choosing them is more than just a technical requirement—it’s about protecting future residents and your own peace of mind. Once you’ve picked your cable, the next challenge is concealment. Tucking wires behind crown molding, baseboards, or routed channels creates a seamless look, satisfying both practical and aesthetic preferences. But getting there typically means removing existing trim with care, drilling clean holes between floors, and occasionally cutting and repairing drywall to chase the routing path. If the goal is a renovation-ready space with no regrets, attention to these small details—such as matching outlet plates or integrating with smart home hubs—pays off. Before undoing your own work, visualize new layouts or storage needs; incorporating technology paths into built-in cabinetry or shelving can lead to a cleaner finish, as smart updates tend to integrate future changes more elegantly (visualizing cabinet and concealment options).
-
Anecdote: A Classic DIY Learning Curve
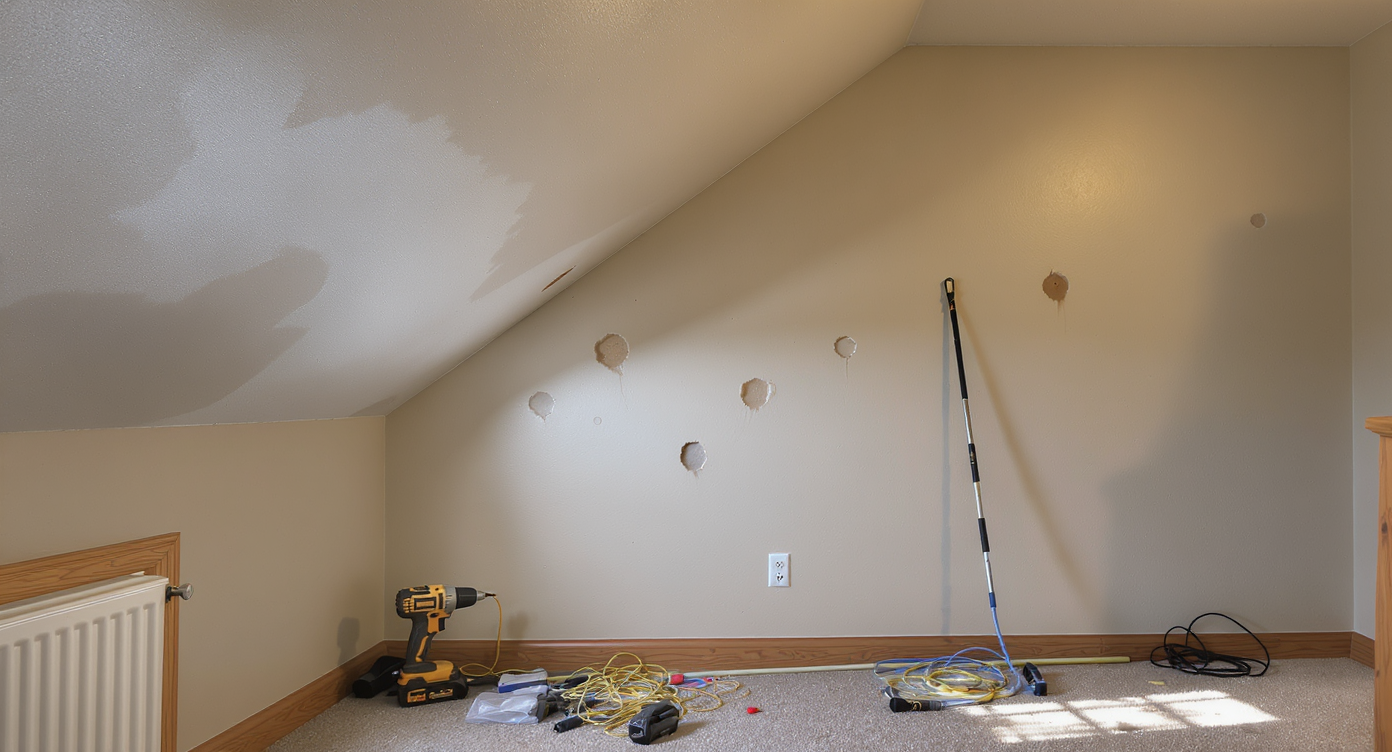
A home office and living room reveal DIY cable installation challenges: patched wall holes, tool marks, and a cable tucked behind baseboards.
Consider the experience of a couple who hoped to connect a gaming computer in an upstairs office to a living room television for a better family movie and gaming setup. Their ambitions were big, but so was the old house’s floor plan—featuring hidden bath pipes, complicated ceiling nooks, and chunky historical moldings. Their first attempts with entry-level tools quickly saw their office wall covered with exploratory holes and a living room ceiling in need of patchwork. After a few weekends and a trip to the hardware store for an extra-long spade bit, they managed to run a quality in-wall rated cable behind repainted baseboards. Despite the simplicity of their goal, it required realistic budgeting for new tools—and a week of touch-ups. Their takeaway: sometimes it’s worth pricing out what the pros might charge for a clean finish versus what your own time and repairs are worth (examining real DIY costs versus perceived savings).
-
Common Mistakes to Avoid
A frequent pitfall in home cable runs is underestimating both the physical and planning challenges. Rushing to drill without identifying obstacles beneath the surface—such as supporting beams, electrical wiring, or plumbing—can lead to unnecessary repairs or even safety hazards. Using non-rated wires or attempting to fish cheap cables risks signal breakdown and costly do-overs. Another issue is focusing only on minimal wall damage, when often a wider but more accessible opening can actually be patched and concealed more seamlessly post-project. Finally, ignoring how technology changes may affect future needs leads to short-term fixes that demand revisiting the same work again. For some, the lure of a single solution like a wireless transmitter or HDMI-over-cat-6 system is strong, but as seen in many real-world attempts, these often fall short for gaming or live video due to compression, lag, or reliability issues. Whenever possible, prioritize the quality and permanence of a direct wired connection.
-
Tips and Expert Insights
Experienced designers and contractors recommend mapping the entire cable path in three dimensions, marking entry and exit points with painter’s tape and investigating both endpoints for existing obstructions. If drilling, use a flexible, purpose-built spade bit extended to the length necessary to bridge floor plates. Be patient, letting the tool create the hole gradually to avoid damaging hidden components or splintering finished walls. Have patching materials—spackle, drywall mesh, and paint—ready before you begin. When possible, enlist a second person to watch for cable movement and help guide snakes or pull-tapes. Explore creative routing by leveraging closet corners, basement ceilings, or the insides of built-ins, especially when floor plans are not straightforward. The key to stress-free concealment is to plan for trim removal and reinstallation, echoing cabinetry refresh techniques that can be tested in digital visualizations long before committing to physical changes (exploring visualization tools for home updates).
-
How to Use This in Your Next Designs
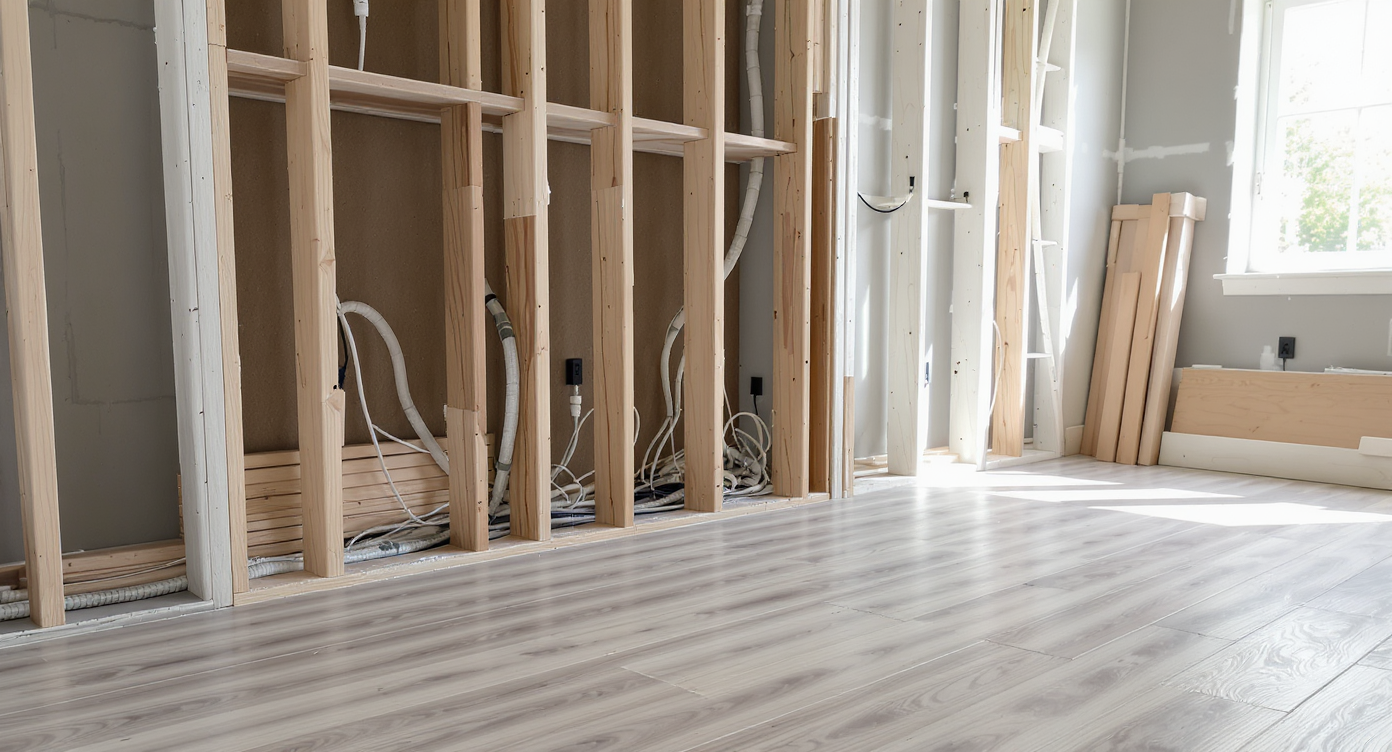
Intentional remodeling: opened drywall and new flooring reveal organized conduit and pull-lines, integrating cable planning into home upgrades.
This approach to cable planning applies beyond HDMI. Whether setting up whole-home audio, security cameras, or future-proofed charging stations, intentional design ensures clean results and minimal disruption. If you’re planning a remodel, set aside time early for technology integration, ideally running extra conduit or pull-lines behind walls and ceilings. In pet-friendly homes, for instance, new flooring projects can benefit from simultaneous cable routing, addressing both aesthetics and function in one go (considerations for flooring and cable projects). For smaller projects, combine cable runs with other upgrades like swapping baseboards, repainting, or reorganizing built-in shelving. These compound efforts generate smoother installations, protect resale value, and help future occupants adapt as technology evolves. Take a snapshot of every wall or ceiling cavity you open for future reference—this documentation supports both quick fixes and future renovations.
-
Visualization: Mapping a Multi-Floor Cable Route
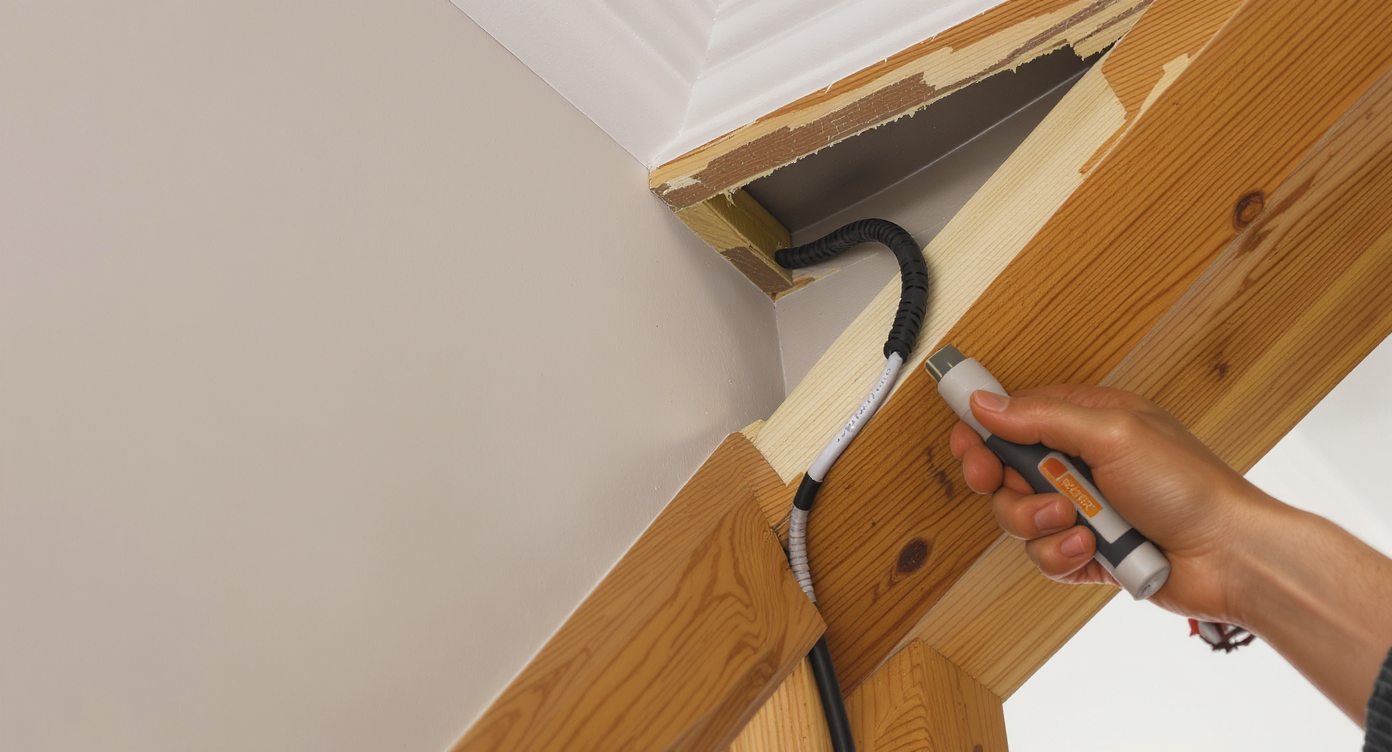
Open trim and crown molding expose an HDMI cable being routed between floors, with tools and a tidy finish in a modern home.
Picture a modern household where the teenagers want the gaming console set up in a converted attic loft, but the family screen is on the main floor. During a spring remodel, the homeowners decide to route a new HDMI cable. They start by studying their blueprints to avoid hidden pipes, then pop the trim along the upper staircase, revealing enough cavity space to snake the cable past the landing. On the first floor, they use a flexible drill extension to create a discreet opening above a built-in bookcase for the cable’s emergence. After tucking the cable under a newly installed crown molding and snapping the trim back in place, even close inspection doesn’t betray the work. The family enjoys the new setup, and when it’s time to sell, clean upgrades facilitate positive feedback from prospective buyers.
Visualization Scenario
Imagine you’re updating your living space for a hybrid living and workspace environment. You decide to relocate your home office upstairs but want to maintain a wired connection for low-latency video calls and presentations on a downstairs media wall. Before touching a tool, you use a home design platform to visualize wall cavities, cable chases behind baseboards, and integration points with new storage units. Your digital mockup includes the optimal points for cable outlets, keeping the final install both unobtrusive and easy to service if your technology setup changes in the future.
Frequently Asked Questions
A: It can be done safely if you map utilities, use an appropriate drill bit, and patch holes professionally. If unsure, seek professional assistance.
Q: What type of cable should I use for in-wall HDMI runs?
A: Cables should be rated for in-wall use to comply with fire codes and ensure longevity. They are shielded to reduce interference.
Q: Are wireless HDMI solutions a good alternative?
A: Wireless HDMI can work for non-gaming needs but may introduce lag and compression artifacts, making wired installs preferred for critical uses.
Q: How can I visualize my cable management before starting a project?
A: Online tools like ReimagineHome.ai allow you to preview layouts, furniture, and technology integration for smarter planning.
Q: Will visible cables affect resale value?
A: Potentially, yes. Clean, concealed cable runs are more attractive to future buyers and keep your home’s value intact.
Key Takeaways and Smarter Planning with ReimagineHome.ai
Home cabling—whether for streaming, data, or integrated smart technology—demands dialogue between ambition and practicality. A successful DIY run hinges on realistic assessment of your home’s structure, willingness to repair, and a keen eye for the details that keep upgrades invisible yet accessible. While professional installs remain prudent for many households, careful DIYers can tackle significant cabling with patience and smart planning. Visualization and early budgeting save time and frustration, setting the stage for tech-forward interiors that last. Explore digital design tools at ReimagineHome.ai to picture your space before making physical changes.