How to Test a Furniture Layout Before Moving Anything Heavy: 10 Practical Methods
TL;DR
The best way to test a furniture layout is to measure the room, mark the largest furniture footprints and compare two realistic arrangements before moving anything heavy. A 3D version of the room can then help you examine height, sightlines and visual balance. Always verify the preferred arrangement with measurements in the actual space.
Test the Layout Before You Move the Furniture
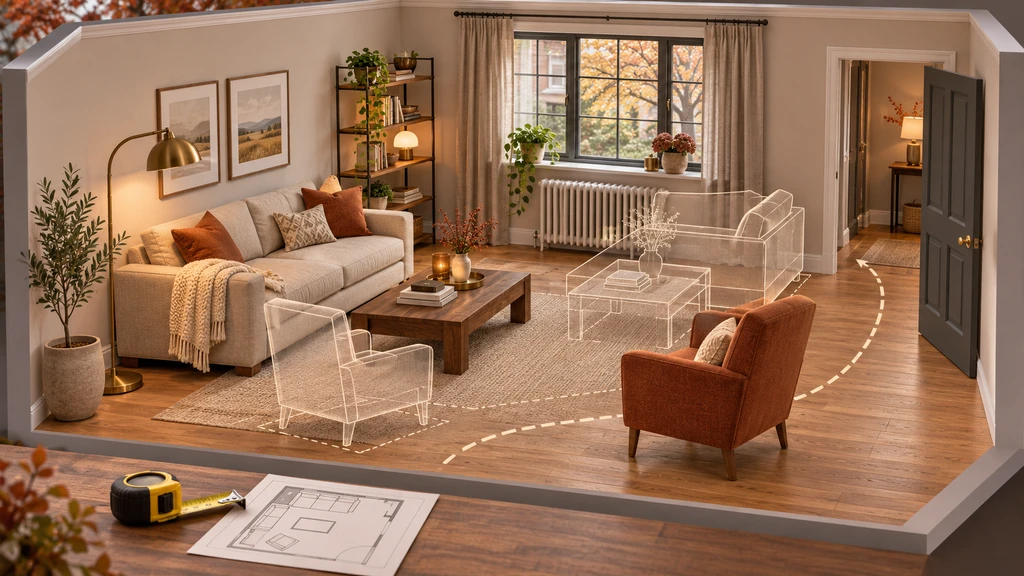
The quickest way to test a furniture layout is to measure the room, mark the largest furniture footprints and compare two realistic arrangements. A 3D version of the existing room can then help you examine height, sightlines and visual balance before moving anything heavy.
This preparation becomes particularly useful in fall and winter. Heating equipment needs clearance, shorter days affect lighting, and temporary additions such as guest seating, coat storage or a Christmas tree may change how much floor space is available.
-
1. Measure the Room’s Fixed Features First
Measure the room’s length, width and ceiling height. Record the position of doors, windows, built-ins, radiators, heating vents, outlets and other features the furniture should not obstruct.
Include door swings and the space required to open drawers and cabinets. A sofa might fit along a wall but still interfere with a nearby cupboard or doorway.
-
2. Measure the Furniture and Its Moving Route
Record the width, depth and height of every piece you may move. Measure recliners, extendable tables and sofa beds in both their closed and fully open positions.
Check the route into the proposed location too. A wardrobe that fits the bedroom must still pass through the necessary doorways, corridors and turns.
-
3. Sketch a Scaled Floor Plan
Draw the room on graph paper using one square for 6 inches or 15 centimetres. Mark the fixed features first, then add scaled furniture cutouts that can be repositioned.
The drawing does not need to look polished. Its purpose is to eliminate arrangements that block storage, heating or essential walking routes.
-
4. Mark Furniture Footprints With Painter’s Tape
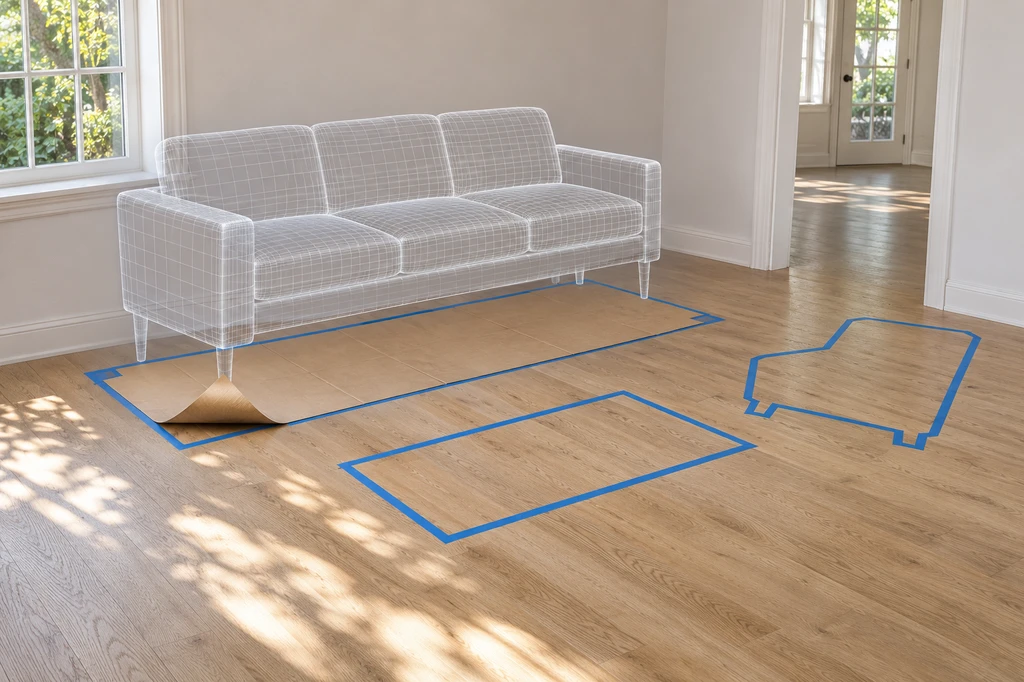
Floor markings test the footprint, while a 3D preview helps reveal the furniture’s height and visual weight.
Use low-tack painter’s tape to mark the proposed sofa, bed, rug and table positions on the floor. Start with the largest anchor piece because it usually determines where the smaller furniture can go.
Walk between the outlines and open nearby doors and drawers. Leave the markings in place for a day if possible. Test the tape discreetly first and follow the tape and flooring manufacturers’ care instructions.
-
5. Make Movable Paper or Cardboard Templates
Cut newspaper, wrapping paper or flattened boxes to match the footprint of each piece. Label the templates and slide them between positions instead of recreating tape outlines repeatedly.
This method is particularly useful when comparing two arrangements or deciding whether an occasional chair or seasonal decoration deserves the space it occupies.
-
6. Explore the Shortlisted Layouts in 3D
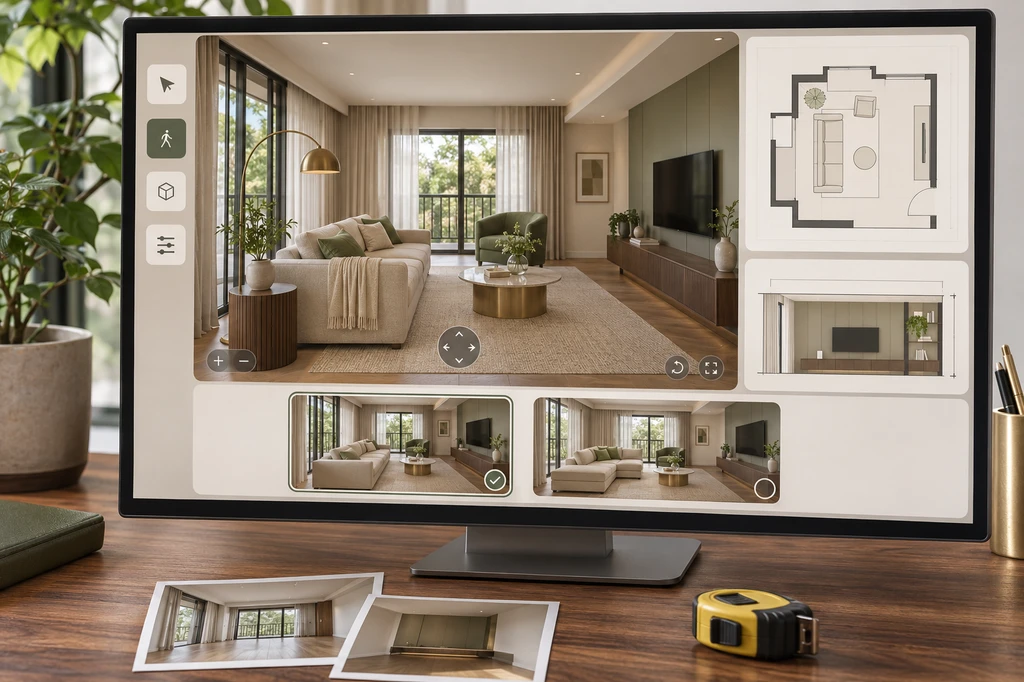
Review the same furniture decision through a 3D walkthrough, floor plan and wall elevation before choosing a layout.
Chez by ReimagineHome uses clear, overlapping photographs of an existing room to create a photo-derived 3D space. Use its floor-plan view to compare circulation and furniture relationships, then walk through the room in 3D to examine height, sightlines and visual balance.
Chez uses furniture from a preset catalogue, so a model may not represent your exact sofa, bed or table. Select a similarly sized piece as a visual stand-in. Photo-derived dimensions are estimates, and areas not shown in the photographs may be inferred. Compare arrangements in 3D, then verify the preferred option in the actual room.
For help capturing the space, read our guide to creating a 3D room from photographs.
-
7. Run a Real-Life Route Test
Use these approximate residential planning ranges as starting points, not universal accessibility or building standards:
- Main walking routes: approximately 30–36 inches or 75–90 centimetres.
- Sofa to coffee table: approximately 14–18 inches or 35–45 centimetres.
- Used sides of a bed: approximately 24 inches or 60 centimetres where space allows.
- Behind dining chairs: approximately 36 inches or 90 centimetres, with more room when people must pass behind seated guests.
Carry a laundry basket through the marked route. If you must turn sideways or step around a furniture corner, reconsider the arrangement. Our expert sofa placement guide provides additional help with seating layouts.
-
8. Check Heating, Outlets, and Lighting for All Seasons
Keep combustible furniture, curtains and fabrics at least three feet from heating equipment, including fireplaces and portable heaters. Do not obstruct radiators, baseboard heaters, supply vents or return-air grilles, and follow the manufacturer’s instructions for your equipment.
Check where lamps and chargers will connect after the furniture moves. Avoid running extension cords across walking routes or underneath rugs.
-
9. Give the Arrangement an Everyday Life Test
Simulate an ordinary day using the proposed arrangement. Sit where the sofa would go and check the television angle. Walk from the entrance carrying a bag, open nearby storage and confirm that lamps, chargers and side tables remain accessible.
A layout should support daily routines, not simply appear balanced from above.
-
10. Compare Two Layouts With the Same Checklist
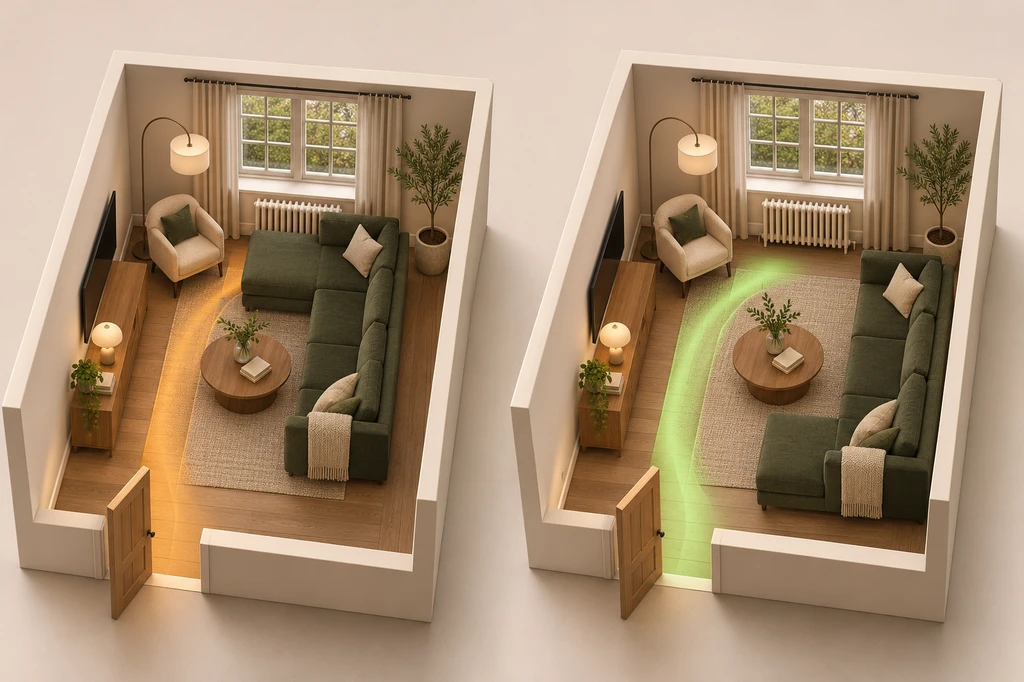
The same room, furniture and architecture reveal how one layout restricts movement while the other protects a clear route.
Avoid testing endless variations. Select two purposeful arrangements and judge both against the same criteria:
Layout check Question to answer Circulation Can people follow the main route comfortably? Daily use Can doors, drawers and movable furniture open fully? Heating and power Are heating equipment, vents and cable routes clear? Sightlines Does the room work from the entrance and primary seat? Seasonal needs Is there temporary space for guests, coats or decorations? The most attractive arrangement is not automatically the most practical. Choose the option that solves the greatest number of everyday problems.
Visualization Scenario
Imagine a living room where placing the sectional opposite the television improves the viewing angle but obstructs a radiator. A second position preserves heating and circulation but creates a less direct television view. The floor plan reveals the clearer route, while the 3D walkthrough shows how each position appears from the entrance and main seat. The comparison makes the trade off visible before the sectional moves; physical measurements confirm whether the preferred position will work.
Frequently Asked Questions
1. Can I use photos of my room to test layouts?
Absolutely! Overlapping photos can generate a 3D room for visualizing options, as explained in our guide to using AI for furniture and rug visualization. Just remember to confirm detailed measurements in real life.
2. Will a 3D model guarantee my furniture fits?
Not always. 3D previews, especially those built from photos like in Chez, offer quick layout comparisons and avoid heavy lifting, but exact fit must be verified with a tape measure as unseen areas may be estimated.
3. Can I reuse these methods if my furniture changes with the seasons?
Yes—templates and digital models are ideal when winter gear, extra coats, or a surprise holiday tree pops up. They let you adapt your room without new backaches every season.
Test First, Then Move
A workable furniture layout begins with five actions: measure, mark, model, walk and verify. Measure the room and furniture, mark the largest footprints, compare two arrangements in 3D, walk through everyday routines and verify the preferred option in person.
This process cannot remove every surprise, but it can reveal blocked doors, awkward sightlines and heating conflicts before the heaviest furniture begins moving.