What Is Annotation in REimagineHome AI?
TL;DR
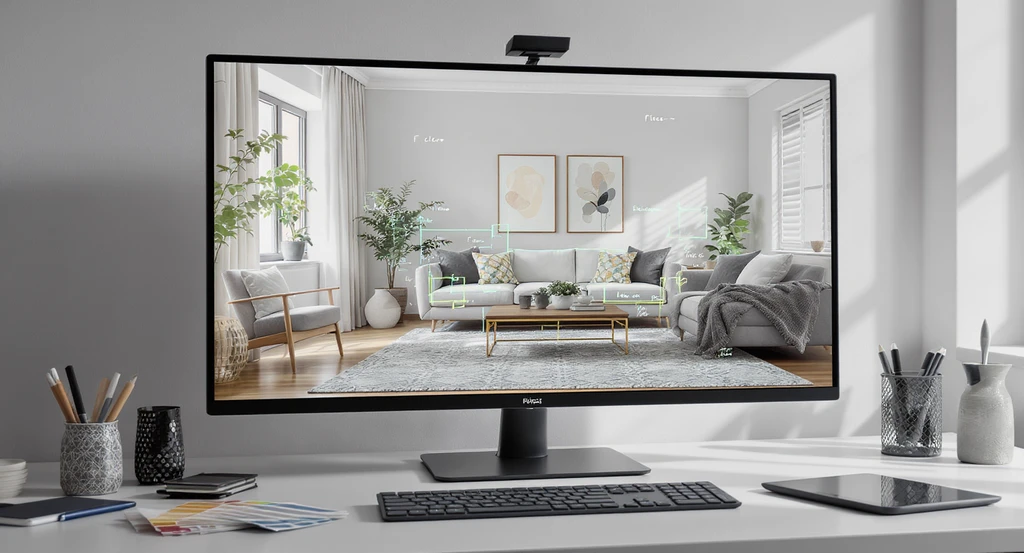
Annotations let you visually show AI exactly where and what you want to edit in a room, leading to more accurate interior design results and less guesswork.
Why Annotation Matters in AI Home Design

Learn how to use annotation in AI home design to guide accurate transformations. Using annotation tools helps address common mistakes and enhances the benefits of AI for interior design and virtual staging.
If you've ever used an AI design tool and been frustrated that the results don’t match your vision, you’re not alone. Many homeowners, real estate pros, and designers want more say in the changes made to their space. Annotation in REimagineHome AI addresses this. This guide will explain what annotation is, how it works, why it matters, common mistakes to avoid, practical steps to use annotation, and why it’s a game-changer for interior design and virtual staging.
-
What is annotation in REimagineHome AI?
What is annotation in REimagineHome AI? Image
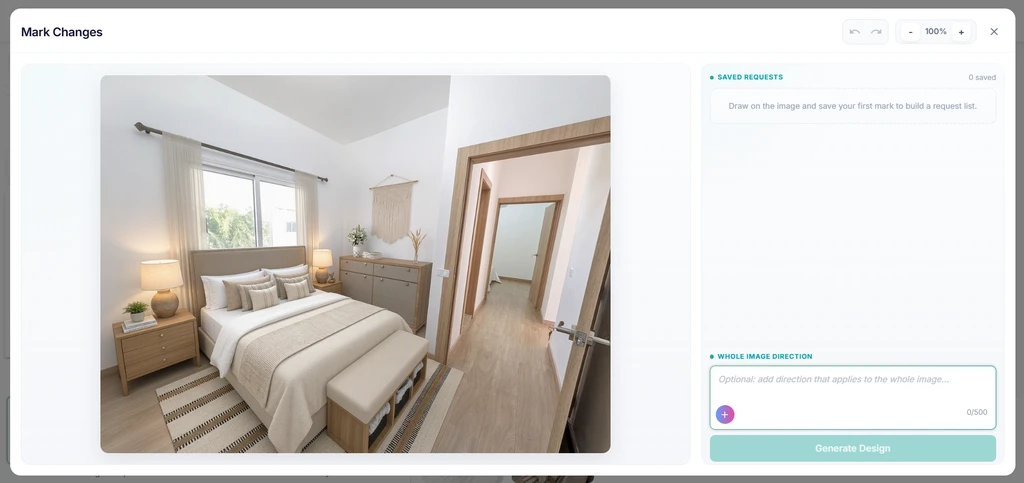
Annotation is a feature that lets you visually mark areas of a room image and give the AI clear instructions for targeted changes.
Think of annotation like digital sticky notes: you highlight a sofa or a wall, then add a comment such as “make this wall navy blue” or “replace sofa with a modern sectional.” This tells the AI both where and what to change, so you get edits that feel intentional and personalized. As outlined in our Mark & Edit feature guide, annotation removes a lot of the guesswork from AI home design. -
Why Use Annotation Instead of Just Typing a Prompt?
Annotation gives the AI clear visual and written context, making design changes more predictable and reducing unwanted surprises.
Without annotation, the AI relies only on your text prompt, which leaves room for misinterpretation, like changing the wrong object or making a broad room-wide edit when you wanted only a minor tweak. Annotation ensures your changes are focused, so you’re less likely to need multiple attempts or tedious revisions. -
How Does Annotation Work?
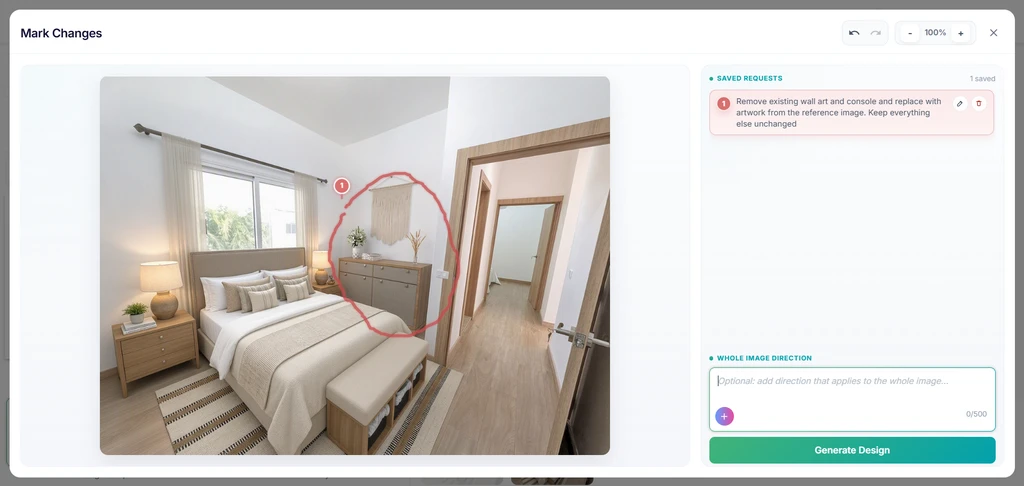
A digital living room with an area rug selected using an annotation tool, demonstrating how to use annotation in AI home design software and illustrating the benefits of annotation for interior design AI workflows.
You upload a photo, select an area with the annotation tool, and add a short instruction, then let the AI do the rest.
For example: highlight a rug and write, “Swap with a patterned area rug.” The AI understands both where (the rug) and what (change pattern) to execute the request. Steps include uploading an image, marking areas, typing your instruction, and generating the modified design. This process is detailed in our annotation feature overview. -
When Should You Use Annotation?
Use annotation when you want to edit specific parts of a room, stage certain elements, or refine AI-generated results with precision.
It’s ideal for tasks like replacing furniture, changing wall colors, updating decor, or visualizing new layouts. Annotations are especially helpful when you want to:- Update a single area or object (not the whole room)
- Visualize minor renovations
- Stage specific spaces for real estate listings
- Iterate on specific design elements from a previous AI output
-
What Can You Change with Annotation?
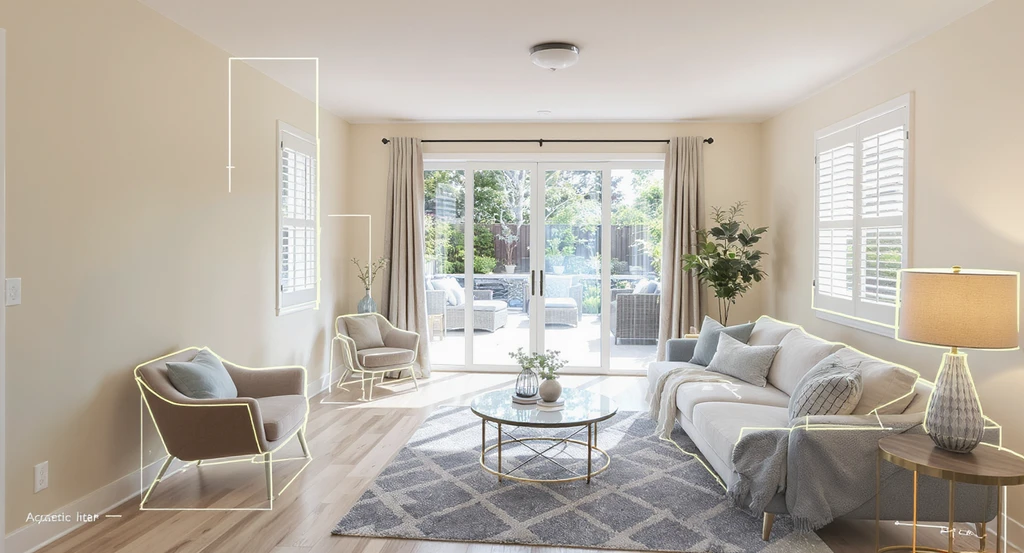
Using annotation in AI home design tools lets you select walls, furniture, flooring, lighting, and landscaping to experiment with color, layout, and style. Discover the benefits of annotation for interior design AI in this flexible workflow.
You can annotate nearly any room element: furniture, walls, floors, doors, lighting, windows, landscaping, and more.
This flexibility means you can test color ideas on one wall, direct the AI to add a single accent chair, or completely restage a patio. It's an all-purpose tool for interior, exterior, and even landscape design. Annotations empower you to experiment, plan, and preview options before making real-life changes. -
Can You Use Annotation with Reference Images?
Yes, and this is one of the most powerful ways to guide the AI’s design choices.
You can annotate a section of your uploaded image and attach a reference photo or style image, so the AI knows both where to update and the look you want to match. As noted in our guide on reference photos, this two-pronged approach avoids surprises and increases confidence in the results. -
Why is annotation useful in REimagineHome AI?
Benefits include better control, fewer misunderstandings, less guesswork, and more personalized results.
Annotation helps reduce miscommunication by making your intent visually clear. This leads to more predictable edits, faster satisfaction, and saves time lost to trial-and-error. It also enables design iteration, test one element, review, then refine if needed. As described in our annotation best practices, this often leads to higher quality visuals. -
How do I use annotation in REimagineHome AI?
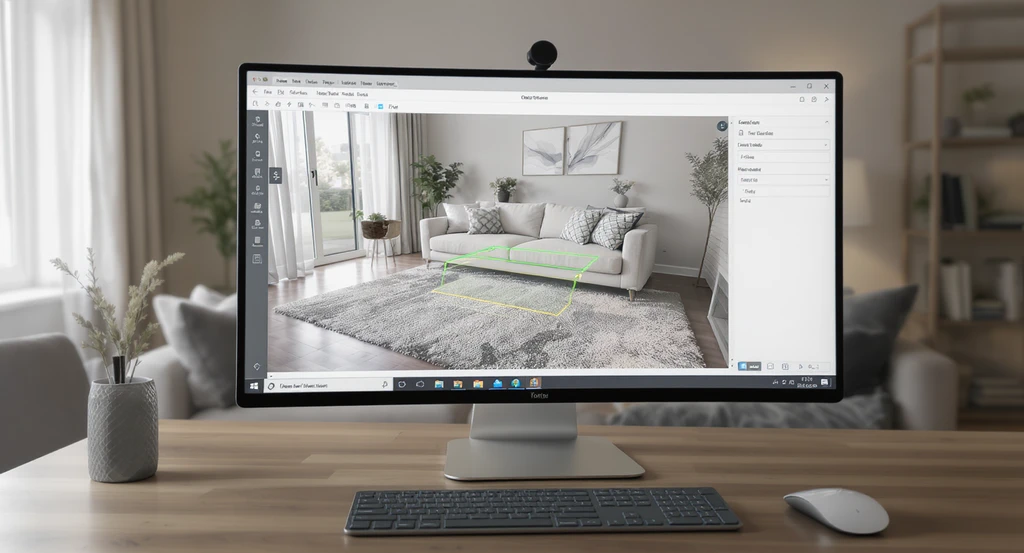
How to use annotation in AI home design: visually select areas with annotation tools in interior design AI for faster, focused room image edits.
The typical workflow is:
- Upload or choose your room image
- Select the annotation (Mark & Edit) tool
- Highlight the target area visually
- Add your written instruction (e.g., “swap rug”)
- Submit to generate the revised design
- Review and iterate as needed
-
Prompt vs Annotation: What's the Difference?
A prompt tells the AI what to do; an annotation tells it where to do it.
For example, "add a modern lamp" (prompt) vs. highlighting the side table and typing, "add a modern lamp here" (annotation). Using both together is the key to precision, as highlighted in our mistakes-to-avoid article. -
Why am I not getting the design changes I want?
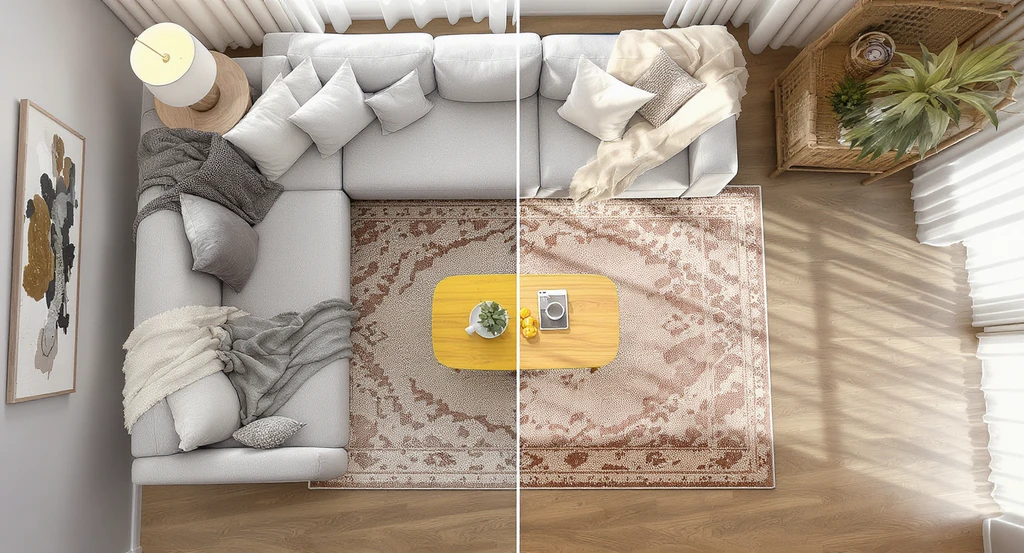
Precise annotation in AI home design is key for effective virtual staging. This living room image highlights common mistakes with AI design annotations, showing how to use annotation tools by focusing on editing a specific rug rather than the whole space.
The most common mistakes are annotating areas that are too large, giving vague directions, or trying to edit multiple unconnected elements in one go.
It’s more effective to focus on one change at a time and to be specific. For example, don’t mark the whole room if you only want to update a rug. According to our post on common AI design mistakes, clarity and precision lead to better, more reliable outcomes. -
How Does Annotation Help Agents and Designers?
Annotation lets you control virtual staging and design revisions, ensuring edits match your client’s needs or buyer’s expectations.
For home stagers and agents, annotation means you can get more lifelike, relevant listing visuals without manually editing each image. For designers, it streamlines presentation and concept testing. As our FAQ on REimagineHome explains, annotation brings expert-level precision to everyday design workflows. -
Is annotation a substitute for hiring a design expert?
No, Annotation helps you communicate better with AI, but it doesn't replace professional design experience. Designers still bring creativity, problem-solving, and real-world knowledge that AI cannot fully replicate.
Annotation amplifies your ability to communicate with AI, but nuanced design decisions, style judgment, and broader project planning are still best handled by experienced professionals. However, annotation allows everyone to preview and test ideas before making real commitments, which can speed up the consultation and approval process. -
An overlooked insight: Why many people get generic or off-target results
The most overlooked reason AI design disappoints is lack of precise instruction, and annotation directly solves this problem.
A common misconception is that “the AI just doesn’t get me,” but often the issue is that the AI didn’t have enough detail to act on. Annotation is a fast way to inject clarity and turn vague prompts into actionable, predictable edits. -
Practical tips for getting the best annotation results
Be specific, annotate only what you want to change, and combine with clear prompts for best visual results.
Focus on single elements, use reference images for style, and keep feedback targeted. Don’t overwhelm the AI with multiple unrelated instructions. This approach almost always results in more accurate and satisfying interiors, as shown by users’ successes in our Mark & Edit blog.
Frequently Asked Questions About Annotation & AI Home Design
- Do I need to use annotation for every design edit?
- No. Annotation is optional but helpful when you want more control. If you're happy with AI's automatic results, you can skip it. But for targeted changes or corrections, annotation is the best approach.
- Can annotation help with outdoor and landscaping design, too?
- Yes. You can annotate decks, gardens, patio layouts, and landscaping features. This makes it easier to visualize curb appeal improvements or outdoor living upgrades without guessing where elements will go.
- Will annotation slow down my workflow?
- No. Annotation usually speeds up the process by reducing edit rounds. By getting closer to your goal the first time, you spend less time revising or correcting AI results.
- Are there situations where annotation is not recommended?
- Yes. If you need a dramatic, full-room makeover, it may be faster to generate broad AI designs first. Annotation works best when you want to refine or control specific features rather than change everything at once.
- Do annotations make my design final, or can I keep experimenting?
- You can keep experimenting as much as you like. Annotation encourages refinement and testing different ideas, helping you explore options until you're happy with the result.
Key Takeaways: Why Annotations Are a Game Changer
Annotations in REimagineHome AI put you in the driver’s seat. By visually marking exactly what you want to change and providing clear instructions, you help the AI deliver design results that are faster, more accurate, and easier to iterate. Whether you’re a homeowner, stager, or real estate agent, effective use of annotation can mean the difference between a generic design and one that truly represents your style and needs.