How to Balance TV, Storage, Art, and Furniture on One Crowded Living Room Wall
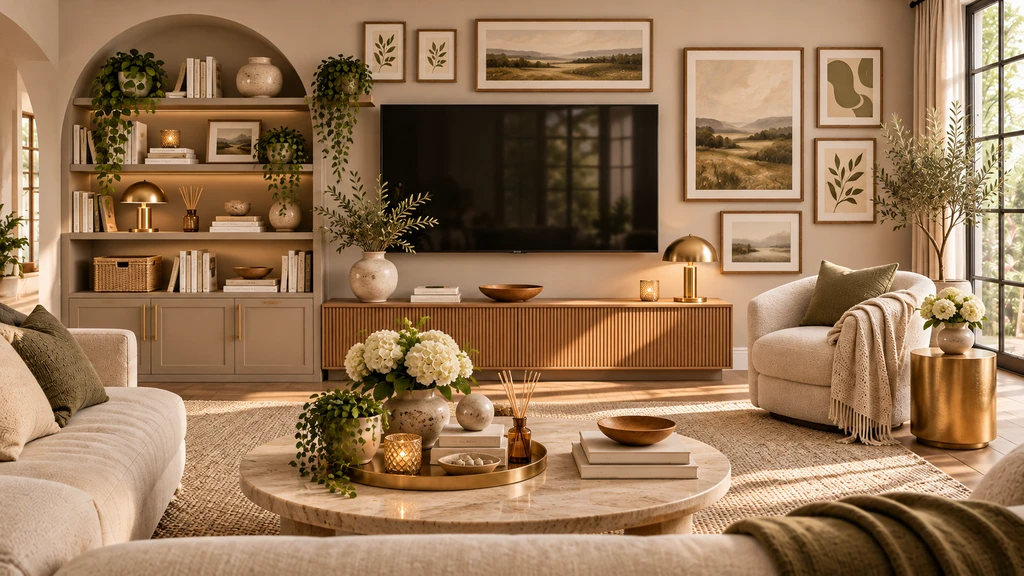
TL;DR
To resolve an overloaded living room wall, prioritize functions that must stay, consider what can move, and examine impact on the whole room, not just the wall. Use tools like wall elevations and floor plans to clarify decisions, and always check measurements before shifting storage or furniture. The upcoming Photos to 3D experience from ReimagineHome AI is designed to help test arrangements virtually before committing.
-
1. Separate Visual Clutter From Blocked Access
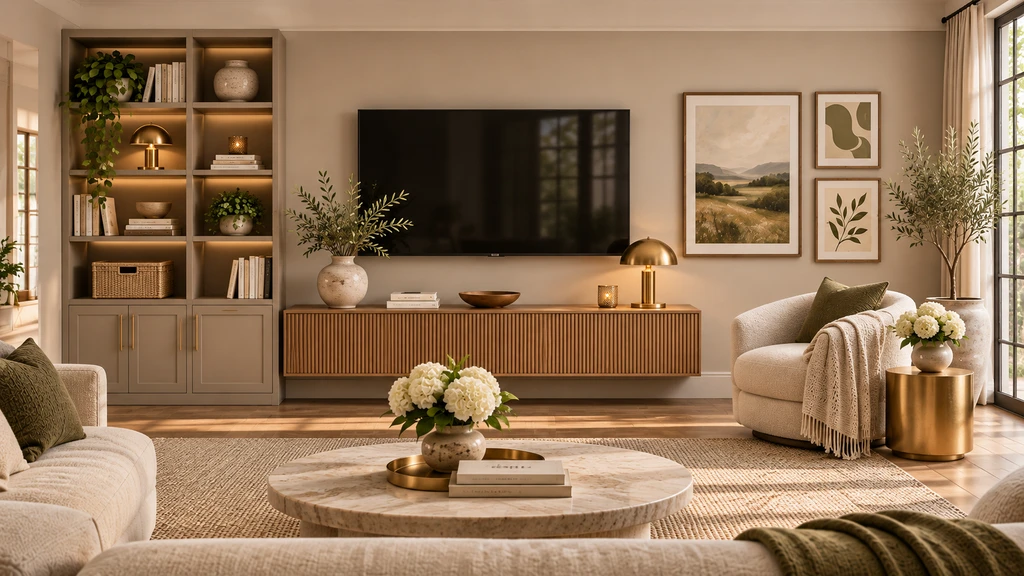
Group the TV and console as one functional zone, keep storage purposeful, and organize artwork as a separate visual group to create a calmer wall without sacrificing everyday use.
Start with two different questions: “Does this wall look crowded?” and “Does anything stop me using it?”
Temporarily remove nonessential decorations, then sit in the main seat, open the cabinets, and walk the usual route. If the wall feels calmer and access already works, focus on display. If a chair still blocks a drawer, address furniture placement. A deliberately layered wall does not need simplifying when you enjoy it and everything works.
-
2. Decide What Actually Needs This Wall
Keep the TV where seated viewing and connections work, not automatically at the wall’s geometric centre. Keep storage nearby when its contents support that activity. A chair earns its place by being usable, not by filling a gap. Before removing storage, list what it holds and account for those belongings in every alternative.
For a calmer composition, test the TV and console as one group and the artwork as another. Try a shared alignment rather than adding objects to force symmetry. Do not sacrifice comfortable viewing just to fit more art. Our living room wall-styling guide explores related approaches to proportion and display.
-
3. Compare Three Changes, Not Three Different Styles
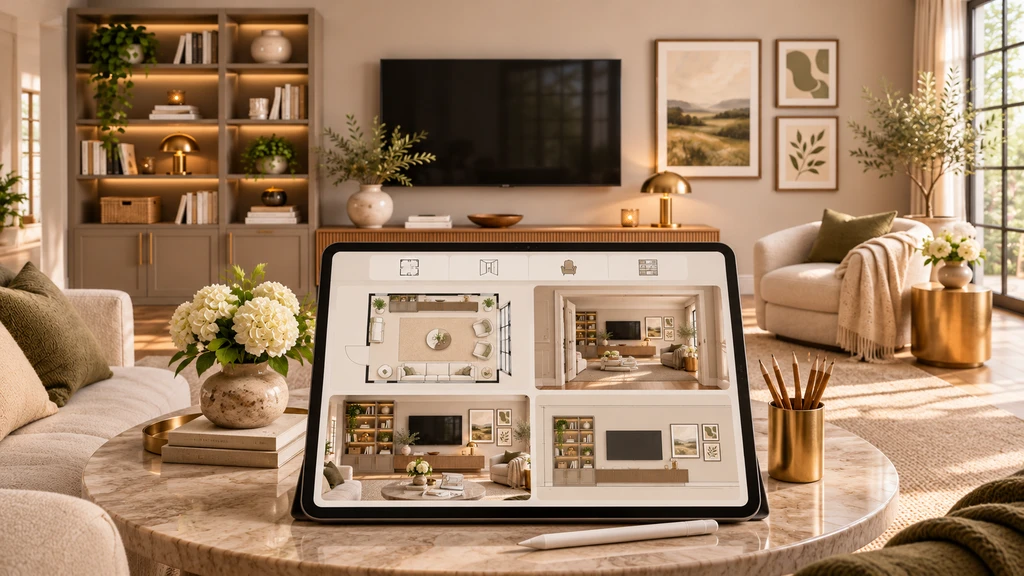
Compare the same TV wall from multiple 3D views to check furniture footprints, viewing position, artwork alignment, storage placement, and whether crowding shifts elsewhere in the room.
Illustrative setup: a TV, console, bookcase, three framed prints, and an armchair share one wall. Compare each alternative with the original, keeping finishes and necessary storage contents unchanged.
Alternative Change to test Reason to reject it Simplify in place Group the prints and remove optional shelf decorations. Furniture still obstructs everyday use. Move the artwork Relocate the prints; retain the TV, storage, and seating. The new display crowds another wall or conflicts with a switch or opening. Move the bookcase Relocate it with its contents to another suitable wall. The new position restricts a route, opening, or access to books. If the display-only change solves the problem, stop there. Do not add a furniture move merely to make the transformation more dramatic.
-
4. Check the Same Four Views in Chez
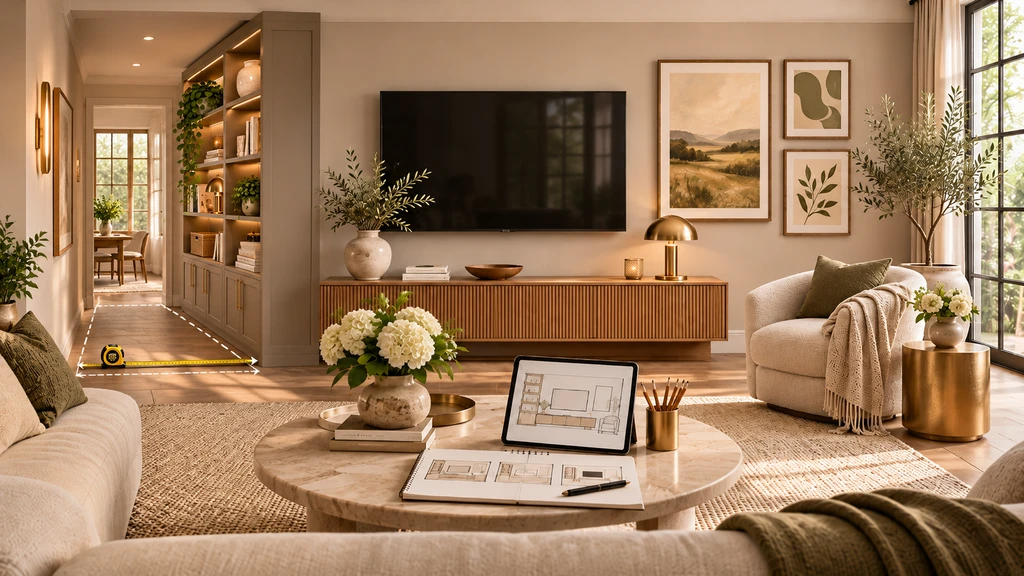
Before moving storage away from a crowded TV wall, check the destination too. Measure the remaining walkway, door access, and space needed to use the relocated furniture so one improvement does not create another problem.
Chez by ReimagineHome creates a photo-derived 3D room with a walkthrough, floor plan, wall elevations, and preset-catalogue furniture. Start with at least two real room photos; four to eight overlapping views are recommended. Include the crowded wall and possible destinations.
View What to check Floor plan Furniture footprints, walking routes, and potential conflicts with openings. Entrance view Whether the whole room improves or crowding shifts elsewhere. Seated view Screen position and surrounding display from the seat you actually use. Wall elevation Heights, alignment, and clear wall areas among the elements shown. Compare matching viewpoints. Our guide to floor plans, elevations, and 3D views explains their different roles. Check which details appear in each view; supplement missing artwork or furniture with paper templates or measured outlines in the actual room.
-
5. Check What Happens at the Destination
Moving a bookcase can quiet the TV wall while narrowing another route.
Illustrative calculation: a straight passage measures 105 cm from the wall to the opposite furniture. A relocated bookcase projects 35 cm into it, including any wall gap and handles:
105 cm − 35 cm = 70 cm remaining.
That is a space calculation, not a recommended clearance. It also excludes any extra room needed to open doors or stand at the shelves. Judge the destination with the furniture in use, not just parked against the wall.
-
6. Choose the Smallest Change That Works
Chez estimates dimensions and may infer unseen architecture. Check the reconstructed room against your photos, then verify critical measurements in the real room. Our guide to checking a Chez model explains what to review.
Before committing, check:
- Viewing: Sit normally, turn on the TV, and check reflections at your usual viewing time.
- Access: Open cabinets and nearby doors, then test normal routes with seating occupied.
- Storage: Give every displaced item an accessible home.
- Installation: Follow the equipment and fixing instructions before relocating mounted items.
Choose the option that resolves the original conflict without creating another. Keep useful furniture when a simpler display change is enough.
Frequently Asked Questions
Can a TV, storage, and artwork share one wall?
Yes. Judge the arrangement by comfortable viewing, usable storage, and clear access, rather than by how many objects it contains. Grouping the display is a starting experiment, not a requirement for a minimalist room.
What if this is my only usable living room wall?
Simplify in place first. Group artwork and reduce optional display before removing needed storage. Consider shallower or closed storage only after checking that it accommodates the contents and still works in the room.
Can a 3D preview confirm that cabinets will open?
Do not treat it as confirmation. Check the actual cabinet’s door or drawer travel and the space needed to use it. Verify handles, opening mechanisms, and operating space separately rather than assuming the preview accounts for them.
Finding Balance, Not Just a Clean Wall
A crowded living room wall isn’t just about getting rid of stuff, it’s about finding a workable mix for how you live, watch, store, and display. Approaching your challenge with both visual composition and practical daily use in mind leads to smarter decisions. Photos to 3D, now in early access waitlist, is designed to help you see those tradeoffs and test options before making physical changes. Real-life balance means the solution works for the whole room, not just one side.